Chocolate thumbprint cookies are my little secret for instantly cozy vibes, and honestly, they’re the one treat that never fails to bring a smile to my face (and to my family’s!). There’s just something about the smell of buttery cookies baking that makes the whole house feel warmer. Chocolate thumbprint cookies are the treat I reach for when I want something simple, chocolatey, and absolutely adorable. If you’ve never tried making them, trust me, you’re about to find out why they’re my forever favorite!
Table of Contents
What Is a Chocolate Thumbprint Cookie?
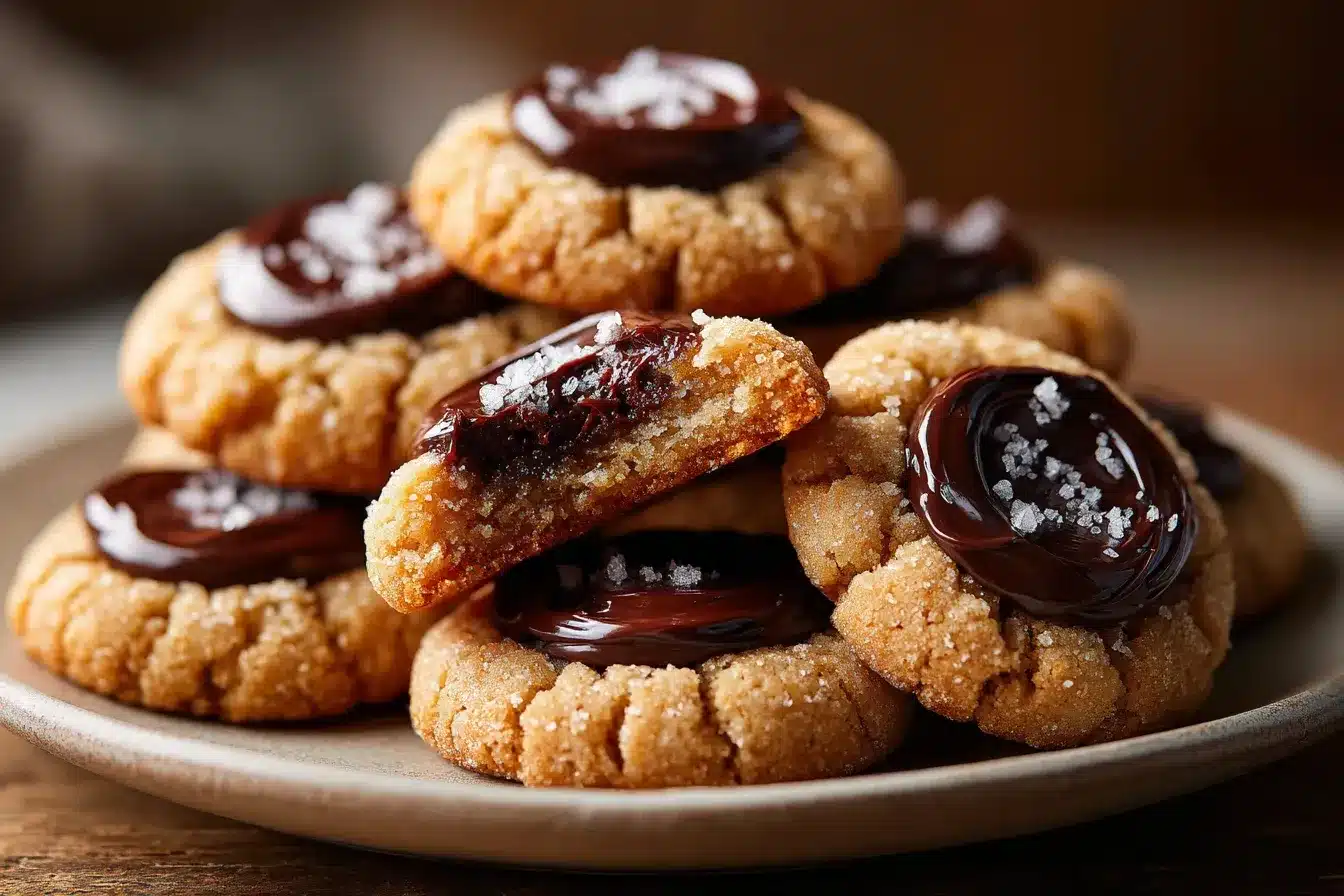
So, what are chocolate thumbprint cookies, really? Picture this: a soft, buttery cookie base, gently pressed in the center (yes, you literally use your thumb!), and filled with a gooey pool of chocolate. It’s a classic for a reason! These are the kind of cookies I love baking on lazy weekends, especially when friends pop by or I need a little chocolate fix after dinner. Some people even call them chocolate button cookies or chocolate drop cookies, whatever the name, they’re pure joy in every bite. And the best part? Making that thumbprint in the dough is just so fun and kinda therapeutic.
Why You’ll Love This Chocolate Thumbprint Cookies Recipe
Let’s get real: chocolate thumbprint cookies are the answer to pretty much any sweet craving. First, the flavor, rich, chocolatey centers and a buttery, crumbly cookie? Yes, please! Second, the ease of making them is a total game-changer. You don’t need fancy ingredients, just basic pantry stuff, and you’ll have a batch ready before your favorite show finishes. They’re super kid-friendly, too. I let my little one help with the thumbprints and it’s always hilarious. Plus, you can totally switch up the fillings (hello, Nutella or raspberry jam). I’m telling you, chocolate thumbprint cookies never disappoint. If you’re in the mood to bake something with a pop of color, my strawberry cheesecake cookies are a huge hit with my family.
How to Make Chocolate Thumbprint Cookies
Quick Overview
Making chocolate thumbprint cookies is a total breeze: mix up a buttery dough, roll into balls, make those famous thumbprints, bake, then fill with silky chocolate ganache. You’ll go from mixing bowl to melt-in-your-mouth cookies in about half an hour, and trust me, your kitchen will smell incredible.
Ingredients Overview
- All-purpose flour – Gives structure to your cookies; swap in a gluten-free blend for allergy-friendly treats.
- Unsalted butter – Room temp is key! Vegan butter works well here, too.
- Granulated sugar – Sweetness central; coconut sugar adds a caramelly twist if you’re into that.
- Egg yolk – Makes the dough rich and tender; for egg-free, try a flaxseed meal + water mix.
- Pure vanilla extract – Warm, cozy flavor in every bite.
- Cocoa powder – Optional but adds extra chocolate oomph to your cookies.
- Salt – Balances out the sweetness.
- Semi-sweet or dark chocolate chips – The best part! Or try milk or white chocolate if you want to mix it up.
- Heavy cream – For a smooth ganache filling; coconut cream is perfect for dairy-free cookies.
Step-by-Step Instructions
- Preheat Oven: Fire up your oven to 350°F (180°C) and line two baking sheets with parchment paper.
- Cream Butter and Sugar: In a big bowl, beat the unsalted butter and granulated sugar together until the mix is light and fluffy.
- Add Egg and Vanilla: Mix in the egg yolk and vanilla extract, just until blended.
- Combine Dry Ingredients: Slowly add the flour, salt, and cocoa powder (if using). Mix until a soft dough forms, don’t overmix!
- Shape Dough Balls: Scoop out tablespoon-sized portions and roll into balls. Place them about 2 inches apart on your baking sheets.
- Make Thumbprints: Gently press your thumb or the back of a small spoon into each ball to create an indentation.
- Bake Cookies: Bake for 10–12 minutes, just until the edges are set. Don’t let them overbake!
- Make Ganache: Melt your chocolate chips with the heavy cream until smooth and glossy.
- Fill Cookies: Spoon that silky ganache into each cookie while they’re still warm.
- Cool and Enjoy: Let the chocolate set before diving in. Or eat one warm, no judgment!
For a chocolate dessert that’s extra gooey, you might also want to try these gooey pecan pie brownies for your next baking adventure.
Helpful Tips & Customizations
- Chill the dough for 15–20 minutes before shaping for cookies that hold their shape perfectly.
- Swap in raspberry jam, salted caramel, or Nutella for the filling when you want a twist.
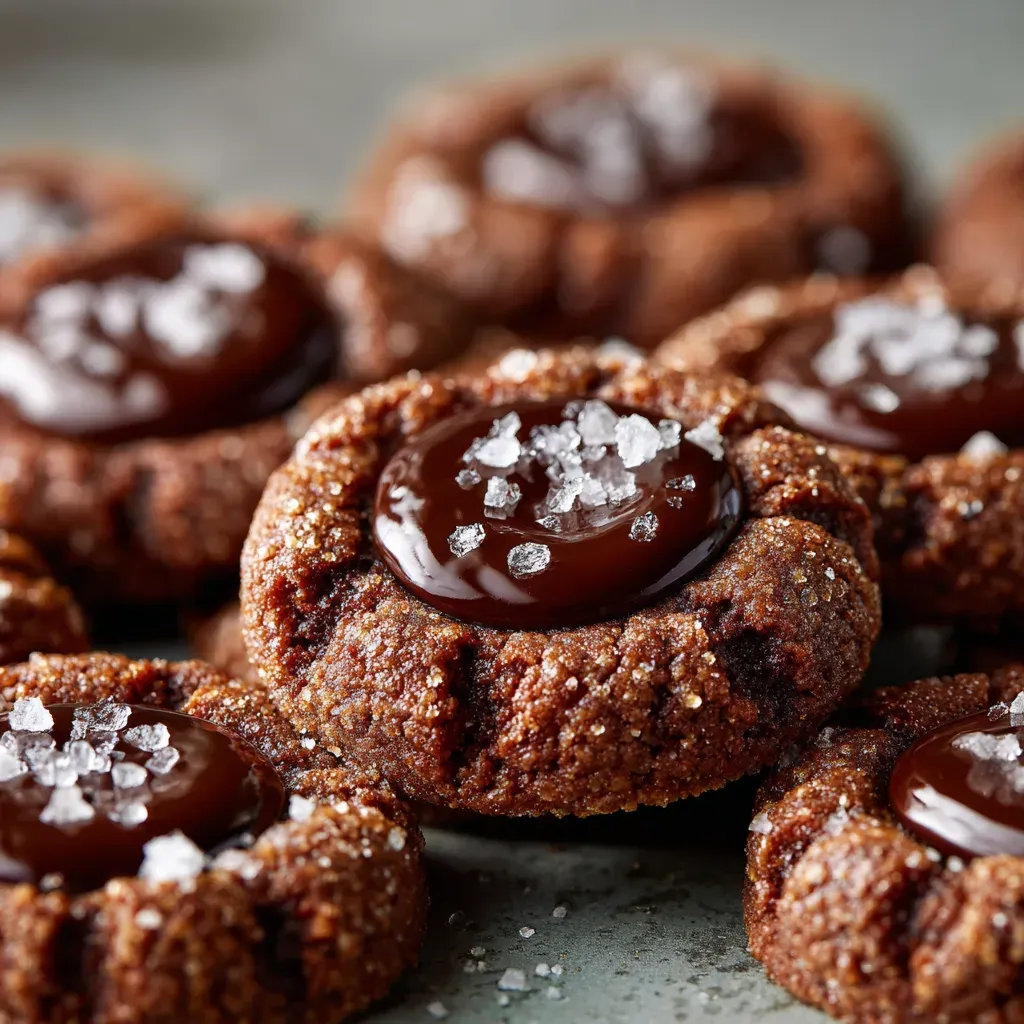
- Sprinkle a little flaky sea salt or crushed nuts on top for texture and extra flavor.
- Make sure your butter is nice and soft -not melted!- for the creamiest dough.
- Want something festive? Roll your dough balls in colorful sugar or sprinkles before baking!
If you’re into creative flavors, these matcha ube cookies are a super unique alternative for your cookie tray.
Serving Suggestions
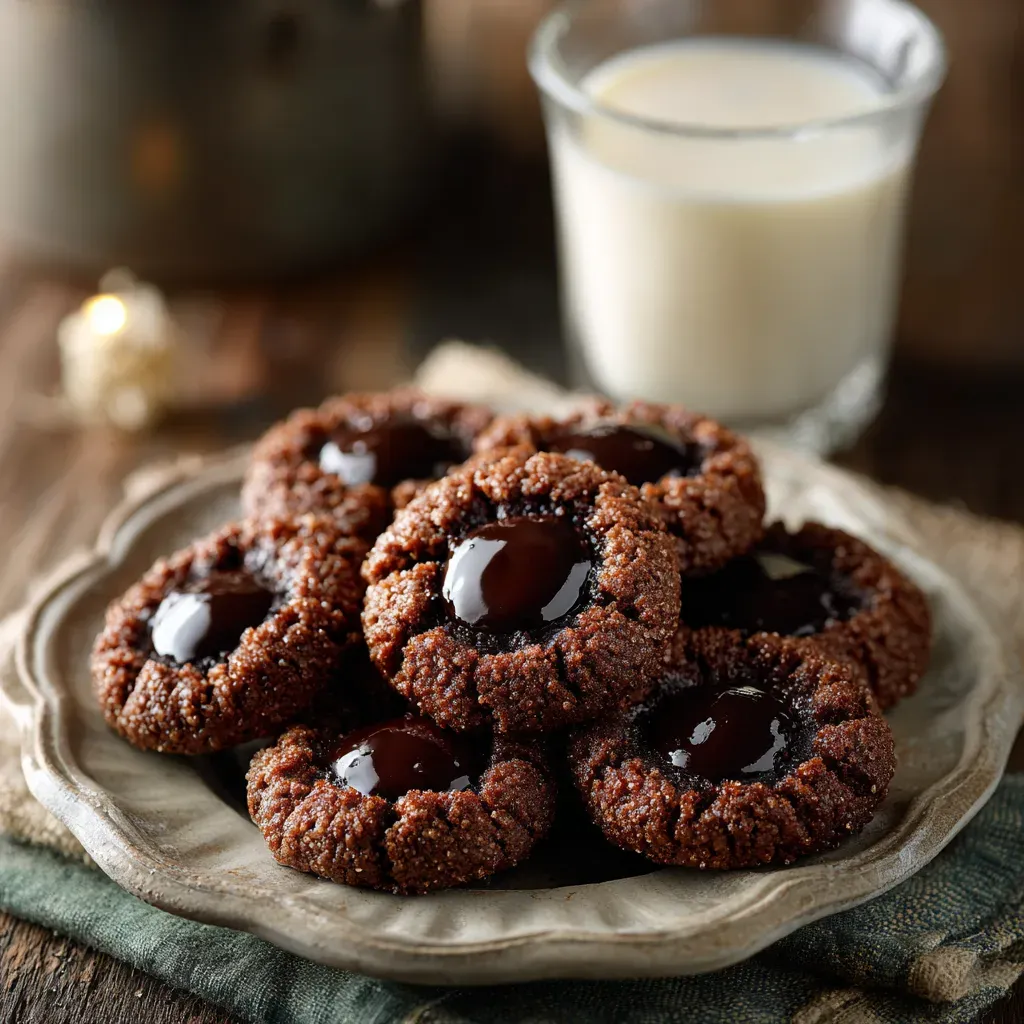
Chocolate thumbprint cookies are so versatile, serve them on a cute tray for an afternoon pick-me-up, or pack them in a gift bag for an easy homemade present. I love pairing these with a mug of homemade hot chocolate or a glass of milk after a long day. They also shine on dessert platters at bake sales, potlucks, or holiday parties. For a fun and patriotic twist, a 4th of July pie makes a gorgeous addition to your summer dessert table.
FAQs About Chocolate Thumbprint Cookies
How do I keep my chocolate thumbprint cookies from spreading?
Chill your dough for 15–30 minutes before shaping and baking. Cold dough is less likely to spread, so you’ll get those cute, plump cookies every time. Also, always use cool baking sheets.
What chocolate filling is best for thumbprint cookies?
A classic ganache made with semi-sweet or dark chocolate chips and heavy cream is a must! It’s rich, smooth, and sets up beautifully. For variety, try bittersweet chocolate, Nutella, or even caramel.
Do you fill thumbprints before or after baking?
Always fill the cookies after baking. This keeps the chocolate glossy and pretty, and it won’t dry out or crack in the oven.
How do you stop the cookies from cracking when making the thumbprint?
Roll your dough balls until super smooth, and press gently with your thumb or the back of a spoon. If the dough cracks, let it sit out for a few minutes, it’ll be easier to shape.
Looking for a low-sugar dessert option? My black bean brownies and chickpea brownies are just as fudgy as classic brownies, promise!
Conclusion
There’s just something special about baking chocolate thumbprint cookies, they turn any regular day into a celebration and are so easy, anyone can whip up a batch in no time. Whether you keep things classic or try out new fillings, these cookies are sure to make you (and your tastebuds) happy. Share your chocolate thumbprint cookies with friends, bring them to your next party, or save them all for yourself (no judgment here!). For more delicious inspiration, see more of my baking adventures on Pinterest. If you want more baking fun, the full archive of recipes is right at My Recipe Cast.

Chocolate Thumbprint Cookies
Equipment
- 1 Stand mixer/Hand mixer For creaming butter and sugar
- 2 Baking sheets Lined with parchment paper
- 1 Mixing Bowl
- 1 Small saucepan For ganache
- 1 Spatula
- 1 Measuring cups/spoons
Ingredients
- 1 1/4 cups All-purpose flour – Substitute gluten-free as needed
- 1/2 cup Unsalted butter – Room temperature or vegan butter
- 1/3 cup Granulated sugar – Coconut sugar for caramel flavor
- 1 Egg yolk – Or flaxseed meal + water
- 1 tsp Pure vanilla extract –
- 2 tbsp Cocoa powder optional – For chocolate dough
- 1/4 tsp Salt –
- 1/2 cup Semi-sweet or dark chocolate chips – Milk/white chocolate optional
- 2 tbsp Heavy cream – Or coconut cream for dairy-free
Instructions
- Preheat oven to 350°F (180°C) and line two baking sheets with parchment paper.
- In a mixing bowl, cream together unsalted butter and sugar until pale and fluffy.
- Beat in egg yolk and vanilla extract until combined.
- Slowly blend in flour, salt, and cocoa powder. Mix until soft dough forms.
- Scoop tablespoon portions, roll into balls, and arrange on trays, spaced 2 inches apart.
- Gently press a well into the center of each dough ball with your thumb or spoon.
- Bake for 10–12 minutes, just until set.
- While cookies cool, melt chocolate chips and heavy cream together until smooth.
- Spoon ganache into centers of warm cookies.
- Let chocolate set, then enjoy!