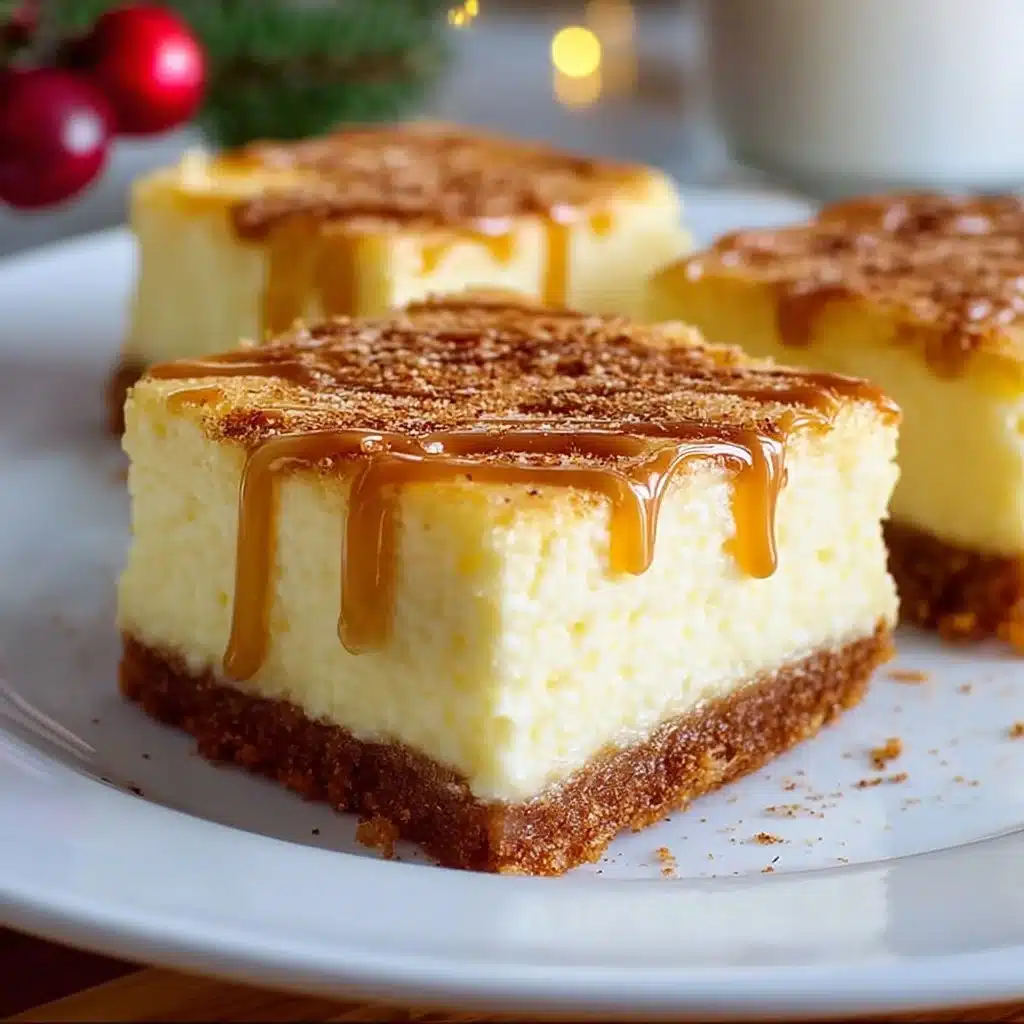
Eggnog Cheesecake Bars
Oh my goodness, have you ever wondered how your holiday celebrations could get a little cozier? Well, let me introduce you to these delightful Eggnog Cheesecake Bars. This sweet treat captures the essence of the festive season in every bite. I mean, who doesn’t love indulging in the creamy delight of cheesecake combined with the warm spices of eggnog? It’s the perfect dessert to whip up for your next gathering or, hey, even a quiet night in with your favorite holiday movie.
Table of Contents
What Is Eggnog Cheesecake Bars?
Eggnog Cheesecake Bars are a festive twist on traditional cheesecake, infused with the classic flavors that we associate with eggnog. Imagine a creamy, smooth cheesecake filling resting atop a buttery graham cracker crust, all beautifully spiced with nutmeg and a hint of cinnamon. These bars are like a hug in dessert form—rich, decadent, and sure to become a holiday favorite in no time. Seriously, they are such a fun way to enjoy the beloved holiday drink we all adore.
Ingredients Overview for Eggnog Cheesecake Bars
Before we jump into the fun part of mixing and baking, let’s gather what we’ll need for these yummy bars. Here’s everything you’ll need:
- Graham Cracker Crumbs: The base of our crust; feel free to swap with digestive biscuits if that’s what you have on hand.
- Butter: Adds that extra richness to the crust; unsalted is perfect, but any kind will work.
- Cream Cheese: This gives us that soft, velvety filling. Soften it before mixing!
- Sugar: For sweetness; brown sugar can give a lovely depth of flavor if you want to switch things up.
- Eggnog: The star of the show! It’s what gives these bars their festive flavor.
- Eggs: These help bind everything together to create a luscious cheesecake texture.
- Nutmeg and Cinnamon: Essential spices for that classic eggnog taste.
- Vanilla Extract: A dash of this enhances all the flavors beautifully.
- Flour: Just a bit to help with the structure of our filling.
Step-by-Step Instructions for Eggnog Cheesecake Bars
Ready to whip up something magical? Let’s get started.
Step 1: Preheat the Oven
Start by preheating your oven to 350°F (175°C). This is crucial for ensuring our bars bake evenly.
Step 2: Make the Crust
In a mixing bowl, combine the graham cracker crumbs and melted butter. Stir until the crumbs are well-coated. Press this mixture firmly into an 8×8-inch baking dish. You want a nice, even layer.
Step 3: Prepare the Filling
In another bowl, you’ll beat together the softened cream cheese and sugar until it’s smooth and creamy. Next, add in the eggnog, eggs, nutmeg, cinnamon, vanilla extract, and flour. Mix until everything is just combined. Don’t overmix, or your cheesecake may crack!
Step 4: Bake
Pour the filling over the prepared crust and gently spread it out. Bake in the preheated oven for about 25–30 minutes, until the edges are set, but the center still has a slight jiggle.
Step 5: Cool and Chill
Let the bars cool at room temperature for a bit before transferring them to the fridge. Ideally, let them chill for at least 4 hours (or overnight!) before slicing.
Serving Suggestions
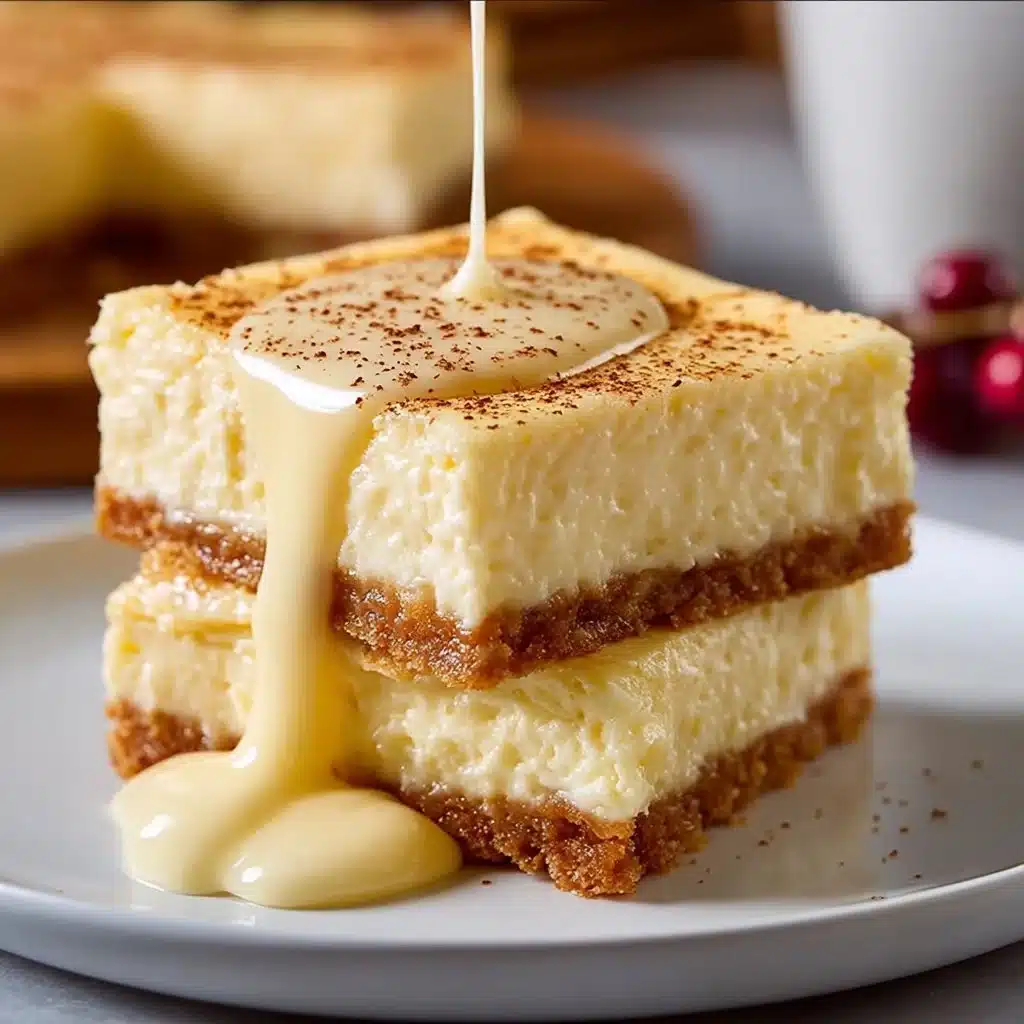
Slice your Eggnog Cheesecake Bars into squares and serve them chilled. They’re delightful on their own, but if you want to kick things up a notch, add a dollop of whipped cream on top or a sprinkle of additional nutmeg for that extra festive touch. Pair them with a cup of hot cocoa or a cozy holiday drink, and you’ve got yourself the perfect holiday dessert!
Tips For The Perfect Eggnog Cheesecake Bars
- Soften the Cream Cheese: Make sure your cream cheese is at room temperature. This helps it blend more smoothly into the batter.
- Don’t Skip the Chill Time: Allowing the bars to cool in the fridge lets the flavors meld beautifully.
- Check for Doneness: The cheesecake should be set around the edges but still slightly wobbly in the center when you pull it out.
- Easy Slicing: For neat slices, use a hot knife (just run it under hot water and dry it off) to cut your bars.
Q&A Section
1. Can I use low-fat cream cheese?
Yes, you can! Just keep in mind that it might alter the creaminess a little bit, but it will still taste great.
2. How long will the bars last in the fridge?
They should be good for about 4–5 days when stored in an airtight container.
3. Can I freeze them?
Absolutely! Just slice the bars and wrap them individually before freezing. They’ll last for about 2 months.
4. What can I substitute for eggnog?
You can use a mix of milk or cream with spices (like nutmeg and cinnamon) for a homemade eggnog taste, if preferred.
Why You’ll Love It
These Eggnog Cheesecake Bars are not just a dessert; they’re a festive experience that brings joy and warmth to any gathering. The creamy texture combined with those classic holiday spices makes every bite feel like a celebration. Plus, they’re super easy to make and a great way to impress your friends and family!
Behind The Scenes
Developing this recipe was such a joy! I remember the first time I tried to get the perfect texture. I ended up with a pretty runny filling, and trust me, that was a mess! After some trial and error, I finally found the right balance of ingredients that made these bars rich yet light. They became my go-to holiday dessert! I adore sharing bites of these bars with my friends and family. If you want more yummy ideas, check out my Pinterest page here. You’ll find a treasure trove of delicious recipes waiting for you!
These Eggnog Cheesecake Bars are sure to become a favorite at your holiday celebrations or casual get-togethers. Don’t be surprised if they disappear before you know it! Enjoy baking, and happy holidays!
Eggnog Cheesecake Bars
Ingredients
For the Crust
- 1 cup Graham cracker crumbs Feel free to swap with digestive biscuits if preferred.
- 1/2 cup Butter, melted Unsalted butter is preferred.
For the Filling
- 16 ounces Cream cheese, softened Make sure it's at room temperature for smooth blending.
- 3/4 cup Sugar Brown sugar can be used for added flavor.
- 2/3 cup Eggnog This is the star ingredient, giving festive flavor.
- 2 large Eggs They help bind the filling together.
- 1/2 teaspoon Nutmeg Essential for eggnog flavor.
- 1/2 teaspoon Cinnamon Adds warmth and depth.
- 1 teaspoon Vanilla extract Enhances overall flavor.
- 2 tablespoons Flour Helps with the structure of the filling.
Instructions
Preparation
- Preheat the oven to 350°F (175°C).
- In a mixing bowl, combine the graham cracker crumbs and melted butter. Stir until well-coated and press firmly into an 8x8-inch baking dish.
- In another bowl, beat together softened cream cheese and sugar until smooth and creamy. Add eggnog, eggs, nutmeg, cinnamon, vanilla extract, and flour. Mix until just combined.
- Pour the filling over the prepared crust and spread evenly.
- Bake in the preheated oven for about 25–30 minutes until edges are set, but the center has a slight jiggle.
- Let cool at room temperature, then chill in the fridge for at least 4 hours or overnight before slicing.