Table of Contents
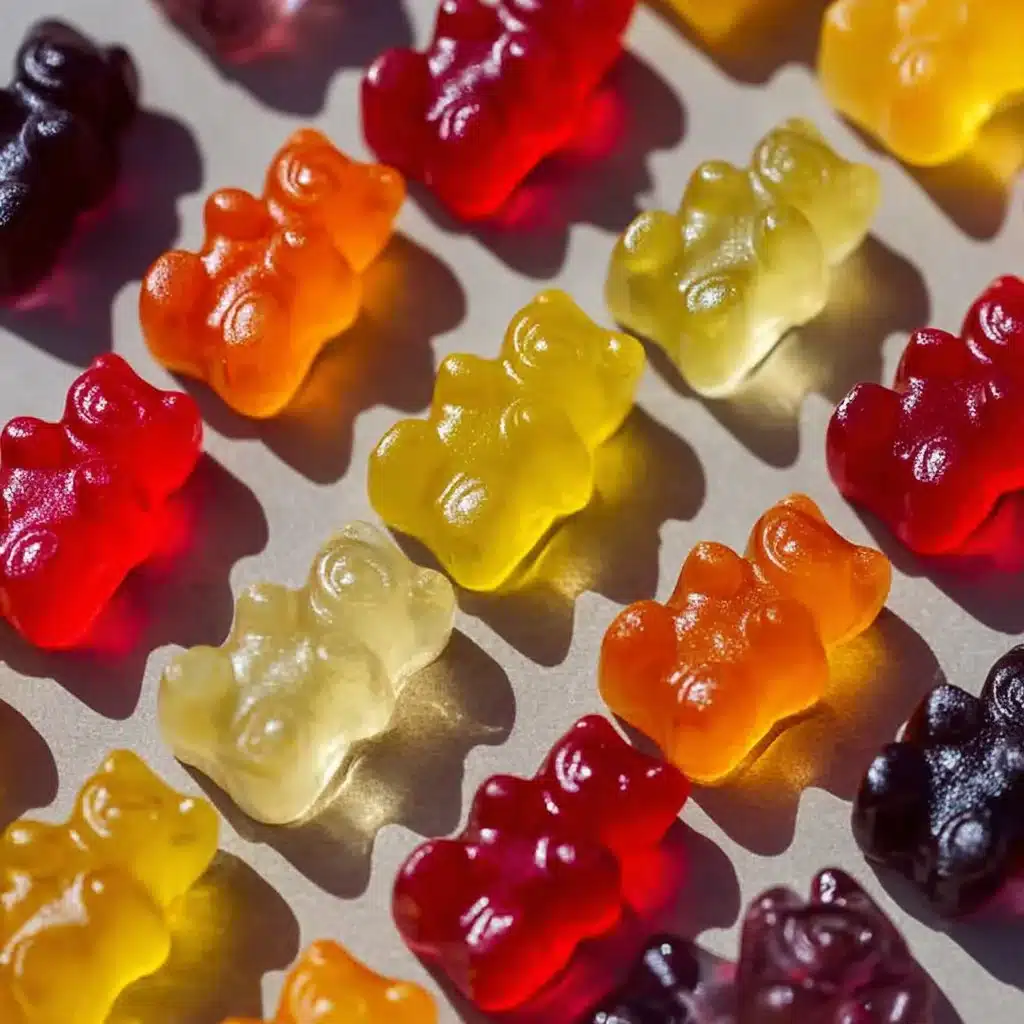
Homemade Gummies Fun Treat
Let’s talk about something that brings a bit of joy into our lives: homemade gummies! I often find myself reminiscing about childhood memories while enjoying these chewy, delightful snacks. Trust me, once you whip up this simple recipe, you’ll understand why they become your go-to treat. Not only are they fun to make, but you can also customize the flavors and colors to suit your mood. Do I hear a "yes, please"? Let’s dive right in.
What Are Homemade Gummies?
Homemade gummies are soft, chewy candies that you can make right in your own kitchen. Unlike store-bought versions, you have complete control over the ingredients, which means no weird preservatives or artificial flavors sneaking into your snacks. Making these treats is a fun project, whether you’re crafting them for a birthday party or just a cozy night in. Plus, they’re a hit for kids and adults alike!
Ingredients Overview for Homemade Gummies
Here’s what you’ll need to create your delicious gummies. These ingredients are easy to find, and I promise, you won’t need a chemistry degree to whip them up!
- Fruit Juice: The base for your gummies. Use 100% juice like apple, orange, or berry for natural sweetness. You can even mix flavors!
- Gelatin: This is what gives your gummies the perfect chewy texture. Look for unflavored gelatin; it’s super versatile.
- Honey or Maple Syrup: A natural sweetener that can enhance flavor and add a touch of stickiness.
- Citric Acid: Optional, but it gives that delightful tang we love in sour gummies. You can find it in the baking aisle or online.
- Molds: Silicone molds work best for easy release. They come in all shapes and sizes.
Step-by-Step Instructions for Homemade Gummies
Making homemade gummies is straightforward and fun, almost like a mini science experiment!
- Bloom the Gelatin: Start by combining the fruit juice and gelatin in a small saucepan. Let it sit for about 5 minutes to bloom.
- Heat the Mixture: Place the saucepan over medium heat. Stir until the gelatin completely dissolves. Be careful not to let it boil.
- Add Sweetener: Once the gelatin is dissolved, mix in your honey or maple syrup, adjusting it to taste.
- Optional Add-ins: If you’re feeling adventurous, add citric acid for that zingy flavor.
- Pour into Molds: Carefully pour the mixture into your molds using a dropper or small pitcher for precision.
- Chill and Set: Place the filled molds in the refrigerator for about 2 to 3 hours until set.
- Pop Them Out: Once set, gently remove the gummies from the molds.
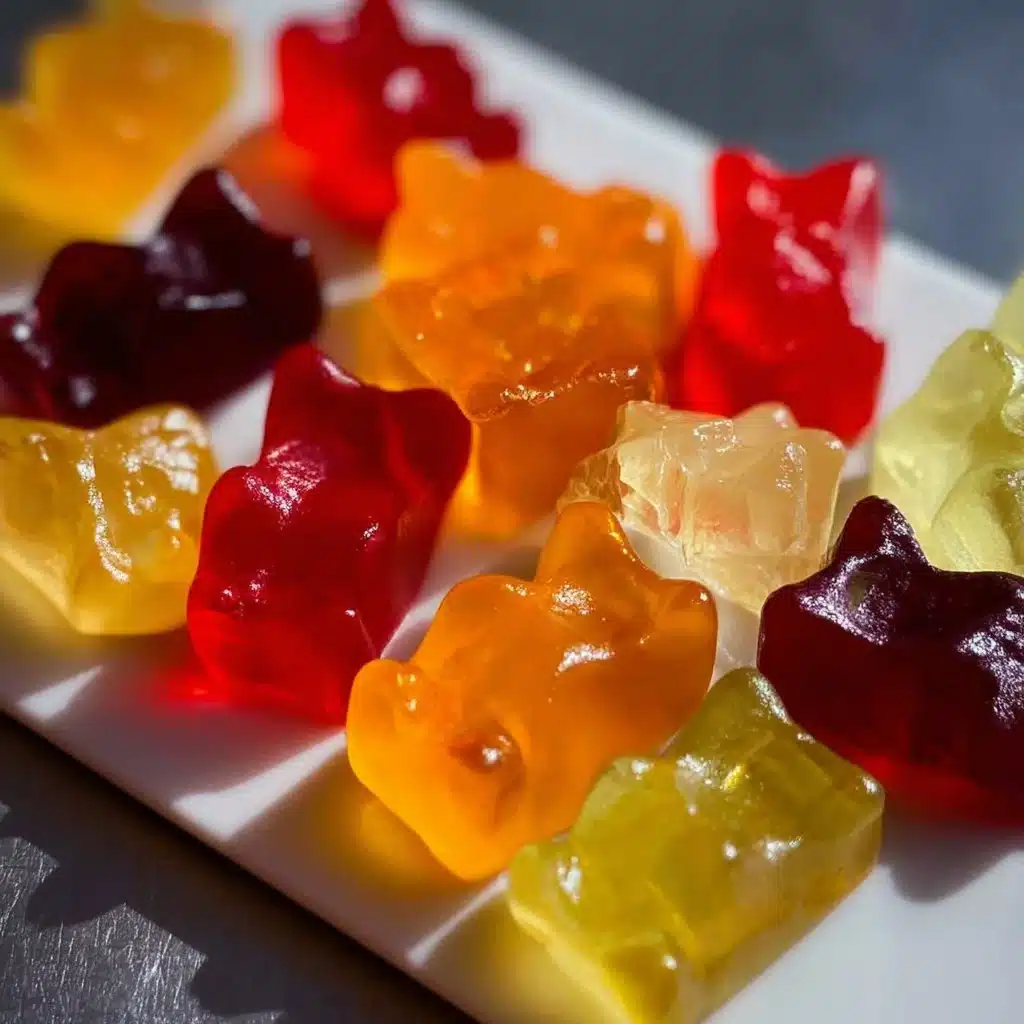
Serving Suggestions
These gummy treats are perfect for any occasion! You can tuck them into lunchboxes, serve them at parties, or just enjoy them as a treat while binge-watching your favorite series. I love sharing them with friends, especially during game nights – they add that fun, nostalgic touch. Plus, they make great homemade gifts!
Tips For The Perfect Homemade Gummies
- Careful on the Heat: Keep the heat low when melting your mixture. You want to dissolve, not boil.
- Experiment with Flavors: Try different juice combinations for unique flavors. Pineapple-mango? Yes, please!
- Mold Variety: Change up the shapes depending on the season. Hearts for Valentine’s, spooky shapes for Halloween!
- Storage: Keep your gummies in an airtight container in the fridge. They can last a week or two (if they last that long!).
Q&A Section
1. Can I use fresh fruit instead of juice?
Definitely! Just mix the fresh fruit in a blender and strain it to get the juice. It might take a little extra time, but the flavor is so fresh!
2. How do I make them vegan?
Swap out gelatin for agar-agar, a plant-based alternative. The texture will differ slightly, so be sure to follow the package instructions.
3. Can I use sweeteners other than honey?
Of course! Maple syrup, agave, or stevia can also work well. Each will give a slightly different flavor, so play around with what you like.
4. What if my gummies are too sticky?
If they’re a bit tacky, toss them in some cornstarch or arrowroot powder lightly to add a bit of dryness.
Why You’ll Love it
These homemade gummies are not just a fun project; they are a treat you can feel good about indulging in! With natural ingredients, you know exactly what you’re eating. So, whether it’s for a gathering, a snack for after school, or a sweet pick-me-up for movie night, homemade gummies hit the spot every time!
Behind The Scenes
When I first started making homemade gummies, I stumbled through a few batches. Some turned out too hard, while others were too soft and a bit wobbly. But with a bit of persistence, I found my groove. Now, I’m sharing my perfect recipe with you! Don’t be afraid to make this your own. I’ve pinned several variations and ideas for gummies on my Pinterest page to spark more creativity in your gummy-making journey. Check it out here.
Making your own homemade gummies is not only gratifying but such a delightful way to unleash your inner child. So grab your ingredients and molds, and let’s get started on this sweet adventure together!
Homemade Gummies
Ingredients
Main Ingredients
- 1 cup 100% fruit juice (like apple, orange, or berry) Use any natural juice of your choice.
- 2 tablespoons unflavored gelatin This gives the gummies their chewy texture.
- 2 tablespoons honey or maple syrup Adjust based on your preference for sweetness.
- 1 teaspoon citric acid Optional for a sour flavor.
- 1 set silicone molds Choose shapes you like for the gummies.
Instructions
Preparation
- Combine the fruit juice and gelatin in a small saucepan and let it sit for about 5 minutes to bloom.
- Heat the mixture over medium heat, stirring until the gelatin completely dissolves without boiling.
- Mix in your sweetener (honey or maple syrup) and adjust to taste.
- If desired, add citric acid for a tangy flavor.
- Carefully pour the mixture into your molds using a dropper or small pitcher.
- Refrigerate the filled molds for about 2 to 3 hours until the gummies have set.
- Once set, gently remove the gummies from the molds.