Let me tell you, kataifi chocolate bar is officially my new obsession. The moment I took a bite, I was honestly surprised by how crunchy, flaky, and chocolate-packed these bars turned out. If you’re a chocolate lover, get ready for a treat that’s fun to make and even more fun to eat. Every bite is an explosion of buttery kataifi pastry wrapped around a sweet, melty chocolate center, and trust me, you’ll find yourself craving another one as soon as you finish the first. Kataifi chocolate bars are the snack you didn’t know you needed, and now I’m here to share everything you need to know so you can whip them up, too!
Table of Contents
What Is Kataifi Chocolate Bar?
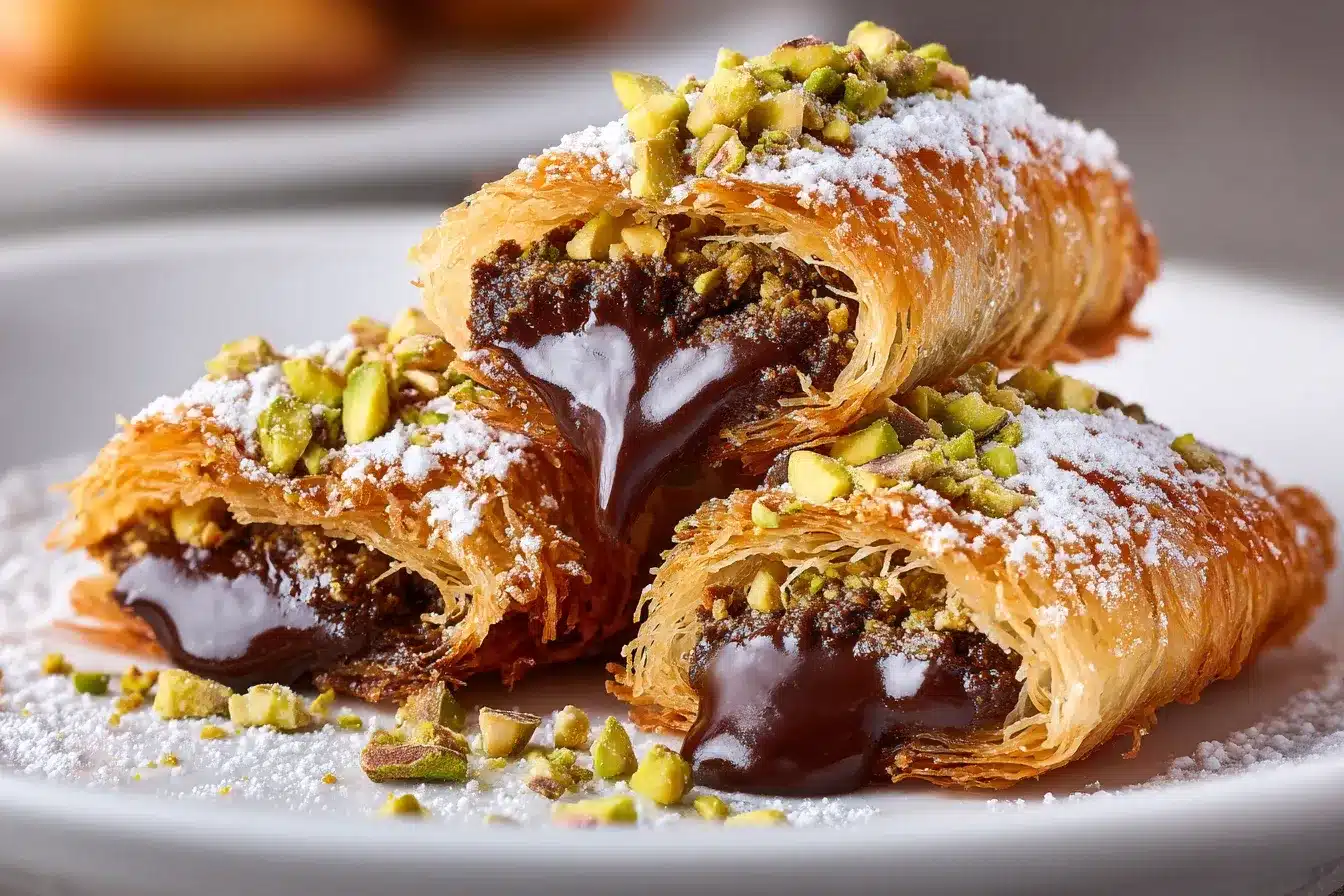
Kataifi chocolate bar is like a fancy bakery treat you can make right at home, even if you’ve never touched kataifi dough before. Kataifi is that shredded filo pastry you might have seen in Middle Eastern desserts like kunafa, and it bakes up so crisp, you’ll hear that irresistible crunch before you even taste it. Now, imagine that dough rolled around chunks of your favorite chocolate (seriously, go wild, milk, dark, or white), brushed with melted butter, and baked to golden perfection. The inside stays gooey and chocolatey, while the outside turns into this delicate, crunchy shell that’s just impossible to resist. It’s basically the snack version of kataifi with pistachios, but with a massive chocolate twist.
Why You’ll Love This Kataifi Chocolate Bar
If you’re anything like me, you love desserts that don’t take forever to make but still feel special. That’s why kataifi chocolate bar is a total game changer. Here’s why you’ll be obsessed:
- Flavor: The combo of crispy pastry and smooth chocolate is next-level. Each bite is buttery, rich, and absolutely delicious.
- So Easy: There’s nothing complicated here. Using store-bought kataifi dough means you can have these bars ready in under an hour, way easier than tackling fancy cakes or pies.
- Fun to Customize: Swap in your favorite chocolate, toss in some nuts, or add a dash of sea salt for a surprising twist. It’s all about making this recipe your own.
- Impressive Presentation: These bars look like something from a bakery window, especially if you arrange them with a dusting of powdered sugar or a handful of crunchy pistachios.
Making this treat is a lot like crafting almond croissant cookie bars, familiar ingredients, but the result feels super fancy.
How to Make Kataifi Chocolate Bar
Quick Overview
Ready to get baking? You’ll thaw your kataifi, wrap chocolate inside, brush with butter, and bake until golden. From start to finish, you’ll be munching in less than 40 minutes!
Ingredients Overview
- Kataifi Dough: Found in the freezer at most Mediterranean or specialty stores. Want to try something similar with a nutty touch? Check out pistachio kataifi chocolate bars.
- Chocolate: Any bar or chips work, milk, dark, or white. Pick what makes your heart happy!
- Butter: For brushing and creating that irresistible crunch.
- Pistachios or Walnuts (optional): Sprinkle inside for a surprise crunch, or on top for a gorgeous finish.
- Honey or Syrup (optional): Drizzle after baking for a glossy, sweet touch, inspired by desserts like calamansi pie.
- Extras: Try orange zest, cinnamon, or even a dash of flaky salt for something different.
Substitution Ideas: Swap butter for coconut oil for a dairy-free version, use vegan chocolate, or play with different nuts like almonds or hazelnuts. You could even go a little wild and add a thin spread of fruit compote inside before rolling!
Step-by-Step Instructions
- Thaw and Fluff Kataifi Dough: Let your dough come to room temp, then gently separate the strands with your fingers so there are no clumps.
- Melt the Butter: Pop it in the microwave or melt on the stove, then keep it nearby for brushing.
- Fill and Roll: Lay out some kataifi, brush with butter, place chocolate in the center, and roll it up tight like a little pastry burrito.
- Add Extras: Sprinkle with pistachios, a little honey, or even some simple fruit compote for extra fun.
- Arrange on Baking Sheet: Place on a parchment-lined sheet, seam-side down.
- Brush with More Butter: Don’t be shy, this makes the bars super crunchy.
- Bake: 350°F (175°C) for about 25 minutes, until golden and crisp.
- Finish with a Drizzle: (Optional) Honey or syrup makes these feel a bit extra, totally worth it!
- Cool, Slice & Enjoy: Let them cool for at least 10 minutes before cutting. (If you can wait that long!)
Helpful Tips & Customizations
- Don’t skip fluffing the kataifi dough! It makes your bars extra light and crispy.
- Use high-quality chocolate, whatever melts best will make your bars oozy and rich. If you’re curious, here’s a great how-to-melt-chocolate guide.
- Want smaller treats? Cut your rolled-up bars before baking for bite-sized pieces, just like no-bake strawberry pretzel bars.
- Feeling creative? Swirl some lemon loaf cake flavor or orange zest into the butter for a unique twist.
- To keep leftovers super fresh, peek at these tips for storing baked goods.
Serving Suggestions

Presentation is half the fun! Stack these bars high on a pretty plate, dust with powdered sugar, and serve with Turkish coffee or black tea. Want dessert for brunch? Arrange your bars with mango crepe cake and some juicy berries for an epic dessert board. For a summer twist, pair with 3-ingredient watermelon sorbet. Honestly, there’s no wrong time to serve them, even breakfast, no one’s judging here.
FAQs About Kataifi Chocolate Bar
Can I use homemade kataifi dough?
You totally can, but store-bought is much faster. Want to try your hand at homemade dough? This recipe is a good place to start!
What chocolate is best?
Pick what you love! Milk, dark, or white all melt beautifully. Just avoid anything with too many add-ins that might make slicing tricky.
How do I store them?
Let bars cool fully, then keep them in an airtight container at room temp for up to four days. For longer storage, freeze them (just like you would with other baked goods).
Is this gluten-free?
Regular kataifi has wheat, but you might find gluten-free options at specialty stores or online.
Can I make it vegan?
Absolutely! Use coconut oil instead of butter and your favorite dairy-free chocolate.
Conclusion
See how easy that was? Kataifi chocolate bar is that stunning, bakery-style treat you can whip up with just a few simple ingredients. Whether you keep it classic or toss in some extra flavors, every batch turns out delicious and full of crunchy, chocolatey goodness. The best part? You can totally make them your own with fun customizations or even serve them up at your next party for major wow factor. For more chocolate inspiration, don’t forget to scroll through our Pinterest page for daily dessert ideas. Let’s get baking and make snack time a little more spectacular!

Kataifi Chocolate Bar
Equipment
- Baking sheet Lined with parchment
- Pastry Brush For brushing melted butter
- Knife For slicing
- small bowl For melting butter
Ingredients
- 10 oz Kataifi dough Thawed, separated/fluffed
- 5 oz Chocolate (bars/chips) Milk, dark, or white; chopped or whole
- 4 tbsp Butter Melted
- 1/2 cup Pistachios/Walnuts Chopped, optional
- 2 tbsp Honey or syrup For drizzling, optional
- 1 tsp Orange zest Optional, for a flavor kick
- 1/4 tsp Cinnamon Optional, for warmth
- 1 pinch Flaky sea salt Optional, on top
Instructions
- Thaw kataifi dough and gently fluff the strands to separate.
- Melt butter in a small bowl; have it ready for brushing.
- Lay out a portion of kataifi, brush lightly with melted butter.
- Place a piece of chocolate in the center, sprinkle with nuts or zest if using.
- Roll dough around the filling, forming a neat bar shape.
- Place each bar seam-side down on a parchment-lined baking sheet.
- Brush tops with more melted butter.
- Bake at 350°F (175°C) for 25 minutes until golden and crisp.
- Drizzle with honey or syrup, sprinkle with sea salt if desired.
- Cool for 10 minutes before slicing and serving.
Notes
Try white, milk, or dark chocolate, or a mix for a surprise inside.
Store leftovers in an airtight container at room temp for up to 4 days, or freeze for later.
Play with spices, cardamom or even a little espresso powder make fun twists!