If you’re looking for a surefire way to make your dessert look fancy (with almost zero effort), building layers in no-bake dessert is the trick you need. Those beautiful, Instagram-worthy parfaits, bars, and trifles aren’t just for pro bakers! You can create impressive layers at home with these easy tips. Let’s break down how to master building layers in no-bake dessert, so your treats taste, and look. amazing every time.
Why Layers Matter in No-Bake Dessert
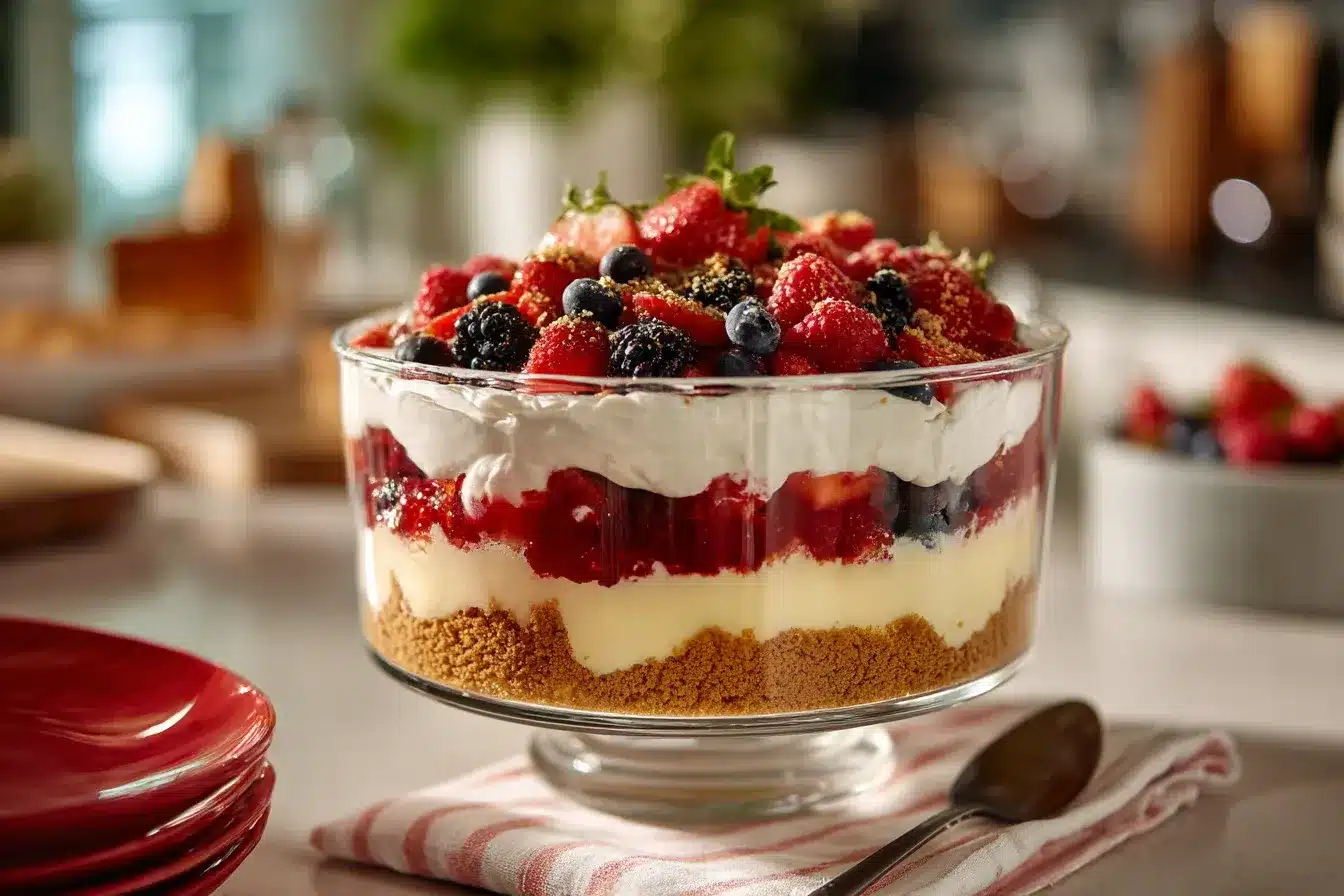
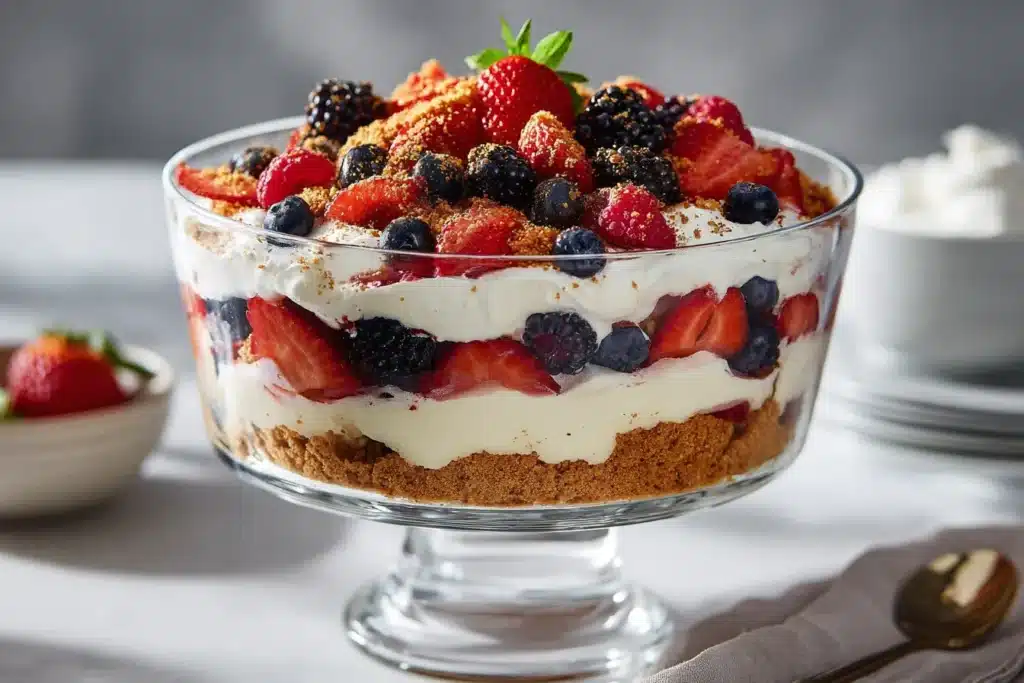
Let’s be honest, nothing catches the eye like a dessert with perfect, distinct layers. But building layers in no-bake dessert is more than just a pretty face. It’s about combining different textures and flavors in every bite. Imagine the crunch of a cookie crust, the creaminess of a mousse, and the sweet-tart pop of fruit, all stacked up, ready to make your spoon (and your taste buds) happy!
If you need a little inspiration, try these No-Bake Strawberry Pretzel Bars or the fun No-Bake Banana Split Dessert.
The Basics of Building Layers in No-Bake Dessert
Ready to get started? Here’s how to nail those gorgeous layers every time.
1. Choose the Right Base
Most no-bake desserts start with a solid foundation. Think cookie crumbs, graham crackers, or even pretzels. Mix with melted butter, then press it firmly into your pan or glass. Chill for at least 20 minutes so your base doesn’t get soggy when you add the next layer. A sturdy crust is key when building layers in no-bake dessert!
2. Get Creamy
The next layer is usually something creamy, whipped cream, pudding, no-bake cheesecake, or mousse. Spread it gently and evenly, using an offset spatula or the back of a spoon. Pro tip: If your creamy layer is too runny, it’ll bleed into your crust and ruin the look. Make sure it’s thick enough to hold its shape. This is a game-changer for building layers in no-bake dessert that don’t turn into a big blur.
3. Add Fruit or Jam
Fresh fruit, compote, or a fruity jam not only adds color and flavor but also keeps things light. Try swirling in a little Simple Fruit Compote between layers for a pretty pop and extra sweetness.
4. Repeat (But Don’t Rush!)
Layering is all about patience. Chill each layer before adding the next if you want sharp, clean lines. Even 10–15 minutes in the freezer can help your layers set. When building layers in no-bake dessert, a little chill goes a long way for those Instagrammable results.
5. Finish Strong
Top it all off with a final swirl of whipped cream, a sprinkle of cookie crumbs, or a drizzle of chocolate. Garnish with fresh berries or a few nuts for texture. If you want to go big, check out No-Bake Tres Leches for ultimate creamy vibes!
Extra Tips for Building Layers in No-Bake Dessert
- Glass is your friend: Show off those layers in clear dishes or mason jars.
- Use a piping bag: For the neatest look, pipe creamy layers instead of spooning.
- Go bold with color: Alternate light and dark layers for the prettiest effect.
- Don’t forget flavor: Building layers in no-bake dessert isn’t just about looks, play with sweet, salty, tangy, and crunchy!
Quick Layering Ideas to Try
- Graham cracker crust + cheesecake filling + berry compote = dreamy bars
- Crushed cookies + chocolate pudding + whipped cream = instant parfaits
- Pretzel crust + peanut butter mousse + chocolate ganache = salty-sweet heaven
Final Thoughts
Building layers in no-bake dessert is fun, easy, and always makes an impression. With a little planning and a few simple tricks, you’ll turn simple ingredients into show-stopping sweets, no oven required! Next time you want to wow your friends or just treat yourself, stack up those flavors and dig in. Your spoon (and your followers) will thank you.
For food tips, fresh updates, and drool-worthy dessert ideas, be sure to follow along on Pinterest