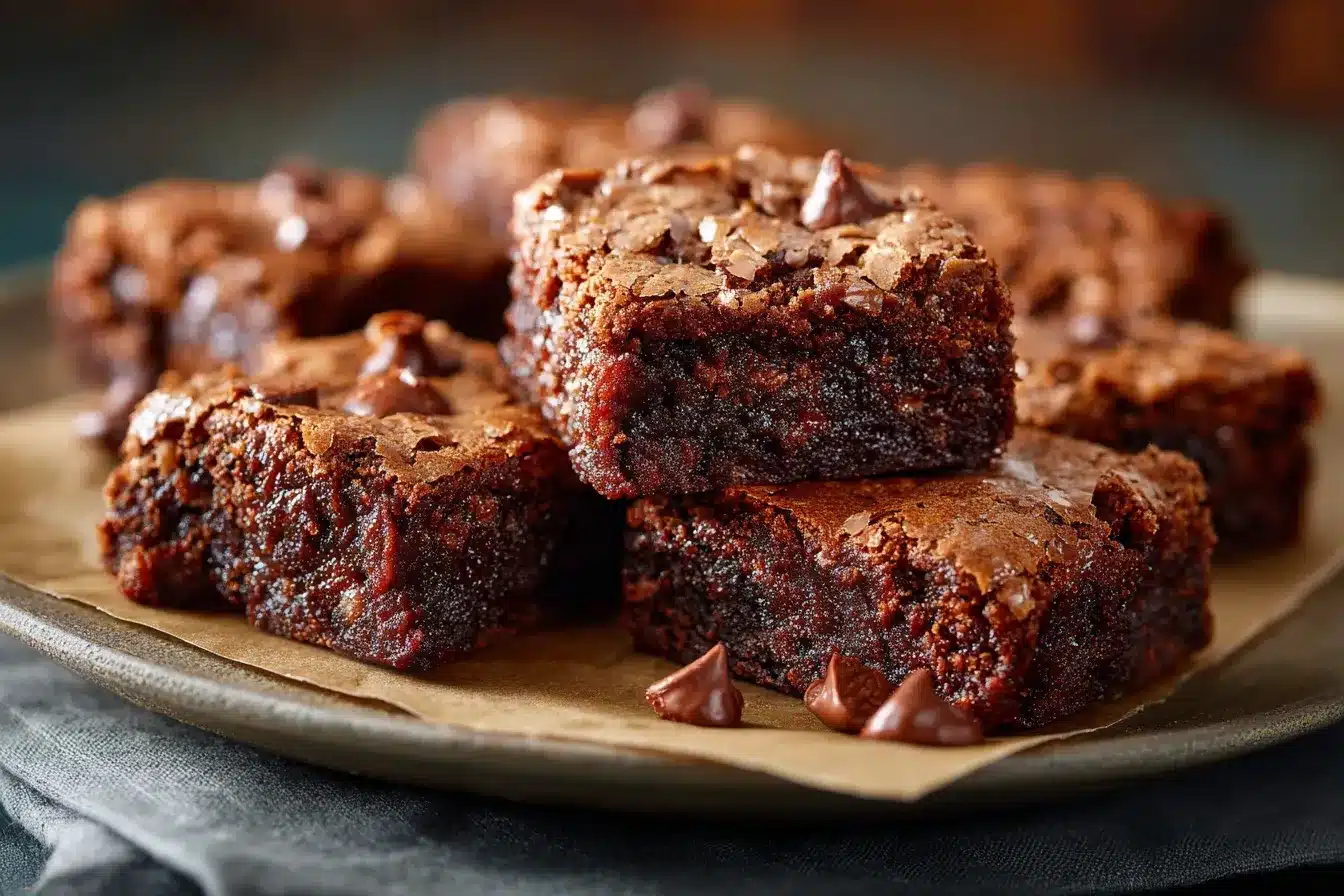
Honestly, Mochi desserts have my heart, and the chewy chocolate mochi brownies I’m sharing today land in that same cozy lane as these ube mochi brownies. Because I’m a texture girlie, I crave that bouncy chew with a fudgy chocolate vibe, and this pan nails it with minimal fuss. And I love how the edges get a gentle crisp while the middle stays delightfully gooey. So whether you’re new to Mochi desserts or already obsessed, this recipe is your sweet spot.
Table of Contents
What Exactly Are Chewy Chocolate Mochi Brownies?
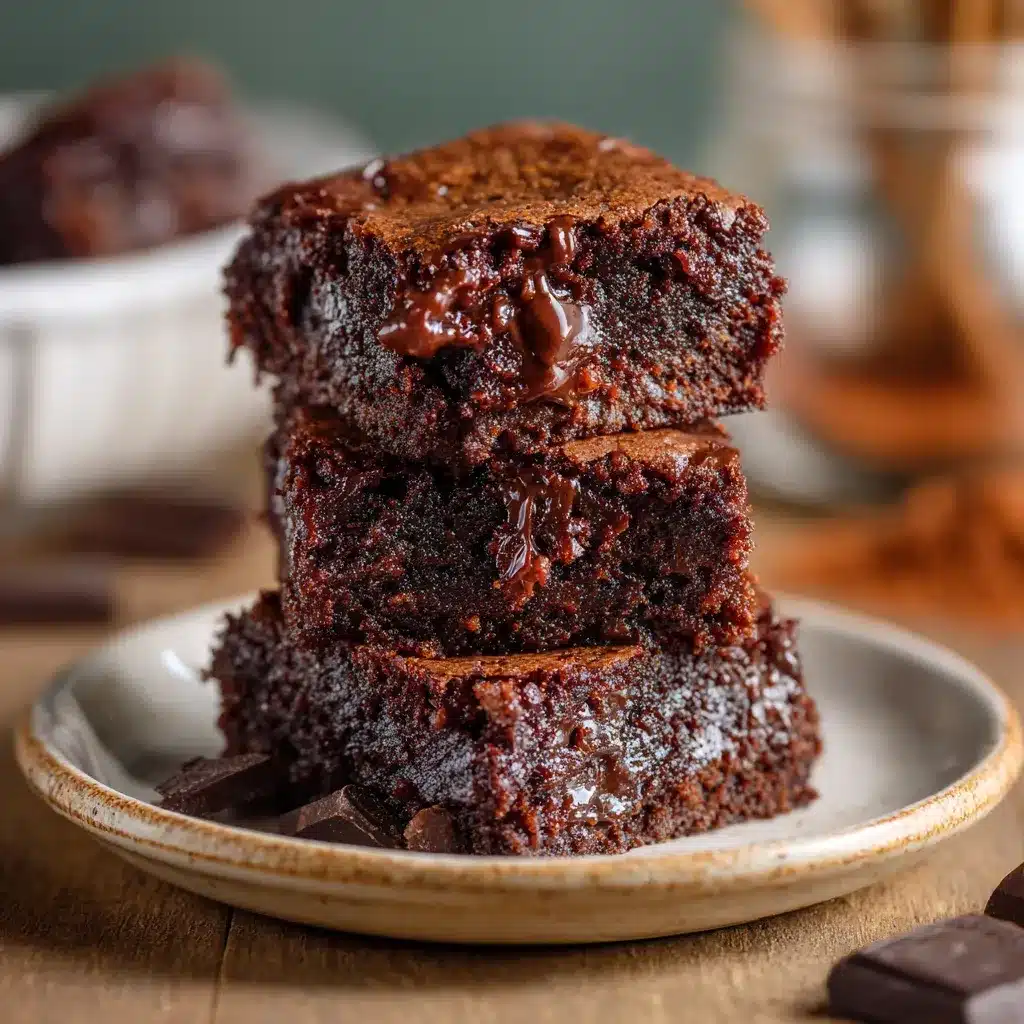
Basically, they’re a mash-up of brownies and butter mochi, which sits right at the playful center of Mochi desserts. Because the batter uses glutinous rice flour, you get a stretchy, chewy crumb that’s rich like a brownie but springy like mochi. And the cocoa plus melted chocolate gives it that deep, chocolatey mood we all want in a square. So if you’re curious about other flavor twists in Mochi desserts, the ube path is super fun, and you can peek at ube brownies for inspiration.
What You’ll Need: Ingredients Overview
Here’s the deal. You only need pantry basics plus sweet rice flour to get that signature chew you find in Mochi desserts. And because cocoa and chocolate both show up, the flavor tastes full without being heavy. Also, I love that the batter is whisk-only, so cleanup is easy. Since chocolate melting trips people up sometimes, the step feels simple with this guide on how to melt chocolate. And for flavor pairings, think matcha, ube, or even fruit swirls since Mochi desserts play well with bold colors and creamy toppings.
- Sweet rice flour (glutinous rice flour, like Mochiko): This is the must-have for chew; regular rice flour will not work. And if you’re curious why, this guide on alternative flours explains how different flours behave.
- Cocoa powder: For deep chocolate notes. And natural or Dutch-process both work here.
- Dark chocolate chips or chopped chocolate: Melted into the batter for extra fudginess. Also, you can skim chocolate melting tips if your bowl overheats easily.
- Unsalted butter: Adds richness and that butter mochi vibe. Or swap with coconut oil for a light coconut aroma.
- Granulated sugar: Sweetens and helps with glossy tops. And you can mix in a little brown sugar for a hint of caramel.
- Eggs: Bind the batter and add tenderness. If you’re egg-free, this guide on how to substitute eggs in baking helps you pick a reliable swap.
- Coconut milk (full fat): Lush texture and light tropical notes. Or use whole milk for a more neutral taste.
- Vanilla extract: Balances the cocoa and adds warmth.
- Salt: Sharpens the chocolate so every bite pops.
- Instant espresso powder (optional): Boosts chocolate depth without tasting like coffee.
- Chocolate chunks for topping (optional): For melty pools on top. And a sprinkle makes these Mochi desserts extra pretty.
- Cornstarch for dusting (optional): Helps with clean slicing if your knife sticks.
Step-by-Step Instructions
- Prep the pan: First, preheat the oven to 350°F and line an 8-inch square pan with parchment, letting it overhang for easy lifting. And a light spritz of oil helps the corners. Since we’re making Mochi desserts, that parchment really keeps the edges neat.
- Melt chocolate and butter: Next, place the butter and chocolate in a heat-safe bowl and gently melt until smooth. And if the bowl gets too hot, this refresher on how to melt chocolate saves the day. Because gentle heat gives you a glossy, silky base, the batter turns lush.
- Whisk the wet ingredients: Then whisk in sugar, eggs, vanilla, and coconut milk until glossy. And if you prefer vegan swaps, peek at plant-based dessert swaps and how to make vegan brownies so your Mochi desserts stay dreamy without eggs or dairy.
- Add the dry ingredients: Now sift in sweet rice flour, cocoa, salt, and espresso powder. And whisk just until smooth. Because overmixing isn’t really a thing here like with wheat flour, the batter stays friendly and thick, which is perfect for Mochi desserts.
- Pour and top: Then pour the batter into the pan and smooth it out. And scatter a few chocolate chunks on top if you want a bakery-style look.
- Bake: Now bake for 40 to 48 minutes, until the edges are set and the center has a slight jiggle. Because Mochi desserts firm up as they cool, take them out when the middle still looks a touch soft.
- Cool and slice: After baking, cool completely in the pan. Then lift out with the parchment and dust your knife with cornstarch for tidy slices. And if you like fruity toppings with Mochi desserts, a quick spoon of this simple fruit compote is lovely.
- Store or freeze: Finally, stash leftovers airtight at room temp for a day, or refrigerate up to 4 days. And for longer keep, this guide on how to store and freeze baked goods shows you exactly how to wrap Mochi desserts so they stay chewy.
Serving Ideas That Make Each Square Shine
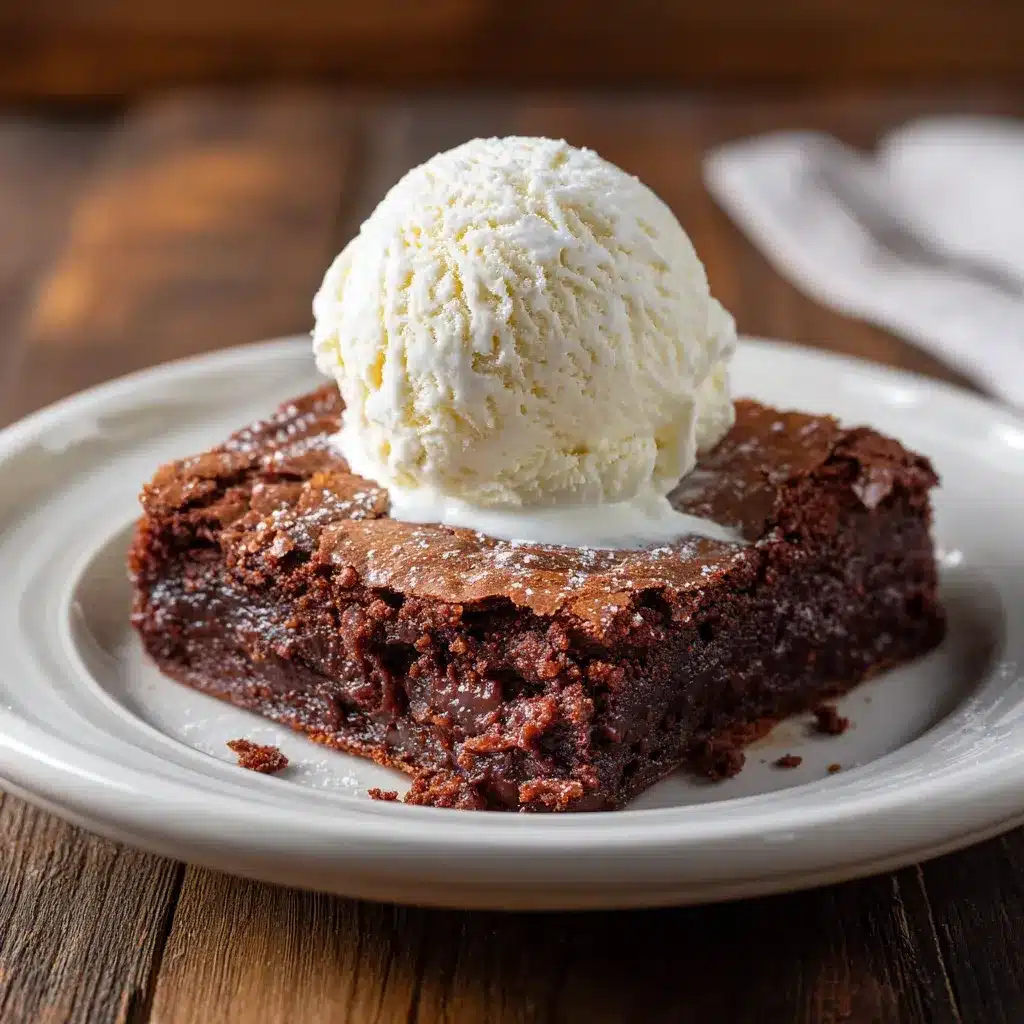
Honestly, a just-warm square with a scoop of vanilla ice cream is peak comfort. And for a fresh twist, a dollop of softly whipped cream from this quick tutorial on how to whip cream tastes so good against the chocolate. Plus, sliced strawberries, mango, or that bright fruit compote add color and balance. Because Mochi desserts love contrasts, the cool creamy topping and chewy base feel extra special. So for a party platter, cut bite-size squares and set them out with berries and mint.
Tips For Perfect Chocolate Mochi Brownies
- Use sweet rice flour only: Since Mochi desserts rely on glutinous rice flour for chew, regular rice flour won’t work. And this primer on alternative flours explains why.
- Don’t overbake: Because the center sets as it cools, pull the pan when the middle is slightly wobbly.
- Melt gently: Also, low heat prevents seized chocolate. And the steps in how to melt chocolate are foolproof.
- Flavor boosters: Plus, a pinch of espresso powder deepens cocoa without coffee flavor.
- Vegan-friendly tweaks: And plant-based butter and flax eggs hold up well, as covered in plant-based swaps. Because that keeps Mochi desserts accessible to more friends.
- Clean slices: Then chill the pan 20 minutes before cutting, and dust your knife with cornstarch.
- Storage notes: Finally, wrap pieces snugly and refer to freezing tips so they don’t dry out.
- Summer twist: Also, if it’s too hot to bake, keep cravings happy with practical no-bake dessert tips while you plan your next batch of Mochi desserts.
Q&A Section
Can I swap the sweet rice flour with something else?
Short answer, no. Because Mochi desserts get their signature chew from glutinous rice flour, regular rice or wheat flour won’t mimic the texture. And if you’re curious about why substitutions don’t match the bounce, the breakdown in alternative flours walks through starches and structure.
How do I make these dairy-free or vegan?
Easy. Use coconut oil or plant butter plus a reliable egg alternative like flax eggs. And to pick the best option for texture, this guide on how to substitute eggs in baking pairs nicely with vegan brownie tips. Because Mochi desserts stay bouncy even with dairy-free swaps, the results still taste amazing.
Why is my chocolate seizing or turning grainy?
Usually, water droplets or high heat are the culprits. So melt low and slow, and dry your bowl and tools well. And a quick skim of how to melt chocolate helps you keep it silky. Because smooth chocolate makes Mochi desserts glossy and rich.
Can I flavor the batter with ube or matcha?
Absolutely. Stir in a spoon or two of ube halaya or add matcha powder with the cocoa for a fun twist. And for ideas on getting that purple hue right, this guide on how to use ube in baking pairs with matcha ube cookies for color cues. Because riffing within Mochi desserts is half the fun.
Why You’ll Love This Recipe
First, the batter comes together in one bowl with simple steps, which is perfect for weeknights. And the chewy texture feels satisfying without being heavy. Plus, you can dress each square with cream, fruit, or a drizzle and call it dessert-ready. Because Mochi desserts hold up well for parties, the pan travels like a champ. And if chocolate isn’t your mood, the ube bars show where you can take this texture next.

More Recipe Ideas
- Ube Brownies – Soft, chewy, and purple-swirled cousins to these Mochi desserts, with a dreamy vanilla-coconut aroma.
- Matcha Ube Cookies – Earthy matcha meets creamy ube in a tender, colorful cookie that bakes up in minutes.
- No-Bake Mango Ice Cream Cheesecake – Bright, tropical, and creamy with zero oven time for a sunny dessert.
- No-Bake Strawberry Pretzel Bars – Sweet berry layers over a salty crunch for an easy fridge-friendly treat.
- Mango Tiramisu – Lush mascarpone and mango layers that feel light, silky, and celebration-ready.
Behind The Scenes
Truth time, my first test baked five minutes too long, and I learned quickly that carryover heat matters with chewy batters. So on round two I pulled the pan when the center still looked a bit soft, and the squares set perfectly. And I tried a swirl of ube halaya after reading tips in this ube brownie guide, which made the batch extra cute. For more kitchen peeks and step shots, I share them on Pinterest at MyRecipeCast. Because good Mochi desserts are all about practice, patience, and a happy dance at the oven.

Chewy Chocolate Mochi Brownies
Equipment
- 8-inch square baking pan
- Parchment paper
- Heatproof bowl
- Whisk
- Spatula
- Knife dust with cornstarch for clean cuts
Ingredients
- 1 1/2 cups sweet rice flour (glutinous rice flour, like Mochiko)
- 1/2 cup unsweetened cocoa powder
- 1 cup dark chocolate chips or chopped chocolate
- 1/2 cup unsalted butter
- 1 1/4 cups granulated sugar
- 3 large eggs
- 1 cup coconut milk (full fat, or whole milk)
- 1 tsp vanilla extract
- 1/2 tsp salt
- 1 tsp instant espresso powder, optional
- 1/2 cup chocolate chunks, optional topping
- cornstarch, optional for dusting knife
Instructions
- Preheat oven to 350°F (175°C). Line an 8-inch square pan with parchment, leaving overhang for easy lifting. Lightly oil corners.
- In a heatproof bowl, melt butter and chocolate gently until smooth. Stir well.
- Whisk in sugar, eggs, vanilla, and coconut milk until glossy.
- Sift in sweet rice flour, cocoa powder, salt, and espresso powder (if using). Whisk until smooth.
- Pour batter into prepared pan. Smooth top and scatter optional chocolate chunks.
- Bake 40–48 minutes, until edges are set but center still jiggles slightly. Cool completely in pan.
- Lift out with parchment. Dust knife with cornstarch for clean slices. Cut into squares and serve.