There’s something magical about pie crust designs. They’re like the finishing touch of a great outfit—the detail that takes your pie from “aww, cute” to “WOW, did you actually make that?!” Growing up, I loved sneaking into the kitchen while my mom rolled out dough, watching her pinch and twist the edges like she was crafting jewelry instead of baking dessert. Today, I’m sharing how you can create those same show-stopping pie crust designs without needing a pastry degree.
Table of Contents
What Are Pie Crust Designs?
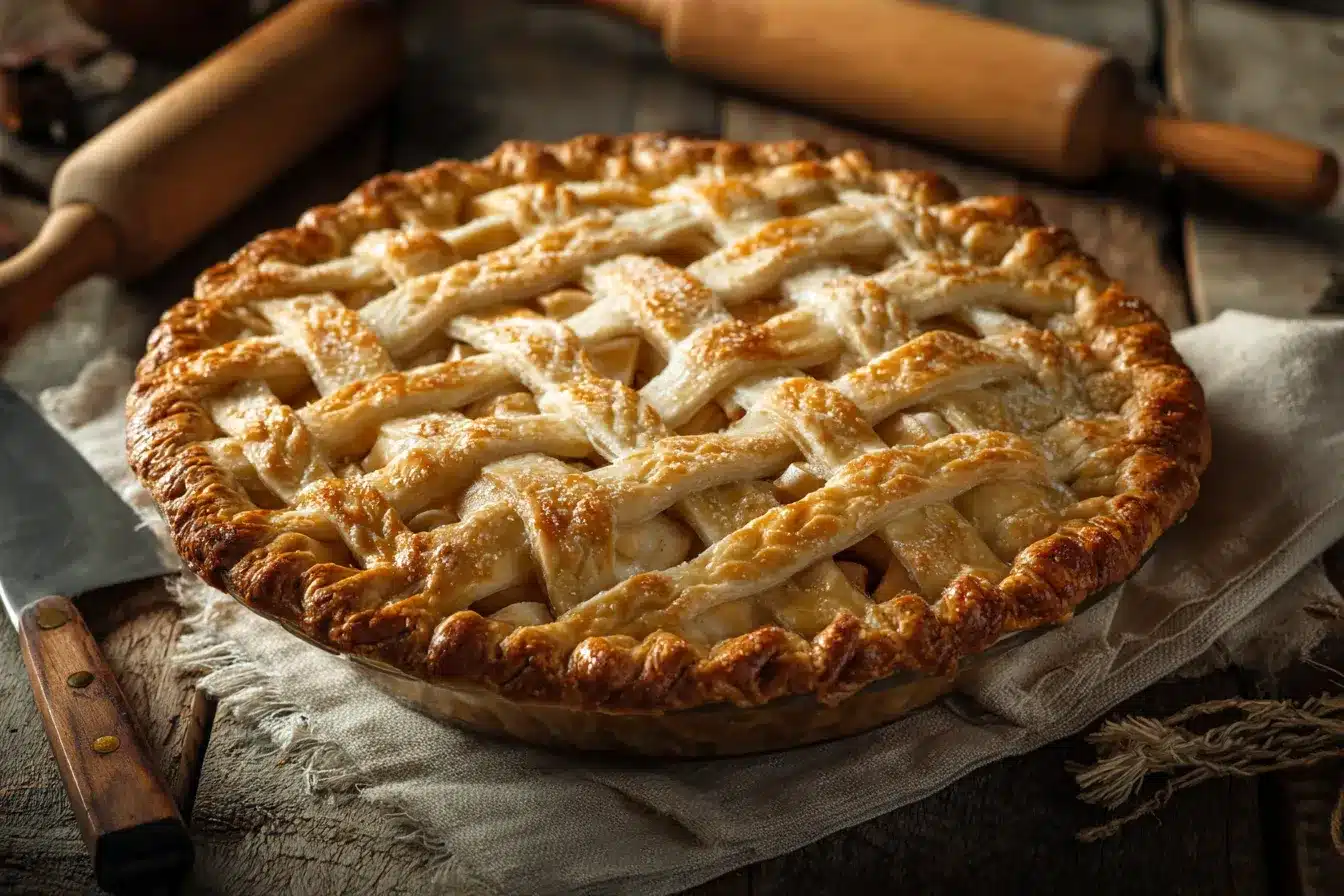
In the simplest terms, pie crust designs are the decorations you add to the edge or top of your pie before baking. Think crimped edges, lattices, braids, or even cut-outs shaped like hearts or leaves. They turn your pie into an edible centerpiece and make every slice feel a little more special. The best part? You don’t need fancy tools—just a little dough, a rolling pin, and maybe some cookie cutters.
If you love playing around in the kitchen, you’ll adore experimenting with different looks. And trust me, even if your first braid looks more like a doughy rope, it’ll still taste delicious.
Why Pie Crust Designs Matter
Here’s the thing: pie is already comforting and delicious, but pie crust designs add an extra sprinkle of joy. They:
- Make your pie look bakery-worthy.
- Add texture (flaky lattice vs. buttery cut-outs = yum).
- Turn holiday pies into festive showstoppers.
- Give you a fun way to express creativity in the kitchen.
Just like my pumpkin pie or calamansi pie recipes, the design can make your pie feel cozy, seasonal, or even a little fancy.
Basic Tools You’ll Need
- Rolling pin: For flattening dough evenly.
- Pastry wheel or sharp knife: For strips, braids, or neat edges.
- Cookie cutters: Perfect for leaf, star, or heart shapes.
- Fork or spoon: For easy crimping and simple edges.
- Egg wash: That shiny golden glow doesn’t happen on its own!
Optional: sprinkle sugar on top for a sweet crunch (seriously, it’s life-changing).
Step-by-Step: How to Create Stunning Pie Crust Designs
- Chill Your Dough – Cold dough = sharp designs. Pop it in the fridge if it gets soft.
- Roll Evenly – About 1/8-inch thick is your sweet spot.
- Pick a Design – Try:
- Lattice: Weave strips over your filling.
- Braided edge: Twist three thin ropes together for a chic border.
- Cut-outs: Use cookie cutters to make fun toppers.
- Fork crimping: The easiest beginner-friendly edge.
- Attach with Egg Wash – A quick brush helps decorations stick and bake golden brown.
- Bake & Cool – Follow your pie recipe, and admire your masterpiece when it’s golden and flaky.
Want extra inspo? My 4th of July pie uses stars for a patriotic touch—super fun for summer gatherings.
Tips for Success
- Prevent burning: Cover the edges with foil halfway through baking.
- Flavor boost: Sprinkle cinnamon sugar or zest before baking.
- Double layers: Overlap cut-outs for a 3D look.
- Savory pies: Try herbs or parmesan sprinkled on the crust.
Serving Suggestions
Once baked, your pie deserves the spotlight. Place it on a cake stand, dust the top with powdered sugar, and let those designs shine. Pair sweet pies with a scoop of vanilla ice cream or drizzle of caramel. For savory pies, a crisp salad makes the perfect partner.
FAQs About Pie Crust Designs
u003cstrongu003eCan I use store-bought dough?u003c/strongu003e
Yes! Just chill it before shaping so it doesn’t stretch.
u003cstrongu003eHow do I stop my designs from burning?u003c/strongu003e
Foil or a pie shield will save your edges.
u003cstrongu003eWhat’s the easiest design for beginners?u003c/strongu003e
Fork crimps or cut-outs are foolproof.
u003cstrongu003eCan I color my dough?u003c/strongu003e
Yes! A brush of beet juice or food coloring adds natural flair.
Conclusion
Pie crust designs are the secret to turning a simple dessert into a work of art. Whether you go for a rustic lattice or a polished braid, the fun is in the process (and the eating, of course). So grab that dough, roll it out, and let your creativity shine, I promise your family will be just as impressed as they are full.
For more dessert inspiration, check out my tips on how to make meringue or try my berry crumble recipe for a fruity twist! follow along on my Pinterest where I share daily kitchen adventures.
Pie Crust Designs
Ingredients
Basic Tools
- 1 Rolling pin For flattening dough evenly.
- 1 Pastry wheel or sharp knife For strips, braids, or neat edges.
- 1 Cookie cutters For shaping decorative cut-outs.
- 1 Fork or spoon For crimping edges.
- 1 egg Egg wash For making the crust golden.
- 1 tbsp Sugar Optional, for sprinkling on top.
Instructions
Preparation
- Chill Your Dough – Cold dough = sharp designs. Pop it in the fridge if it gets soft.
- Roll Evenly – Roll the dough to about 1/8-inch thick.
- Pick a Design – Choose between lattice, braided edge, cut-outs, or fork crimping.
- Attach with Egg Wash – Brush the dough with egg wash to help decorations stick.
- Bake & Cool – Follow your pie recipe and let your pie cool after baking.