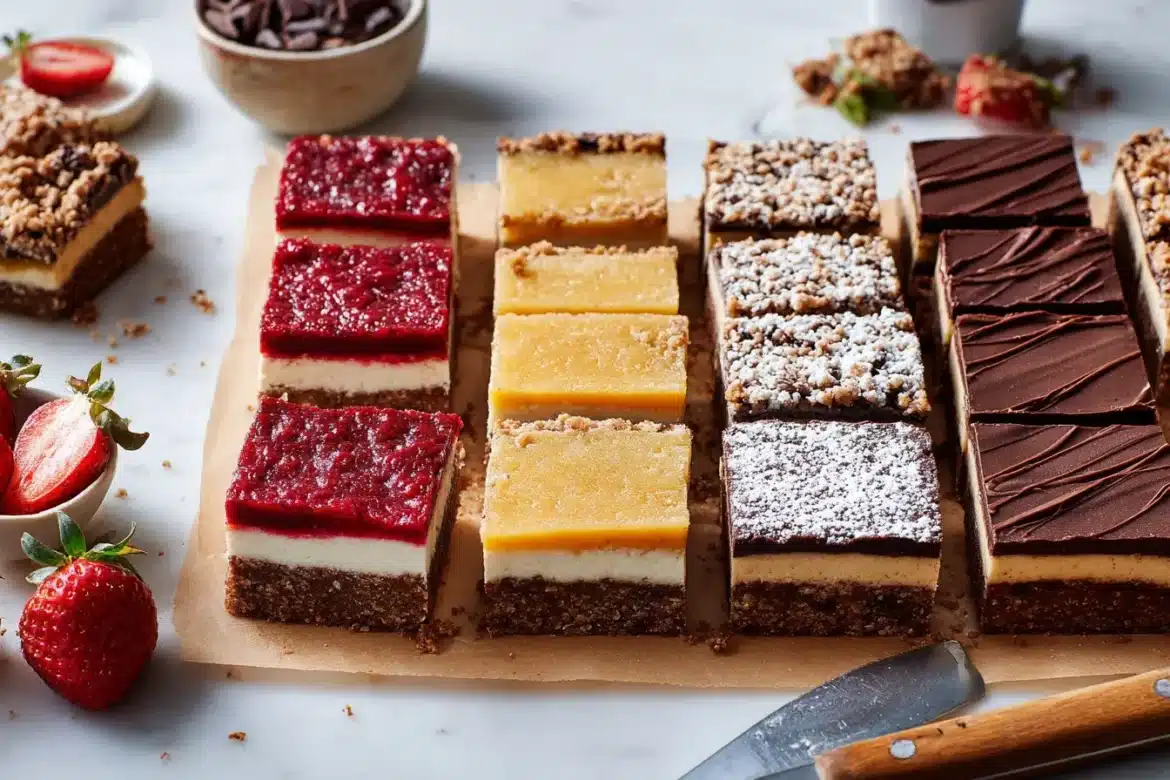
Let’s be honest, dessert bars are the superhero of the baking world. They’re easy to share, simple to customize, and always a crowd-pleaser at potlucks or parties. But if you want those clean layers and bakery-worthy bars every time, you need these quick tips for assembling dessert bars up your sleeve!
Whether you’re whipping up classic brownies, fruity crumble bars, or dreamy no-bake treats, these tips will help you create dessert bars that slice beautifully, hold their shape, and taste amazing.
1. Prep Everything Before You Start
One of the best quick tips for assembling dessert bars is to have all your ingredients measured and ready to go. Trust me, nobody wants to realize halfway through that you’re out of butter! Plus, prepping pans and lining them with parchment paper will save you from messy disasters when it’s time to lift out your bars.
If you need inspiration for your next batch, check out these Berry Crumble Bars or Peach Crumble Bars.
2. Chill Your Crust (or Dough)
For bars with a cookie or graham cracker crust, chilling the base for 15–30 minutes before baking keeps the layers clean and sturdy. This is especially true for cheesecake bars and no-bake bars. It’s one of those quick tips for assembling dessert bars that makes a difference in the finished product.
3. Press Evenly-But Not Too Hard
When assembling dessert bars, use the bottom of a measuring cup or a glass to press the crust or first layer evenly into the pan. Don’t press too hard, though, or your bars can get tough. The goal is a firm base that still has a little tenderness, just like you after a long week.
4. Don’t Rush Layering
Pour, spread, and sprinkle each layer with care! Taking your time here helps you get those beautiful, Instagram-ready bars. If your recipe calls for multiple layers, use an offset spatula or the back of a spoon to spread things out smoothly. One of my favorite quick tips for assembling dessert bars is to freeze the pan for a few minutes between layers if you’re working with melty or sticky ingredients.
5. Bake (or Chill) and Cool Completely
This is the hardest part, but patience pays off. If you cut bars while they’re warm, you’ll end up with a gooey mess (delicious, but not pretty). Let baked bars cool fully, or chill no-bake bars for at least two hours. That way, your dessert bars slice cleanly and hold together like champs.
Check out No-Bake Strawberry Pretzel Bars for a fun, chill treat that always gets rave reviews!
6. Use a Sharp, Clean Knife
Here’s one of the most underrated quick tips for assembling dessert bars: always use a sharp knife, and wipe it clean between slices. For extra-sticky bars, dip the knife in hot water, wipe it dry, and slice, magic! You’ll get perfect squares every time.
7. Store Like a Pro
Once your dessert bars are cut, store them in a single layer or with parchment between layers to keep them from sticking together. Some bars keep best in the fridge, while others are fine at room temp. If you’re not sure, a quick chill is usually a safe bet.
Final Thoughts on quick tips for assembling dessert bars
With these quick tips for assembling dessert bars, you’re ready for any sweet craving or last-minute party. The secret is in the little things: prep, chill, press, layer with love, and slice with confidence. Go ahead, show off those perfect dessert bars at your next get-together!
For food tips, fresh updates, and drool-worthy dessert ideas, be sure to follow along on Pinterest, and don’t forget to share with me your creations.

