Red velvet cheesecake brownies are my go-to when I want a vibrant, mouthwatering treat that’s as beautiful as it is delicious. The very first time I tried making red velvet cheesecake brownies, I was blown away by their bold color and the swirl of creamy cheesecake nestled in rich, fudgy brownie layers. Years of baking have made me fall for desserts that feel special but are still easy to prepare, and these brownies fit that perfectly, they never fail to get rave reviews at every gathering or family night.
Table of Contents
What Is Red Velvet Cheesecake Brownies?
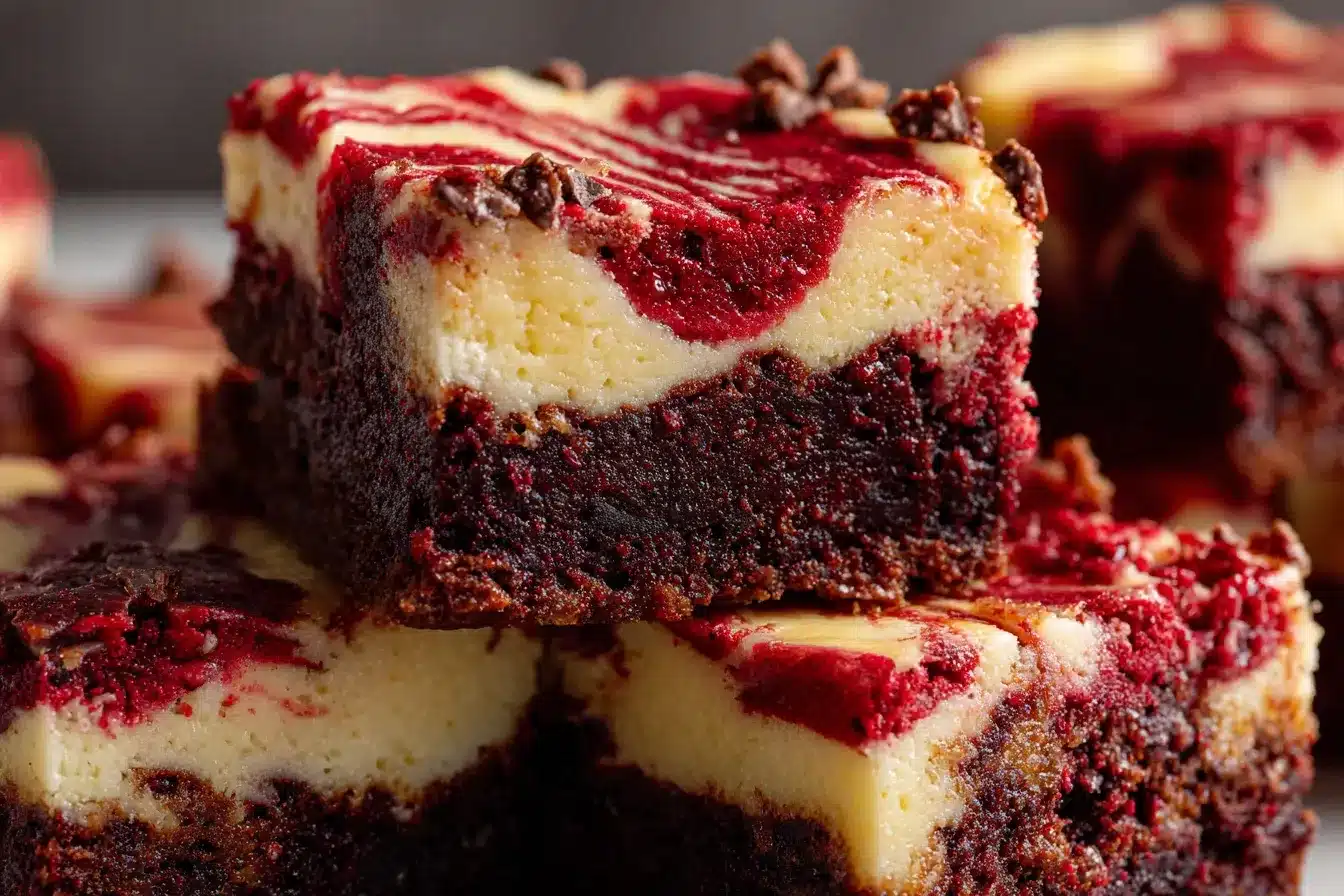
Red velvet cheesecake brownies are what happens when classic red velvet cake meets luscious, tangy cheesecake and gooey brownies. Each bite brings a rush of nostalgia, think of the signature mild cocoa taste of red velvet, swirled together with silky cheesecake. The magic is in those beautiful marbled tops, which make these brownies just as striking on a dessert table as they are addictive to eat. If you’re a fan of homemade cosmic brownies or want a step up from classic chickpea brownies, red velvet cheesecake brownies bring a show-stopping twist. Whether it’s Valentine’s Day or just a regular weeknight, you can expect pure comfort with every bite.
Why You’ll Love This Red Velvet Cheesecake Brownies Recipe
These red velvet cheesecake brownies are packed with chocolatey flavor and creamy goodness in every layer. They’re stunning, thanks to those bold swirls, but easy enough for bakers at any level. There’s no need for fancy gadgets, just two bowls and a whisk will do the trick. The ingredient list is short, with everyday staples plus a few baking favorites like cocoa powder and cream cheese. If you enjoy the chewy finish of black bean brownies or the creative flair of matcha ube cookies, these brownies will hit the spot. Perfect for making ahead, they keep well for days and taste even better after chilling. From birthdays to potlucks, they’re the ultimate crowd-pleaser!
How to Make Red Velvet Cheesecake Brownies
Quick Overview
Red velvet cheesecake brownies are simple: whip up two easy batters, swirl them together, and bake. In just about an hour, you’ll have rich, creamy, marbled brownies that look as good as they taste.
Ingredients Overview
- All-purpose flour – For structure and a classic brownie crumb. Swap with gluten-free flour for a celiac-friendly option.
- Cocoa powder (unsweetened) – Delivers that signature red velvet flavor. Dutch-process cocoa gives a deeper chocolate note if you prefer.
- Granulated sugar – Sweetens and adds moisture.
- Butter (melted) – Infuses richness. Coconut oil makes a great dairy-free sub.
- Large eggs – Provide structure and bind the batters.
- Vanilla extract – Brings out all the flavors.
- Red food coloring (liquid or gel) – Achieves that vibrant red. Gel is best for intense color.
- White vinegar – A dash boosts the tang and makes the red color pop.
- Cream cheese (softened) – Essential for the creamy cheesecake layer. Neufchâtel works for a lighter option.
- Powdered sugar – Gives smooth sweetness to the cheesecake.
- Salt – Balances all the flavors.
- Mini chocolate chips (optional) – Sprinkle in for bursts of extra chocolate.
Substitution tips: Use mascarpone for a mellow cheesecake layer, or your favorite 1:1 gluten-free flour blend for gluten-free brownies.
Step-by-Step Instructions
- Prep the Pan: Line an 8×8-inch pan with parchment paper, letting it hang over the sides for easy removal. Preheat your oven to 350°F (175°C).
- Make the Brownie Batter: Whisk together melted butter and sugar. Add eggs one at a time, then stir in vanilla, vinegar, and red food coloring. Sift in flour, cocoa, and salt. Fold until just combined.
- Prepare Cheesecake Swirl: In a separate bowl, beat softened cream cheese until smooth. Add powdered sugar, vanilla, and one egg. Beat until creamy.
- Layer and Swirl: Pour about 3/4 of the red velvet brownie batter into the pan. Drop spoonfuls of cheesecake mixture on top, then dollop on the remaining brownie batter. Gently swirl with a butter knife, creating marbled patterns.
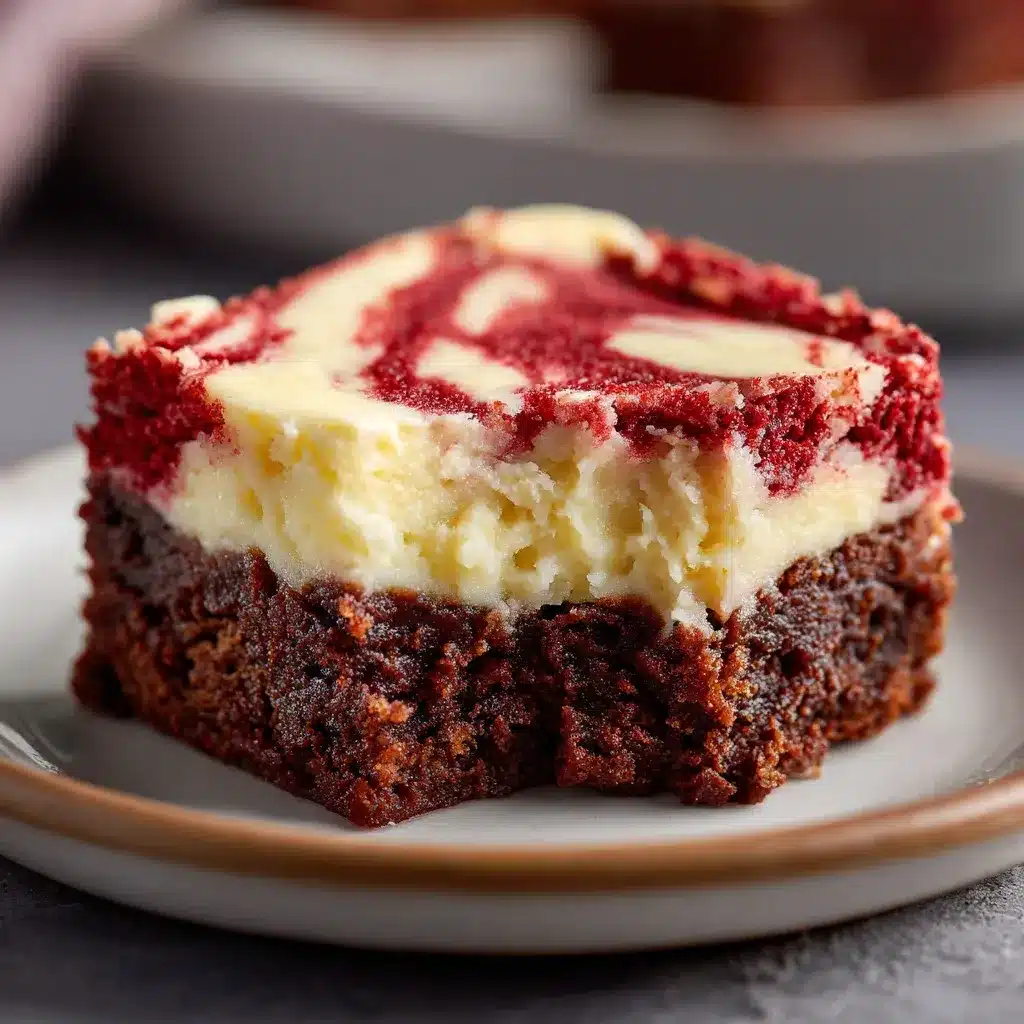
- Bake: Bake for 32–36 minutes. The edges should be set and the center just slightly jiggly, perfect for fudgy brownies!
- Cool and Slice: Let brownies cool in the pan, then chill at least 1 hour before lifting out and slicing for neat squares.
Helpful Tips & Customizations
- Use gel food coloring for a bold, consistent red.
- Don’t overbake: A toothpick should come out with moist crumbs for the fudgiest brownies.
- Extra chocolate? Sprinkle mini chips between the batters.
- Reduce sugar by up to 1/4 cup if you want them less sweet.
- Chill before slicing for clean, sharp edges, wipe your knife between cuts for the neatest results.
For even more colorful ideas, check out ube brownies and ube bars, they’re equally stunning and fun for dessert tables.
Serving Suggestions
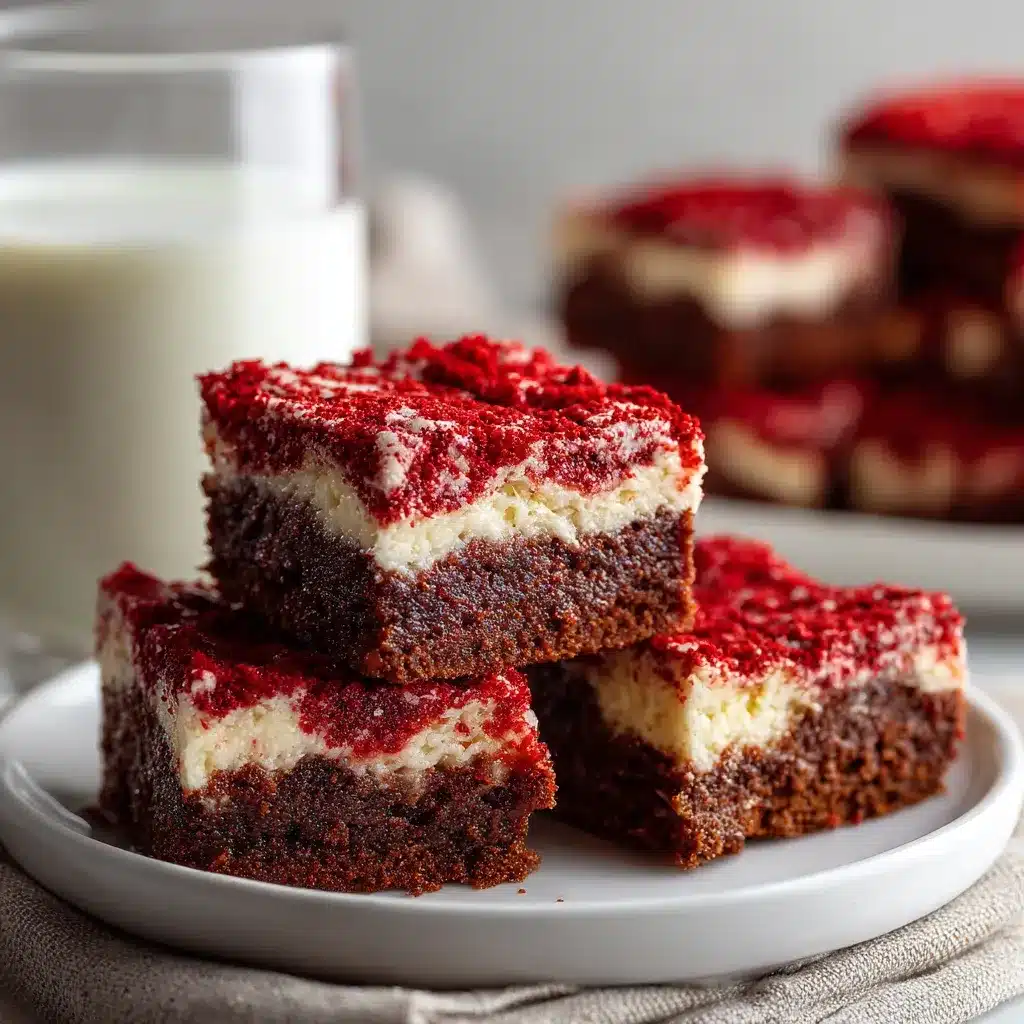
Red velvet cheesecake brownies shine served cold for crisp layers, or at room temp for a gooier bite. Pair them with a cold glass of milk, a frothy cappuccino, or even a scoop of ice cream for a next-level dessert. Arrange them on a platter with no-bake strawberry pretzel bars or avocado brownies for an eye-catching spread. Dress them up for the holidays with a dusting of powdered sugar or plate them with fresh raspberries. No matter the occasion, from birthdays to cozy nights, they’re sure to disappear fast!
FAQs About Red Velvet Cheesecake Brownies
How do you get that bright red color?
Use high-quality gel food coloring. Add it with your wet ingredients for even distribution. A splash of vinegar helps the red pop and brings classic red velvet tang.
How do you keep the cheesecake swirl from cracking?
Don’t overmix your cheesecake batter, beat until just smooth. Bake until the center is slightly wobbly, then cool slowly by letting the pan sit in a turned-off oven with the door ajar.
Can red velvet cheesecake brownies be made ahead and stored?
Absolutely! Once cool, keep brownies in the fridge in an airtight container for up to 4 days. Freeze individual squares for up to 2 months, separated by parchment.
What’s the secret to a perfect swirl?
Use a butter knife and make figure-eight shapes, just swirling the top layers. Don’t over-swirl or the colors will muddy.
If you want something with a different flavor twist, low histamine desserts are a creative choice for sensitive eaters.
Conclusion
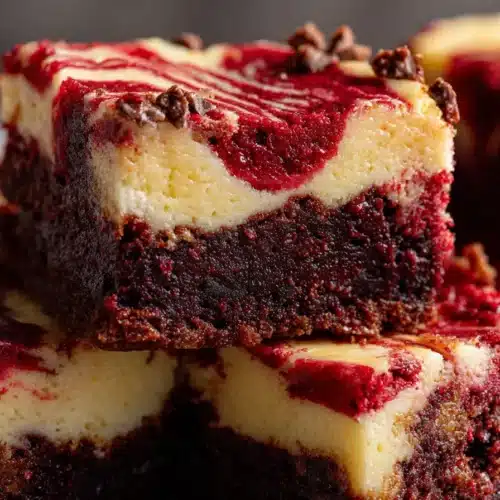
Red velvet cheesecake brownies combine everything I love in a dessert, vibrant looks, rich chocolate, and creamy cheesecake, in every irresistible bite. They’re easy to make, unforgettable to serve, and perfect for both special events and everyday celebrations. Want more easy recipes? Don’t miss the 4th of July mini cheesecakes or no-bake banana split dessert for fresh inspiration. Stay updated with my latest baking adventures and tips on Pinterest. For expert baking science, King Arthur Baking’s brownie guide is a valuable resource to check out!
Red Velvet Cheesecake Brownies
Equipment
- 8×8-inch baking pan Lined with parchment
- 2 mixing bowls
- Hand mixer or whisk
- Measuring cups and spoons
- Butter knife or skewer For swirling batters
- Spatula
Ingredients
- 3/4 cup Unsalted butter, melted
- 1 cup Granulated sugar
- 2 Large eggs, room temperature
- 1 tsp Vanilla extract For brownies
- 1 tsp White vinegar
- 1 cup Red food coloring (gel preferred)
- 2/3 cup All-purpose flour Sub gluten-free 1:1 blend if needed
- 1/4 cup Unsweetened cocoa powder Dutch-process for richer flavor
- 1/4 Salt
- 8 oz Cream cheese, softened Or Neufchâtel
- 1/3 cup Powdered sugar
- 1/2 tsp Vanilla extract (for cheesecake)
- Large egg (for cheesecake)
- 1/3 cup Mini chocolate chips (optional) For extra chocolate
Instructions
- Prep Pan: Line 8×8-inch pan with parchment, overhanging sides. Preheat oven to 350°F (175°C).
- Brownie Batter: Whisk melted butter and sugar. Beat in eggs, vanilla, vinegar, and food coloring. Sift in flour, cocoa, and salt. Fold to combine.
- Cheesecake Swirl: Beat cream cheese until smooth. Add powdered sugar, vanilla, and egg. Beat until creamy.
- Layer & Swirl: Spread 3/4 of brownie batter in pan. Spoon cheesecake mixture on top. Add remaining brownie batter in dollops. Swirl with butter knife.
- Bake: 32–36 min, until edges are set and center slightly jiggles.
- Cool & Slice: Cool completely in pan, then chill at least 1 hour. Lift out and cut into squares.