Salted caramel cheesecake cups are my not-so-secret weapon for turning any day into a sweet celebration. Let me tell you, nothing makes me happier than pulling these out of the fridge and watching my friends’ faces light up after just one bite! The first time I made these, I was in my tiny kitchen, shoes off, hair up, and craving something fun, creamy, and just a bit fancy. That’s when these salted caramel cheesecake cups happened, and now they’re my go-to dessert for family dinners, birthdays, or, let’s be honest, midnight snacking. If you’ve ever wanted a rich, creamy cheesecake without the fuss, girl, you are in the right place.
Table of Contents
What Is Salted Caramel Cheesecake Cups?
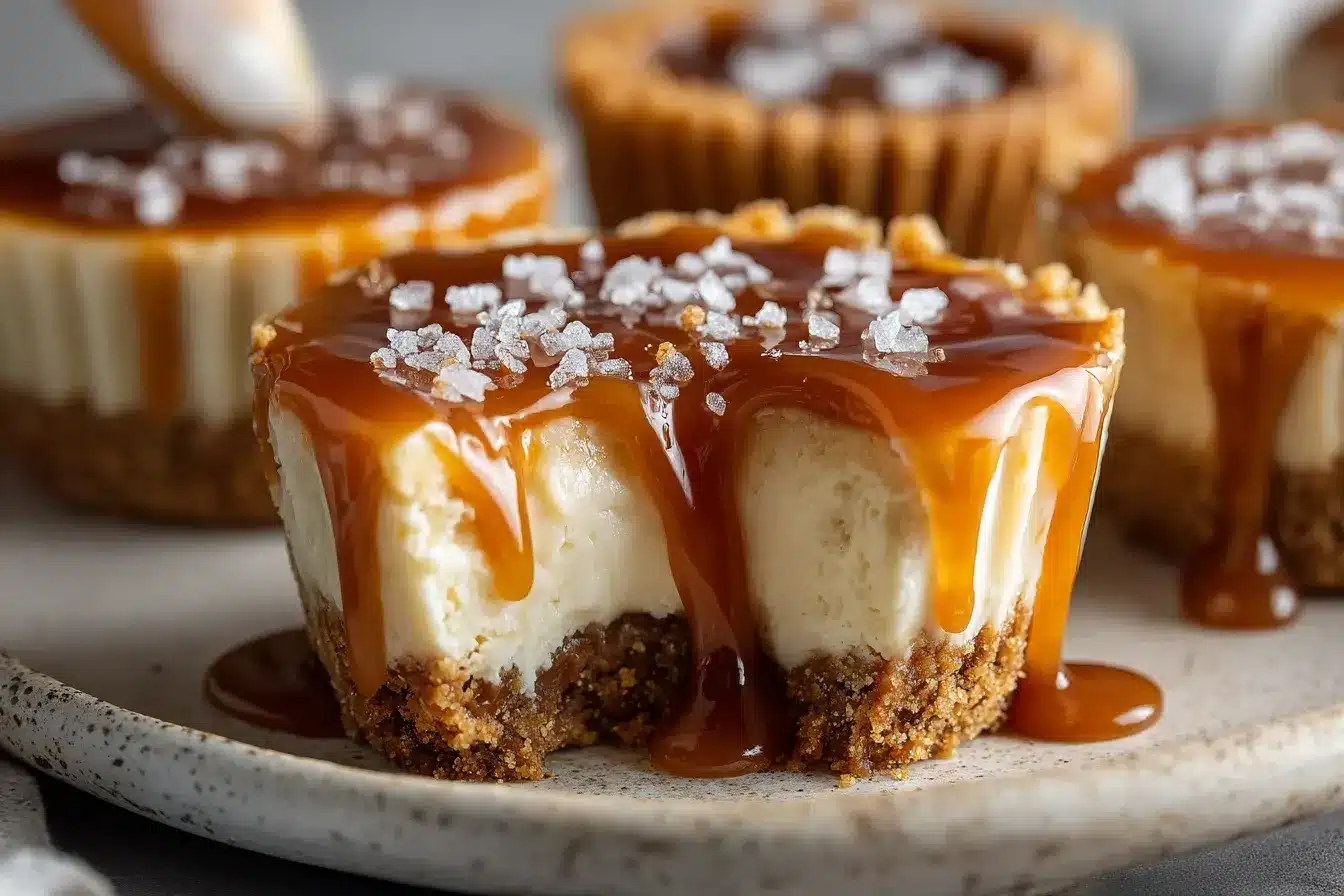
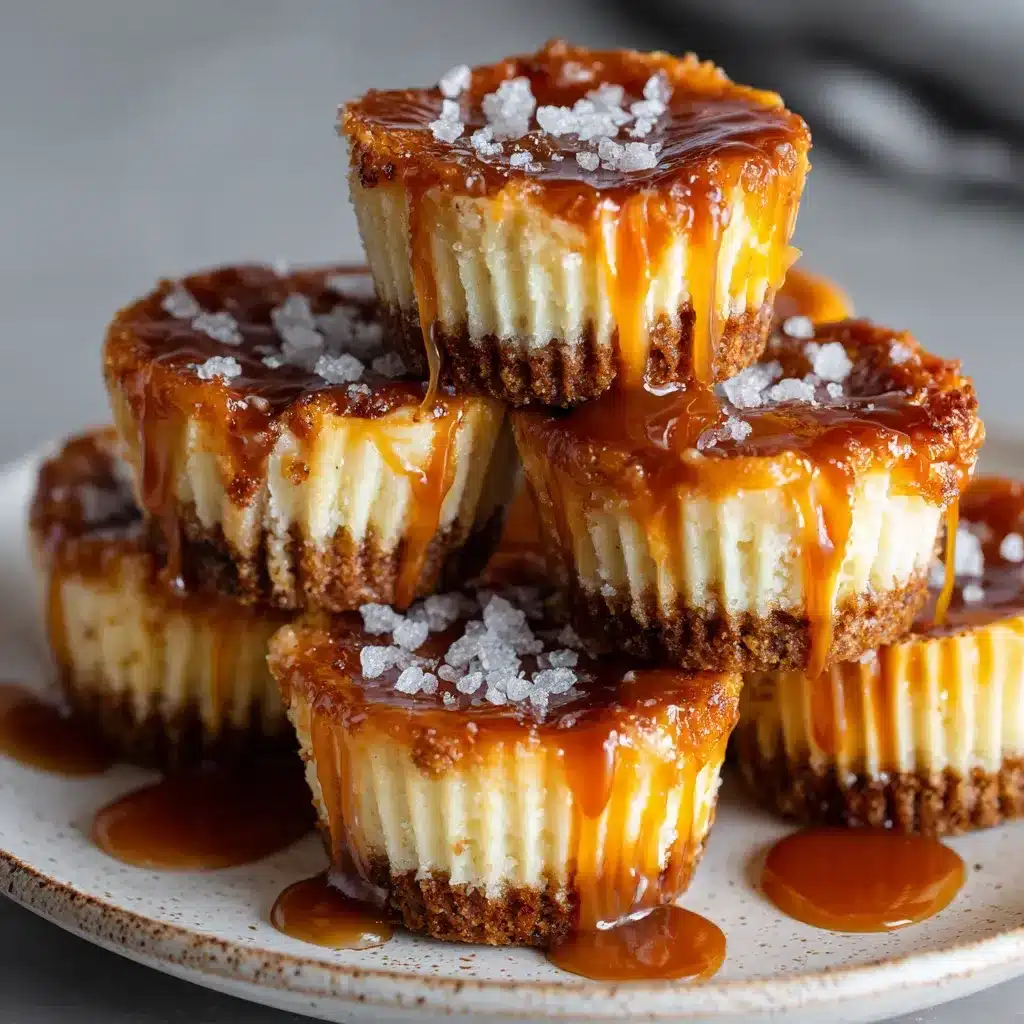
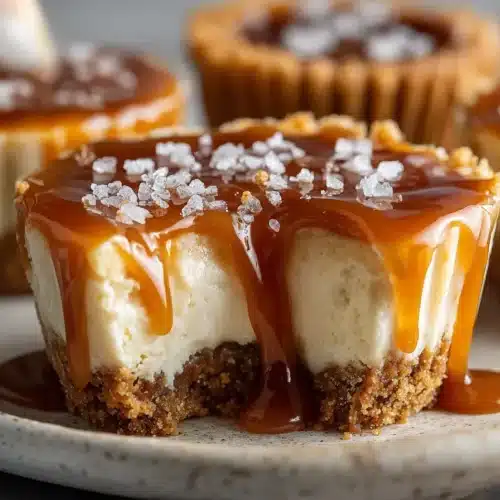
So, what’s the story behind salted caramel cheesecake cups? Imagine all the things you love about classic cheesecake, think dreamy, tangy cream cheese and that buttery, slightly crumbly graham cracker crust, only cuter and way more fun to eat! Each cup is layered with a golden crust, a silky cheesecake filling, and a glorious blanket of salted caramel sauce. Then there’s a sprinkle of sea salt flakes to wake up your taste buds. These treats are single-serve, which means no messy slicing and everyone gets their own. You can even get creative and try making your own cheesecake crust from scratch for even more flavor!
Why You’ll Love This Salted Caramel Cheesecake Cups Recipe
There’s a lot to love, honestly! The flavor is next-level: creamy cheesecake plus that gooey, salty caramel is a match made in dessert heaven. The best part? They’re ridiculously easy to make. No need for a fancy water bath, and you don’t have to worry about cracks. All you need is a few pantry staples and a bit of chill time. If you like recipes that are stress-free and always get compliments, these cheesecake cups are calling your name. You can easily swap ingredients based on what you have, how cool is that? Want something to serve with coffee? Done. Craving a portable treat for a picnic? Perfect. And if you’re in the mood for something fruity, you might also love the no-bake banana split dessert for your next get-together.
How to Make Salted Caramel Cheesecake Cups
Quick Overview
You’ll make a buttery graham cracker crust, top it with creamy cheesecake filling, bake until just set, and finish with a luscious salted caramel topping. Easy, right?
Ingredients Overview
- Cream Cheese: Full-fat and softened, this makes your filling extra smooth.
- Sour Cream: Adds tang and keeps things super fluffy.
- Granulated Sugar: For a touch of sweetness.
- Egg: Helps the filling set just right.
- Pure Vanilla Extract: Adds a warm, lovely flavor.
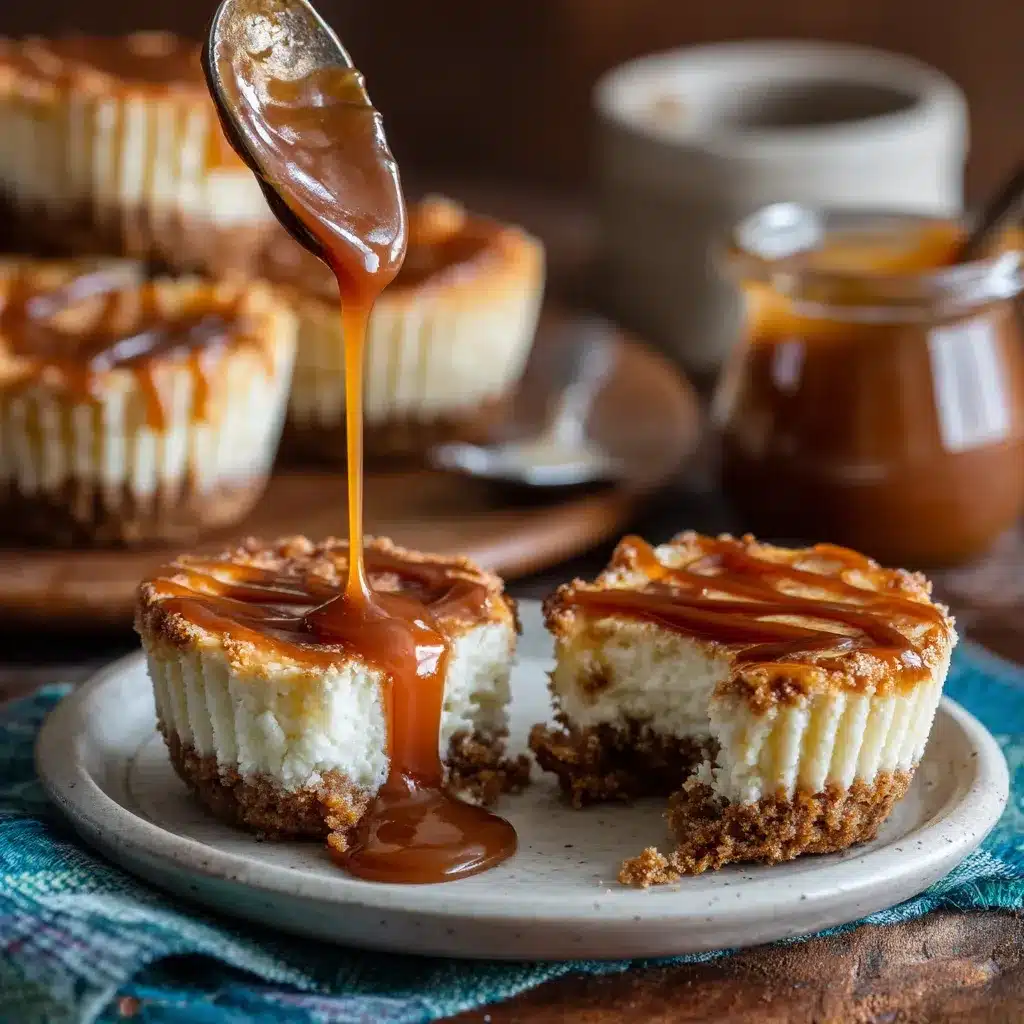
- Salted Caramel Sauce: Homemade or store-bought, either works!
- Graham Crackers: Crushed for that perfect classic base.
- Unsalted Butter: Brings everything together and adds richness.
- Sea Salt Flakes: That final flourish for sweet and salty magic.
Substitutions? Absolutely:
- Swap in Greek yogurt for sour cream if you want it a little lighter.
- Try digestive biscuits or vanilla wafers instead of graham crackers.
- Use dairy-free cream cheese and vegan caramel to make these plant-based.
- Get wild and top with coconut caramel or even chocolate ganache for a little drama.
- For a gluten-free option, check out alternative flours for baking.
Step-by-Step Instructions
- Prepare the Crust: Stir your crushed graham crackers and melted butter together until it looks like damp sand. Scoop into muffin liners or mini cups and press down firmly.
- Mix the Filling: Beat cream cheese and sugar together until it’s cloud-like and smooth. Add sour cream, vanilla, and the egg—beat again but just until combined.
- Assemble: Spoon the creamy mixture onto your crusts, filling nearly to the top. Smooth out with a tiny spatula or the back of a spoon.
- Bake: Bake at 325°F (162°C) for about 18–22 minutes. The centers should look just set. Let cool on the counter, then chill in the fridge for at least 2 hours.
- Top with Caramel: Once chilled, drizzle with that dreamy salted caramel sauce and sprinkle on sea salt flakes. Pure bliss!
Helpful Tips & Customizations
- Bring all your ingredients to room temp for the smoothest filling, no lumps allowed!
- Be gentle with the egg; overmixing can cause cracks.
- Store-bought caramel is totally fine if you’re short on time (nobody will know).
- Experiment with different cookies for the crust, Oreos or ginger snaps are so good.
- Add toasted pecans, a hint of cinnamon, or a little chocolate swirl to change things up. If you want to perfect your no-bake desserts, these no-bake dessert tips are super helpful.
Serving Suggestions
These salted caramel cheesecake cups are adorable on their own but even better when you get creative! Top with whipped cream, more caramel sauce, or a handful of mini chocolate chips. Dust a little extra graham cracker on top, or serve with fresh berries to cut the sweetness. For more creative mini dessert ideas, check out 4th of July mini cheesecakes, they’re always a party favorite. These little cheesecakes also make a perfect treat at picnics, potlucks, or as a sweet bite at the end of a dinner.
FAQs About Salted Caramel Cheesecake Cups
How do you make salted caramel cheesecake cups?
You’ll make a buttery crust, whip up a creamy filling, bake until set, chill, and top with caramel and sea salt. That’s it, pure cheesecake joy in a cup!
What caramel works best?
Both homemade and store-bought caramel work. Look for a thick, buttery caramel with sea salt for the best flavor. For a fun twist, see how salted caramel pecan chocolate chip cookies use caramel, too.
Can you make them ahead?
Totally! Assemble and chill the cheesecake cups the day before, then add caramel just before serving. They actually taste even better after some fridge time.
How do you store them?
Keep your cheesecake cups in the fridge, tightly covered, for up to four days. Want to prep further ahead? Freeze (without the caramel topping) for up to a month, just thaw and top before serving.
Conclusion
Salted caramel cheesecake cups are my top pick when I want something quick, stunning, and downright delicious. They’re easy to customize and perfect for making memories with your favorite people. Next time you’re planning a party or just need a treat after a long week, these are the way to go. For even more mini dessert ideas try red velvet cheesecake brownies, seriously, your dessert tray will be next-level! Don’t forget to check out my Pinterest page for more mouthwatering inspiration.
Salted Caramel Cheesecake Cups
Equipment
- 12-cup muffin pan For individual cheesecake cups
- Paper liners Optional, but recommended for easy removal
- Mixing bowls For crust and filling
- Electric mixer Hand or stand mixer works
- Spatula For mixing and smoothing
- Spoon For scooping crust and filling
Ingredients
- 1 1/4 cups graham cracker crumbs About 10 whole graham crackers, finely crushed
- 4 tbsp unsalted butter Melted
- 12 oz cream cheese Full-fat, softened
- 1/3 cup sour cream Room temperature
- 1/2 cup granulated sugar
- 1 large egg
- 1 tsp pure vanilla extract
- 1/3 cup salted caramel sauce Plus extra for drizzling
- to taste sea salt flakes For garnish
Instructions
- Combine graham cracker crumbs and melted butter in a bowl, mixing until it resembles wet sand.
- Spoon about 1 tablespoon of the crust mixture into each lined muffin cup. Press down firmly to form a compact crust.
- In another bowl, beat cream cheese and sugar together with an electric mixer until smooth and fluffy.
- Add sour cream, vanilla extract, and egg. Beat just until blended and creamy—don’t overmix!
- Divide the cheesecake mixture evenly among the muffin cups, filling almost to the top. Smooth the tops with a spatula.
- Bake at 325°F (162°C) for 18–22 minutes, until centers are just set.
- Remove from oven, let cool at room temperature for 10 minutes, then refrigerate for at least 2 hours.
- Once chilled, drizzle salted caramel sauce generously over each cheesecake cup. Sprinkle with sea salt flakes for the finishing touch.
- Serve and enjoy! Store leftovers in the fridge, covered, for up to 4 days.
Notes
For a lighter version, use Greek yogurt instead of sour cream.
Dairy-free cream cheese and coconut caramel make this recipe vegan-friendly.
Freeze the baked cheesecake cups (without caramel) for up to 1 month.