If you’re anything like me, tiramisu tres leches no bake is about to become your new go-to dessert! I’ll never forget the first time I put this together in my cozy kitchen, one bite and I was instantly obsessed. This recipe is a total game-changer for anyone who loves rich, layered desserts without all the fuss. The dreamy mashup of classic tiramisu and ultra-moist tres leches means you get everything you love about both, minus the oven. Every time I serve it, friends ask for seconds (and the recipe). Want a dessert that’s bold, creamy, and ridiculously easy? This tiramisu tres leches no bake is the answer!
Table of Contents
What Is Tiramisu Tres Leches No Bake?
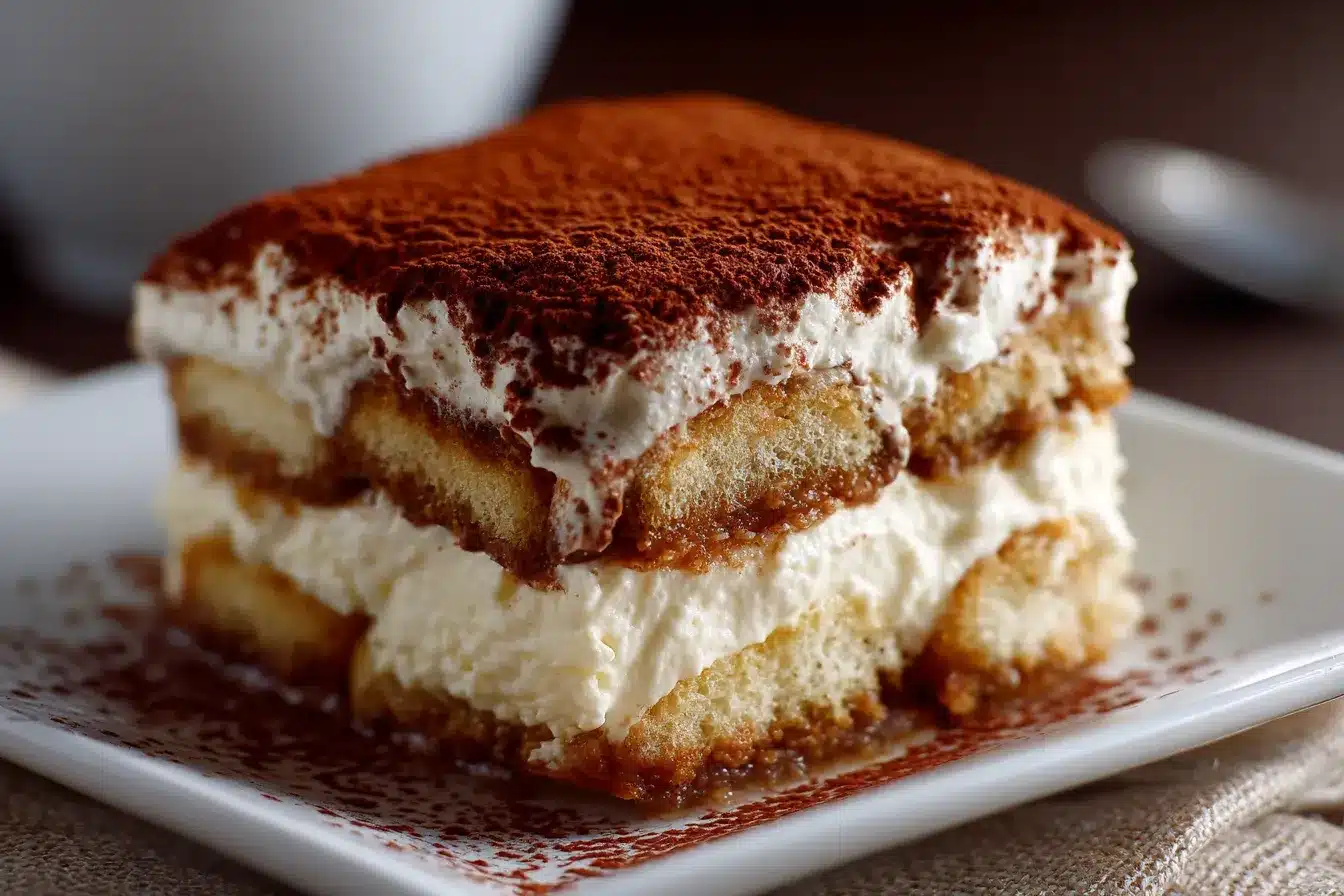
Let’s spill the (coffee) beans: tiramisu tres leches no bake is where Italian coffee bliss meets Latin American milky magic! Imagine espresso-soaked ladyfingers layered with fluffy mascarpone and sweet whipped cream, then drenched in three kinds of milk, just like a classic tres leches cake. No oven, no stress, and honestly, no leftovers, because it disappears fast! Every slice is spongy, rich, and perfectly chilled. It’s got the deep coffee notes and creamy goodness that make tiramisu so iconic, but also the signature sweetness and soak of tres leches. For anyone who’s ever craved no-bake desserts that totally impress, this is a superstar.
Why You’ll Love This Tiramisu Tres Leches No Bake
There’s so much to love, I could write a whole novel! The flavor is insane, think deep espresso, creamy mascarpone, and the milky soak that makes every bite swoon-worthy. Plus, the recipe is almost effortless: simple steps, common ingredients, and zero baking. Even if you’re new to no-bake treats, you’ll look like a pro. It’s perfect for celebrations, summer parties, or just when you need a pick-me-up. You can even make it ahead, so there’s no last-minute chaos. This one’s right up there with no-bake strawberry pretzel bars and easy dessert hacks on my list of life-savers.
How to Make Tiramisu Tres Leches No Bake
Quick Overview
It’s as easy as mix, dip, layer, chill, and serve! You’ll whisk the milks, whip up a dreamy mascarpone filling, soak the ladyfingers, then assemble and chill. Trust me, it’s practically foolproof and SO rewarding.
Ingredients Overview
- Ladyfingers (savoiardi): The backbone of tiramisu! No ladyfingers? Use vanilla wafers, pound cake, or check my alternative flours post for gluten-free swaps.
- Espresso or strong coffee: For that classic coffee flavor. Decaf works for a kid-friendly version.
- Sweetened condensed milk: The first milk in the “tres leches” trio, rich and creamy.
- Evaporated milk: Makes things extra moist and lush.
- Whole milk or half-and-half: The final touch for perfect soaking.
- Mascarpone cheese: The heart of tiramisu creaminess. Substitute with full-fat cream cheese if needed.
- Heavy whipping cream: For a luscious, fluffy layer. Find tips on how to whip cream.
- Powdered sugar: Sweetens the filling just right.
- Vanilla extract: Brings everything together.
- Unsweetened cocoa powder: For dusting and that signature tiramisu finish.
Step-by-Step Instructions
- Combine the Milks: Whisk sweetened condensed milk, evaporated milk, and whole milk together in a bowl. Set aside for soaking magic.
- Brew the Coffee: Make your espresso (or strong coffee) and let it cool.
- Make the Cream Layer: Beat the heavy cream until soft peaks form. Add mascarpone, powdered sugar, and vanilla extract, beat until smooth and fluffy.
- Dip the Ladyfingers: Quickly dunk each ladyfinger in coffee (don’t oversoak!) and line them up in your serving dish.
- Soak with Milks: Drizzle half of the milk mixture over the ladyfingers, letting them get deliciously spongy.
- Spread the Cream: Smooth half of the mascarpone mixture over the soaked ladyfingers.
- Repeat: Add another layer of coffee-dipped ladyfingers, pour over the rest of the milk mixture, and finish with the remaining cream.
- Chill: Cover and refrigerate for at least 4 hours (overnight is even better).
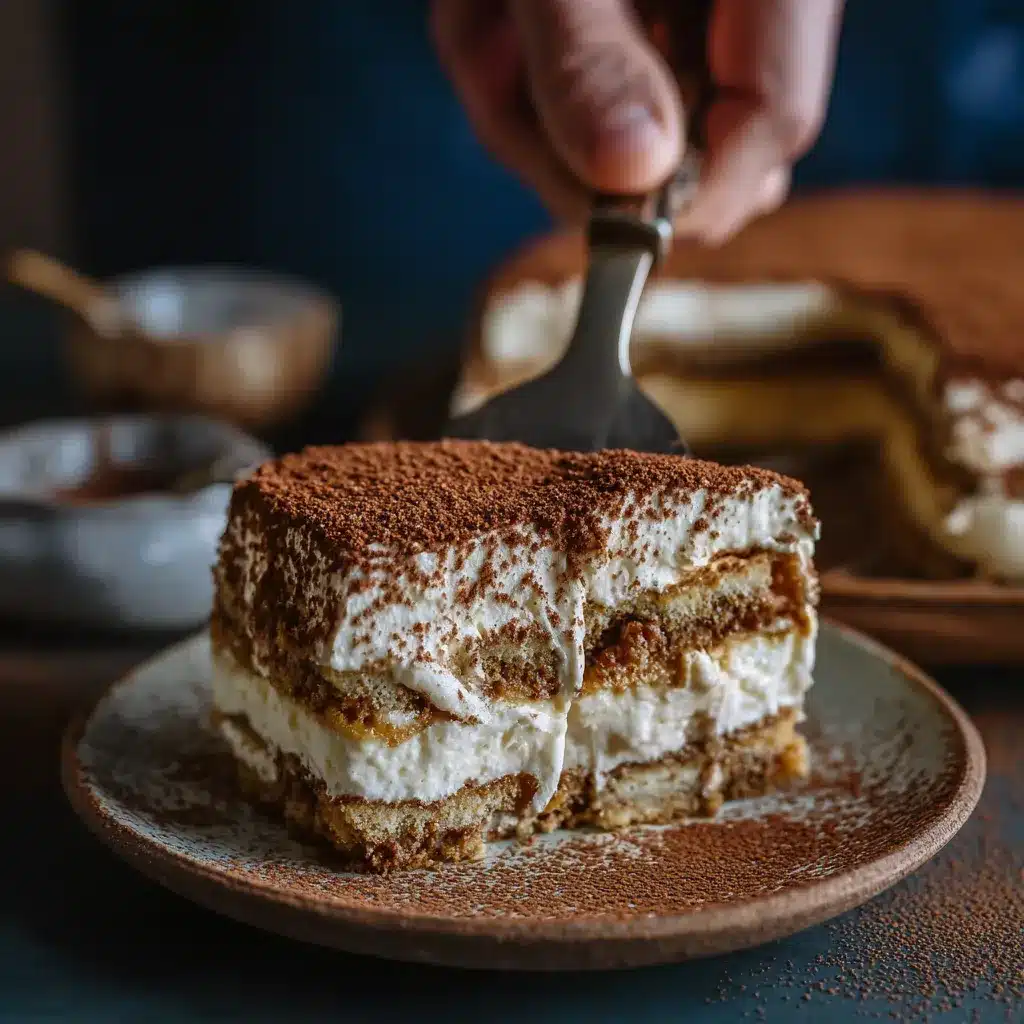
- Finish and Serve: Dust with unsweetened cocoa powder, then slice and serve. Enjoy every layer!
Helpful Tips & Customizations
- Don’t let the ladyfingers get too soggy, a quick dip does the trick.
- Add a splash of coffee liqueur or Amaretto to the coffee for a grown-up twist.
- For a lighter version, try Greek yogurt instead of mascarpone.
- If you run out of ladyfingers, pound cake or even basic cookies will work. Layering is what matters most (get inspiration from layers in no-bake dessert).
- Make it gluten-free using suggestions from my alternative flours guide.
Serving Suggestions
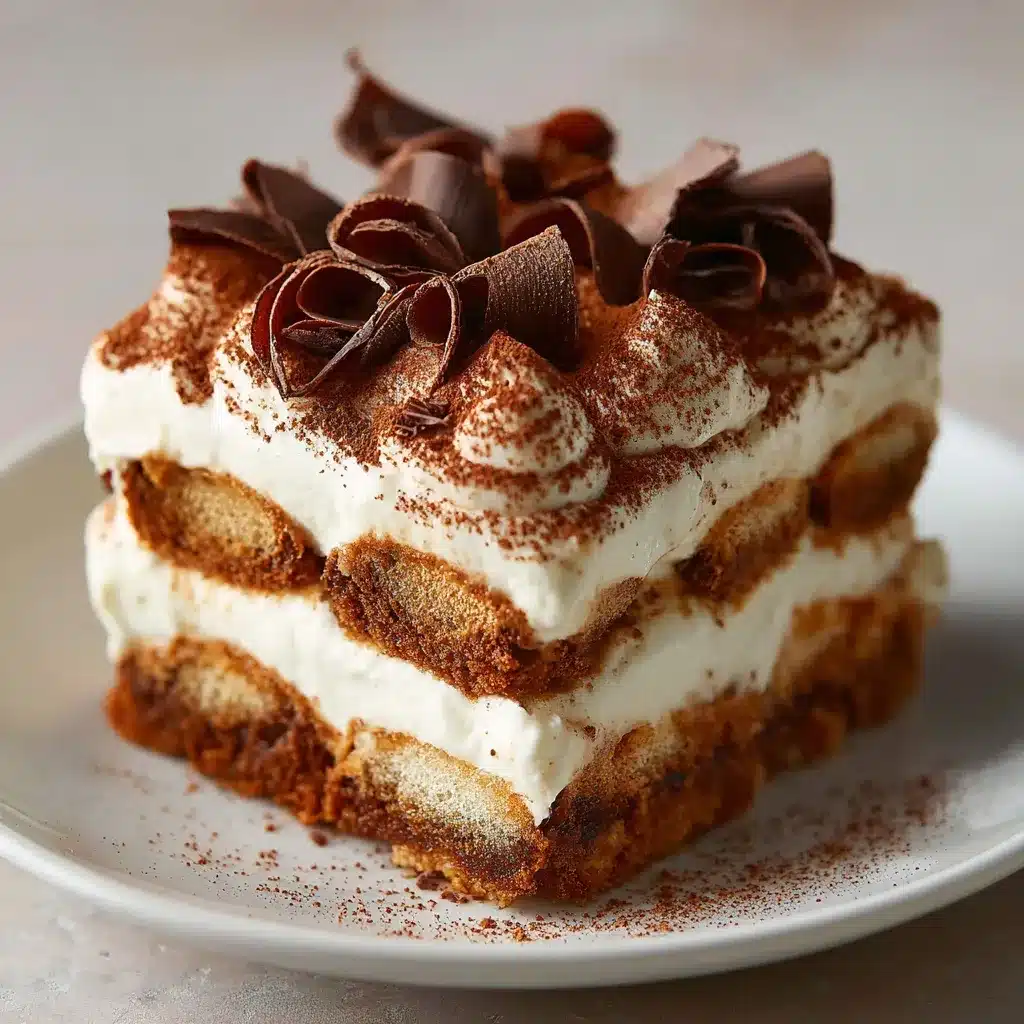
This dessert is happiest when served cold, straight from the fridge. I love adding chocolate curls, a sprinkle of cocoa, or fresh berries for color. Serve it in a trifle dish to show off those gorgeous layers, or cut into neat squares for a party platter. Pair it with coffee or a creamy latte for maximum coffeehouse vibes. For more plating ideas, check out quick tips for assembling dessert bars.
FAQs About Tiramisu Tres Leches No Bake
What ingredients do you need?
Ladyfingers, espresso or coffee, three types of milk, mascarpone, heavy cream, powdered sugar, vanilla, and cocoa powder.
Can you substitute mascarpone or ladyfingers?
Absolutely! Try full-fat cream cheese, Greek yogurt, vanilla wafers, or even pound cake. More swap tips are in my no-bake tres leches post.
How long does it last?
Cover tightly and keep in the fridge, good for up to four days. Honestly, it never lasts that long in my house!
Can I make it ahead?
Yes! It’s even better the next day as the flavors meld together.
Any tips for perfect layers?
Don’t oversoak the ladyfingers and spread each layer gently. See my no-bake dessert tips for even more tricks!
Conclusion
Tiramisu tres leches no bake is what dessert dreams are made of, no oven, no stress, and so much flavor in every chilled, creamy layer. It’s become a staple in my kitchen, especially when I want to treat friends and family without breaking a sweat. You’ll find yourself coming back to this recipe again and again! Want more no-bake magic? Peek at my no-bake dessert collection and follow along on Pinterest for even more sweet inspiration. For deeper info on tiramisu (and to see that this dessert is beloved worldwide), here’s a trusted external resource from Bon Appétit. Let me know how your dessert turned out, I LOVE hearing your baking stories!

Tiramisu Tres Leches No Bake
Equipment
- 9×13 baking dish Or trifle dish
- Mixing bowls For milk & cream mixture
- Electric mixer Or hand whisk
- Whisk
- Rubber spatula For spreading cream
- Sifter For dusting cocoa
Ingredients
- 24 ladyfingers Savoiardi or substitute with vanilla wafers/pound cake
- 1 cup espresso or coffee Strong brewed, cooled. Decaf okay for kids
- 1 can (14oz) sweetened condensed milk
- 1 can (12oz) evaporated milk
- 1/2 cup whole milk or half-and-half Dairy-free substitute okay
- 16 oz mascarpone cheese Or full-fat cream cheese
- 2 cups heavy whipping cream Or coconut cream for dairy-free
- 1/2 cup powdered sugar
- 2 tsp vanilla extract
- 3 tbsp unsweetened cocoa powder For dusting
Instructions
- In a mixing bowl, whisk together sweetened condensed milk, evaporated milk, and whole milk. Set aside.
- Brew espresso or strong coffee and let it cool to room temperature.
- In a large bowl, beat the heavy whipping cream until soft peaks form. Add mascarpone, powdered sugar, and vanilla extract; beat until smooth and fluffy.
- Quickly dip each ladyfinger in the cooled coffee (don’t oversoak!) and arrange in a single layer in your dish.
- Drizzle half the milk mixture evenly over the ladyfingers, letting them soak it up.
- Spread half the mascarpone mixture over the soaked ladyfingers and smooth out.
- Repeat with a second layer: dipped ladyfingers, the rest of the milk, and then the remaining cream.
- Cover and refrigerate for at least 4 hours (overnight is best for flavor and texture).
- Before serving, dust the top with unsweetened cocoa powder using a sifter. Slice and serve chilled!
Notes
Make a day ahead for even richer flavor.
Check out no-bake dessert tips for more tricks.
Try no-bake tres leches if you want a traditional take.
Store leftovers covered in the fridge for up to 4 days.