Table of Contents
Christmas Stained Glass Cookies
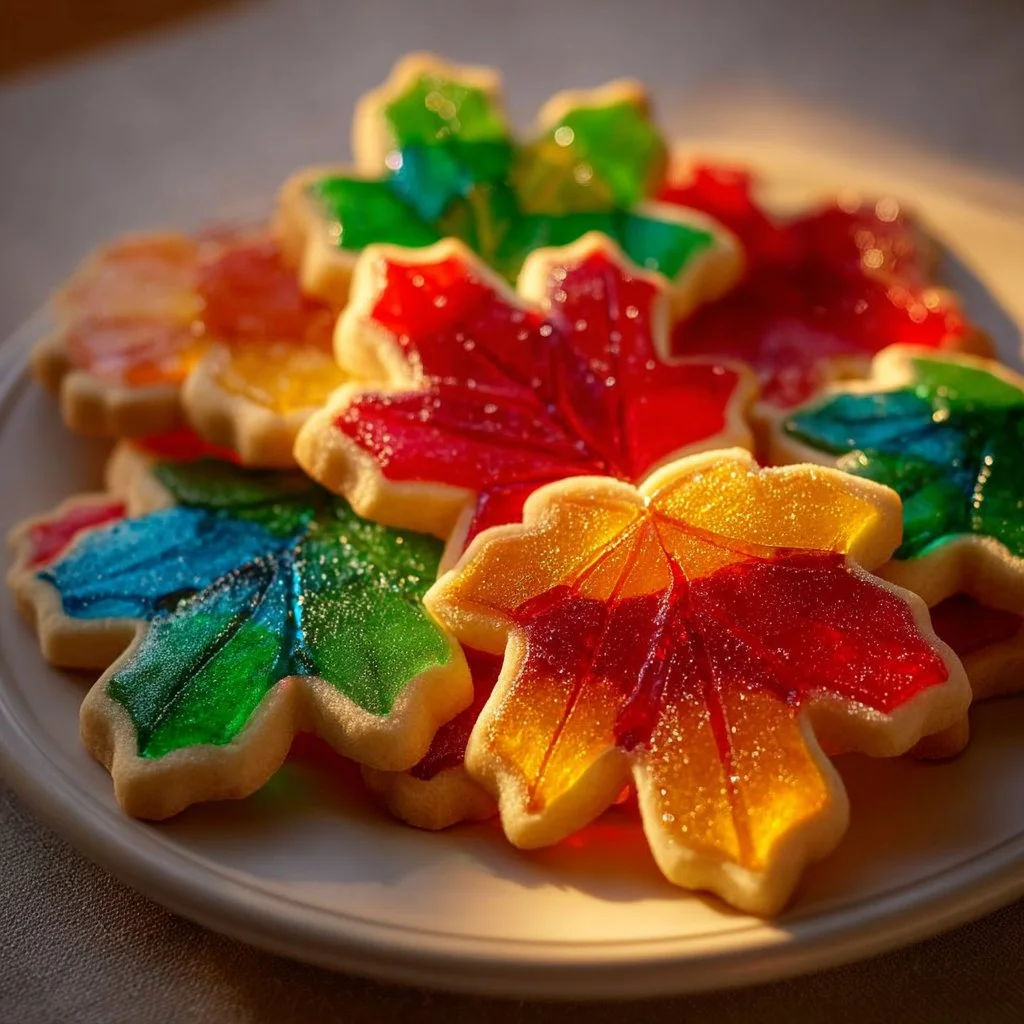
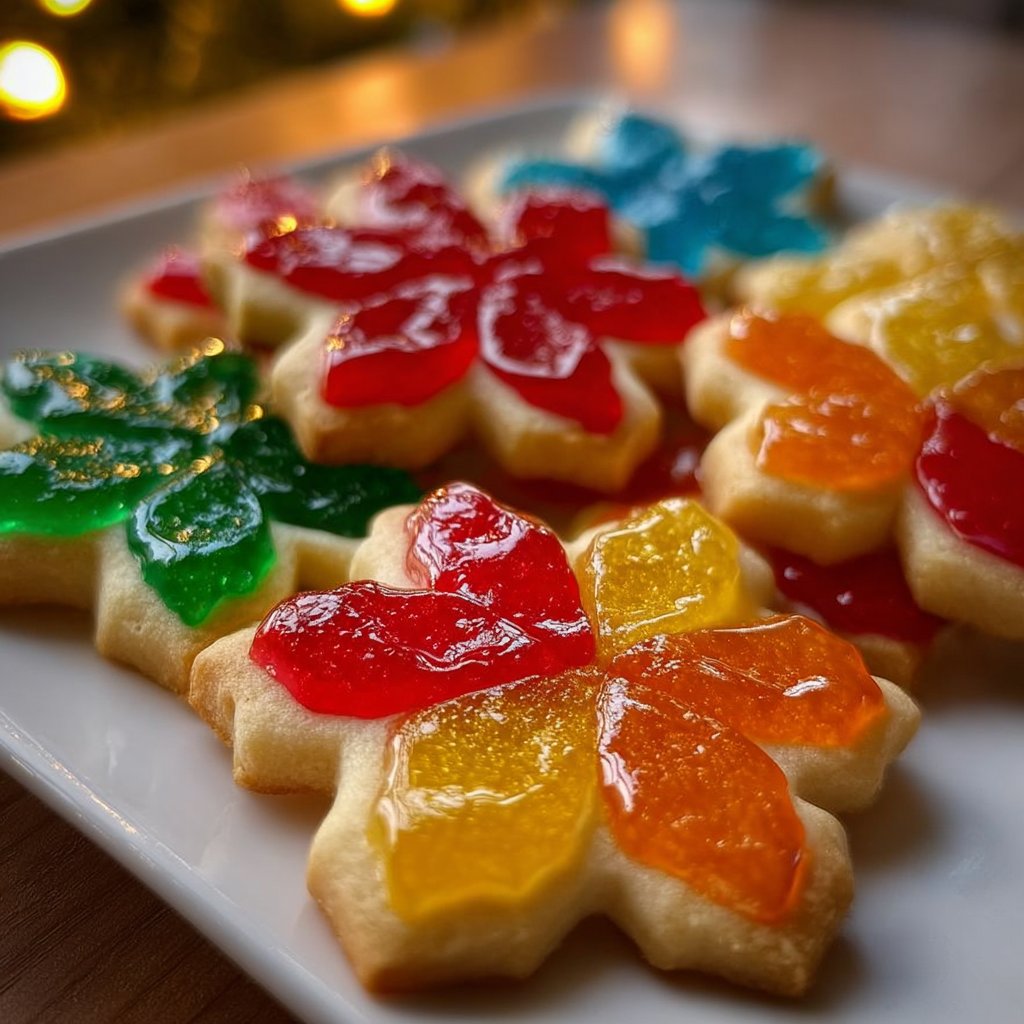
Christmas Stained Glass Cookies are one of my absolute favorites during the holiday season! I remember the very first time I made them with my mom; it was such a fun experience, and honestly, we ended up with more sugar on the floor than in the bowl! With their colorful, transparent centers that glisten like real stained glass, these cookies bring a sprinkle of joy to any holiday gathering. So, let me share with you how to make these beautiful delights for yourself and your friends this Christmas.
What Are Christmas Stained Glass Cookies?
Christmas Stained Glass Cookies are not just your typical sugar cookies; they are transformed with a burst of color and whimsy. The dough is shaped using cookie cutters, and instead of just leaving a hole in the center, we fill it with crushed candies that melt to create a lovely, glass-like effect. They are perfect for decorating your holiday table, sending as gifts, or just enjoying with a hot cup of cocoa while lounging by the fire!
Ingredients Overview for Christmas Stained Glass Cookies
Here’s what you’ll need to whip up these delightful treats:
- All-purpose flour: This forms the cookie’s base. You can swap it with a gluten-free blend if needed.
- Granulated sugar: The sweetness that makes these cookies irresistible.
- Butter: It adds that rich, buttery flavor. If you’re dairy-free, coconut oil works surprisingly well!
- Eggs: For binding the dough together and giving it a nice texture.
- Vanilla extract: Just a splash gives a wonderful aroma and flavor.
- Baking powder: This helps the cookies puff up slightly.
- Salt: A pinch enhances the sweetness.
- Clear hard candies: The star of the show! Use a mix of colors for a festive look. Think Jolly Ranchers or Lifesavers.
Step-by-Step Instructions for Christmas Stained Glass Cookies
- Make the Dough: Begin by beating together the butter and sugar until it’s fluffy. You can add the eggs one at a time, mixing thoroughly before each addition. Next, stir in the vanilla. Gradually mix in the flour, baking powder, and salt until combined.
- Chill the Dough: Divide the dough into portions, wrap them in plastic wrap, and pop them in the fridge for at least an hour. Chilling prevents the cookies from spreading too much.
- Prepare the Candies: While the dough chills, crush your candies into small pieces. A zip-lock bag and a rolling pin work perfectly for this. Keep the pieces a bit chunky, so they look fabulous.
- Roll Out the Dough: Once the dough is chilled, roll it out to about 1/4-inch thick. Use cookie cutters to cut out shapes, and then cut out smaller shapes from the center for the stained glass effect.
- Fill with Candy: Place the cookie shapes on a baking sheet lined with parchment paper. Fill the center cutouts with the crushed candies.
- Bake: Pop them in a preheated oven at 350°F (175°C) for about 8-10 minutes, or until the edges are lightly golden.
- Cool and Enjoy: Let them cool on the baking sheet for a few minutes before transferring them to a wire rack. Once they’re completely cool, enjoy the colorful treat!
Serving Suggestions
These Christmas Stained Glass Cookies are not only tasty but visually stunning! You can serve them on a festive platter, gift them to friends in cute holiday bags, or use them as tree ornaments. Imagine how cute they would look hanging on your Christmas tree! They also pair beautifully with hot cocoa or freshly brewed coffee.
Tips for the Perfect Christmas Stained Glass Cookies
- Make sure to chill your dough properly for the best results.
- Use a variety of colored candies for a more festive appearance.
- Don’t skip on the butter; it makes such a difference in flavor and texture.
- If you notice the candies overflow while baking, simply let them cool a bit before breaking the excess off.
- You can also experiment with flavored extracts or zest to add unique flavors to the dough.
Q&A Section
Q: How can I store the cookies?
A: Once cooled, store them in an airtight container at room temperature for up to a week.
Q: Can I freeze them?
A: Absolutely! You can freeze the dough before baking or freeze the baked cookies for up to a month. Just thaw them before serving.
Q: What if my candies don’t melt properly?
A: Make sure you’re using clear, hard candies. If they’re not melting correctly, they might not be fresh or could be too thick.
Q: Can I use other candies?
A: Yes! Just choose hard candies that melt well. Avoid chocolates, as they won’t produce the same effect.
Why You’ll Love It
You will love Christmas Stained Glass Cookies not just for their beautiful appearance, but also for the delightful crunch they offer. Each bite is sweet, buttery, and slightly chewy, mixed with that sweet, melted candy in the center. Plus, they’re a great way to get into the festive spirit while having fun with family and friends during the holiday season.
Behind the Scenes
When I was developing this recipe, I think I ended up with a kitchen disaster that made me giggle. The first batch had way too much colored candy, and instead of the beautiful stained glass effect, they turned into colorful, sugary blobs! But that’s the beauty of experimenting in the kitchen, right? It’s all about having fun and learning from each attempt. If you’re curious, you can catch some of my other festive treats on my Pinterest page here: My Recipe Cast.
So gather your ingredients, get your loved ones involved, and let the magic of baking shine through with these Christmas Stained Glass Cookies. I promise, every time you look at those sparkling cookies, you’ll feel the warmth and joy of the holiday season!
Christmas Stained Glass Cookies
Ingredients
Cookie Dough Ingredients
- 2 3/4 cups All-purpose flour Can substitute with a gluten-free blend.
- 1 cup Granulated sugar Adds sweetness.
- 1 cup Butter Can replace with coconut oil for dairy-free option.
- 1 large Eggs For binding.
- 1 teaspoon Vanilla extract For flavor.
- 1 teaspoon Baking powder Leavening agent.
- 1/4 teaspoon Salt Enhances sweetness.
Candy Fillings
- 1 cup Clear hard candies Use colored varieties like Jolly Ranchers or Lifesavers.
Instructions
Preparation
- Beat together butter and sugar until fluffy. Add eggs one at a time, mixing thoroughly before each addition. Stir in vanilla.
- Gradually mix in flour, baking powder, and salt until combined.
Chilling the Dough
- Divide the dough into portions, wrap in plastic wrap, and chill in the refrigerator for at least an hour.
Candy Preparation
- Crush the candies into small pieces using a zip-lock bag and a rolling pin.
- Keep the pieces a bit chunky for best results.
Baking
- Roll out the chilled dough to about 1/4-inch thick. Use cookie cutters to cut shapes, and cut smaller shapes from the center.
- Place the cookie shapes on a baking sheet lined with parchment paper and fill center cutouts with crushed candies.
- Bake in a preheated oven at 350°F (175°C) for about 8-10 minutes, until edges are lightly golden.
- Let cool on the baking sheet for a few minutes before transferring to a wire rack.
Serving
- Serve the cookies on a festive platter, gift them in holiday bags, or use as tree ornaments.