Table of Contents
Fruity Pebbles Cheesecake Tacos Are a Game-Changer
Have you ever thought about combining the sweet, nostalgic crunch of Fruity Pebbles with the creamy goodness of cheesecake? Well, with Fruity Pebbles Cheesecake Tacos, you can! This recipe is not just a treat for your taste buds; it packs a delightful twist on traditional desserts. Perfect for parties or a sweet afternoon snack, they bring a vibrant pop of color and flavor that’ll make anyone smile. Trust me; once you try these, you’ll wonder how you ever lived without them!
What Is Fruity Pebbles Cheesecake Tacos?
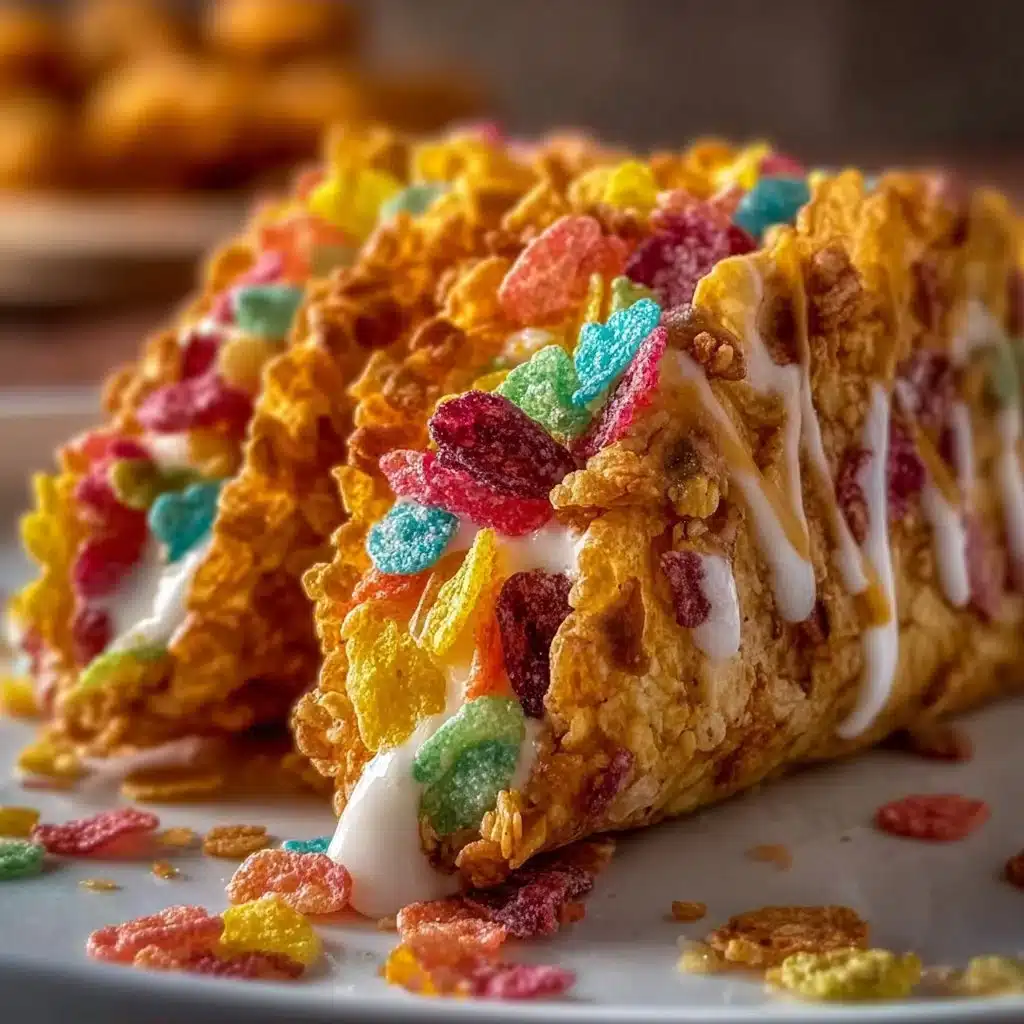
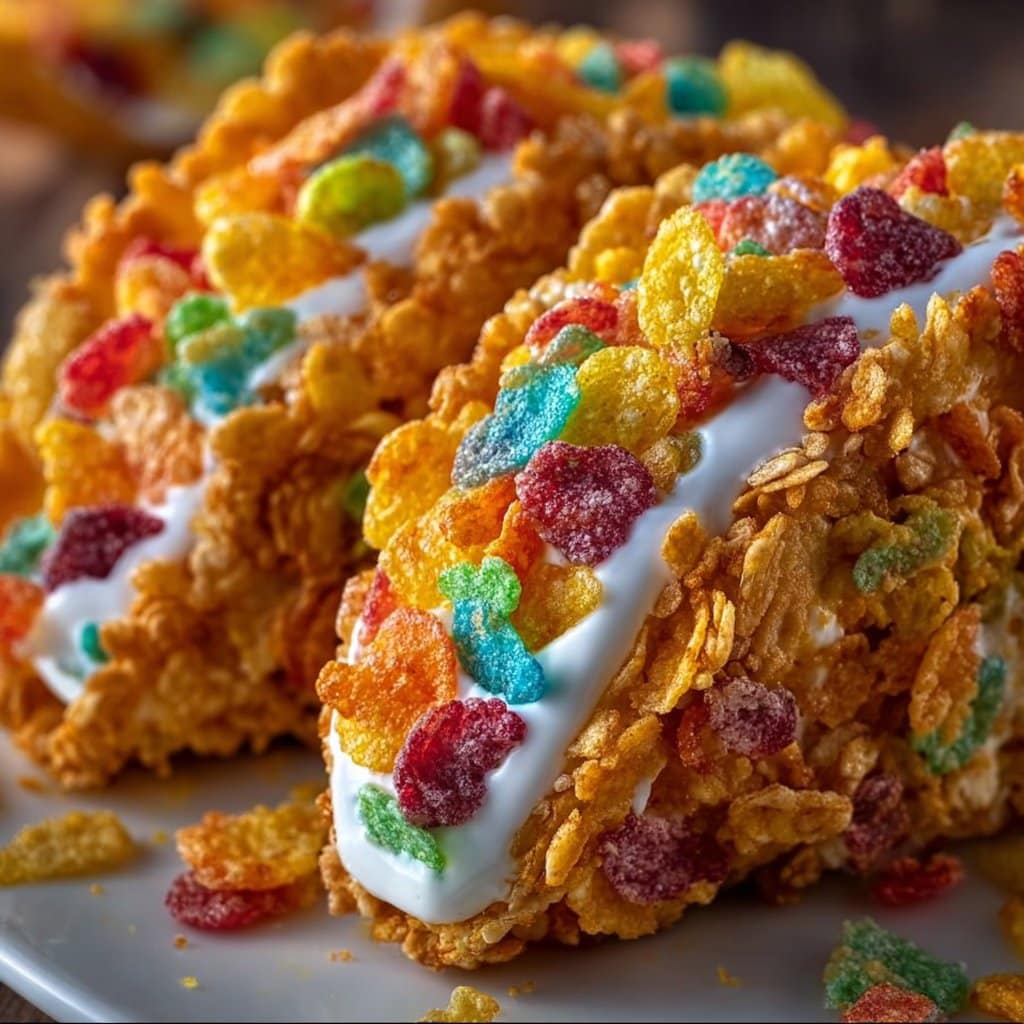
Fruity Pebbles Cheesecake Tacos are essentially delightful dessert tacos made with a crispy shell and filled with a luscious cheesecake filling that’s infused with the iconic flavor of those colorful cereal rings. Imagine biting into a crunchy tortilla shell, expecting something savory, only to discover a world of sweet, creamy cheesecake underneath. It’s a playful and creative way to enjoy your dessert, making it a hit with the kiddos and adults alike. Plus, they’re easy to customize, so you can add your personal touch!
Ingredients Overview for Fruity Pebbles Cheesecake Tacos
You won’t need a million ingredients for this recipe. Just a handful of tasty items to whip these up!
- Taco Shells: Use either store-bought mini taco shells or make your own using flour tortillas baked in a taco mold.
- Cream Cheese: Get it softened to room temperature for easy blending.
- Sugar: Regular granulated sugar adds the perfect sweetness.
- Vanilla Extract: A splash of vanilla elevates the flavor of your cheesecake.
- Cool Whip: This fluffy whipped topping gives the cheesecake that light, airy texture.
- Fruity Pebbles Cereal: The star of the show— it adds color and that unmistakable fruity flavor.
- Sprinkles: Optional, but who doesn’t love a bit of extra color and fun?
Step-by-Step Instructions for Fruity Pebbles Cheesecake Tacos
- Prep the Taco Shells: If you’re using flour tortillas, preheat your oven to 350°F (175°C). Lightly spray both sides of your tortillas, then place them in a taco mold or shape them with two oven-safe cups to mimic taco shells. Bake until crispy for about 10-15 minutes.
- Make the Cheesecake Filling: In a mixing bowl, combine the softened cream cheese and sugar. Beat until smooth and creamy.
- Add Whipped Topping: Fold in the Cool Whip gently until everything is well blended. You want the mixture to stay light and fluffy!
- Flavor it Up: Stir in a teaspoon of vanilla extract for that sweet aroma and taste. Then, add a generous amount of the Fruity Pebbles into the mix. Save a bit for topping!
- Fill the Taco Shells: Once your taco shells are cooled, spoon the cheesecake mixture into each shell. Go wild, fill them to the brim!
- Top and Serve: Sprinkle extra Fruity Pebbles and, if desired, some colorful sprinkles on top of each taco. Serve them right away for the crispiest treat!
Serving Suggestions
These Fruity Pebbles Cheesecake Tacos can be served as a fun dessert at any gathering! You can even set up a little taco bar, allowing your guests to sprinkle on toppings or drizzle some chocolate sauce over them. Pair with a chilled glass of milk or a scoop of vanilla ice cream for an extra treat. Trust me, they’re a hit at birthday parties or when you just need a pick-me-up!
Tips For The Perfect Fruity Pebbles Cheesecake Tacos
- Bake the Shells Until Crispy: Make sure your taco shells are nice and crunchy to hold the creamy filling.
- Use Room Temperature Ingredients: This ensures that your cream cheese mixes smoothly without lumps.
- Add More Fruity Pebbles: If you want extra crunch, throw in a few extra pieces of cereal into the filling.
- Chill Before Serving: While they’re best enjoyed fresh, letting them sit in the fridge for a bit can help the flavors meld even more nicely.
Q&A Section
Q: Can I make the taco shells in advance?
A: Yes! You can prepare the taco shells a day ahead and store them in an airtight container.
Q: Can I use another type of cereal?
A: Absolutely! Any colorful cereal would work, but Fruity Pebbles really give that unique flavor.
Q: How can I make these gluten-free?
A: Use gluten-free tortillas to make the shells, and you’re all set!
Q: What’s the best way to store leftovers?
A: Store them in the fridge in an airtight container, but they’re best enjoyed fresh!
Why You’ll Love It
These Fruity Pebbles Cheesecake Tacos are such a delight! They blend creamy and crunchy textures, making each bite an exciting experience. The bright colors make them so visually appealing, perfect for sharing on Instagram. Plus, they’re super easy to whip up, meaning you won’t have to spend all day in the kitchen. Whether it’s an after-school treat or a special celebration, they’re guaranteed to bring smiles all around.
Behind The Scenes
Creating these Fruity Pebbles Cheesecake Tacos was such a fun journey! At first, I experimented with different fillings, but nothing felt quite right. After a few tries, I stumbled upon this perfect mix of cream cheese and Cool Whip, and oh my goodness, the flavors came together brilliantly! I remember thinking, "This is it!" I even created a fun Pinterest board with ideas for serving and decorating these tasty tacos, so check it out here: My Recipe Cast on Pinterest. It’s been a wild ride, and I can’t wait for you to try this recipe!

Fruity Pebbles Cheesecake Tacos
Ingredients
For the Taco Shells
- 12 mini mini taco shells Use store-bought or homemade using flour tortillas.
For the Cheesecake Filling
- 8 oz cream cheese Softened to room temperature.
- 1/2 cup granulated sugar Adds sweetness.
- 1 tsp vanilla extract Enhances flavor.
- 1 cup Cool Whip For light, airy texture.
- 2 cups Fruity Pebbles cereal Adds color and fruity flavor.
- 1/2 cup sprinkles Optional decoration.
Instructions
Preparation of Taco Shells
- Preheat your oven to 350°F (175°C).
- Lightly spray both sides of your flour tortillas, then shape them in a taco mold or with two oven-safe cups.
- Bake until crispy for about 10-15 minutes.
Making the Cheesecake Filling
- In a mixing bowl, combine the softened cream cheese and sugar. Beat until smooth and creamy.
- Fold in the Cool Whip gently until well blended.
- Stir in a teaspoon of vanilla extract, then add a generous amount of Fruity Pebbles, saving some for topping.
Assembling Tacos
- Once your taco shells are cooled, spoon the cheesecake mixture into each shell, filling to the brim.
- Top with extra Fruity Pebbles and sprinkles as desired. Serve immediately for the crispiest treat.