Table of Contents
Halloween Cookies: A Spooky Treat to Get You in the Spirit
Halloween cookies are one of my all-time favorite treats! There’s something just delightful about baking spooky shapes and decorating them with colorful icing. You know, it adds a little magic to the season, doesn’t it? Every year, I look forward to whipping up these yummy bites, and I often invite friends over for some baking fun. So, grab your apron, and let’s get started on these irresistible Halloween cookies that are perfect for sharing or hoarding all to yourself!
What Are Halloween Cookies?
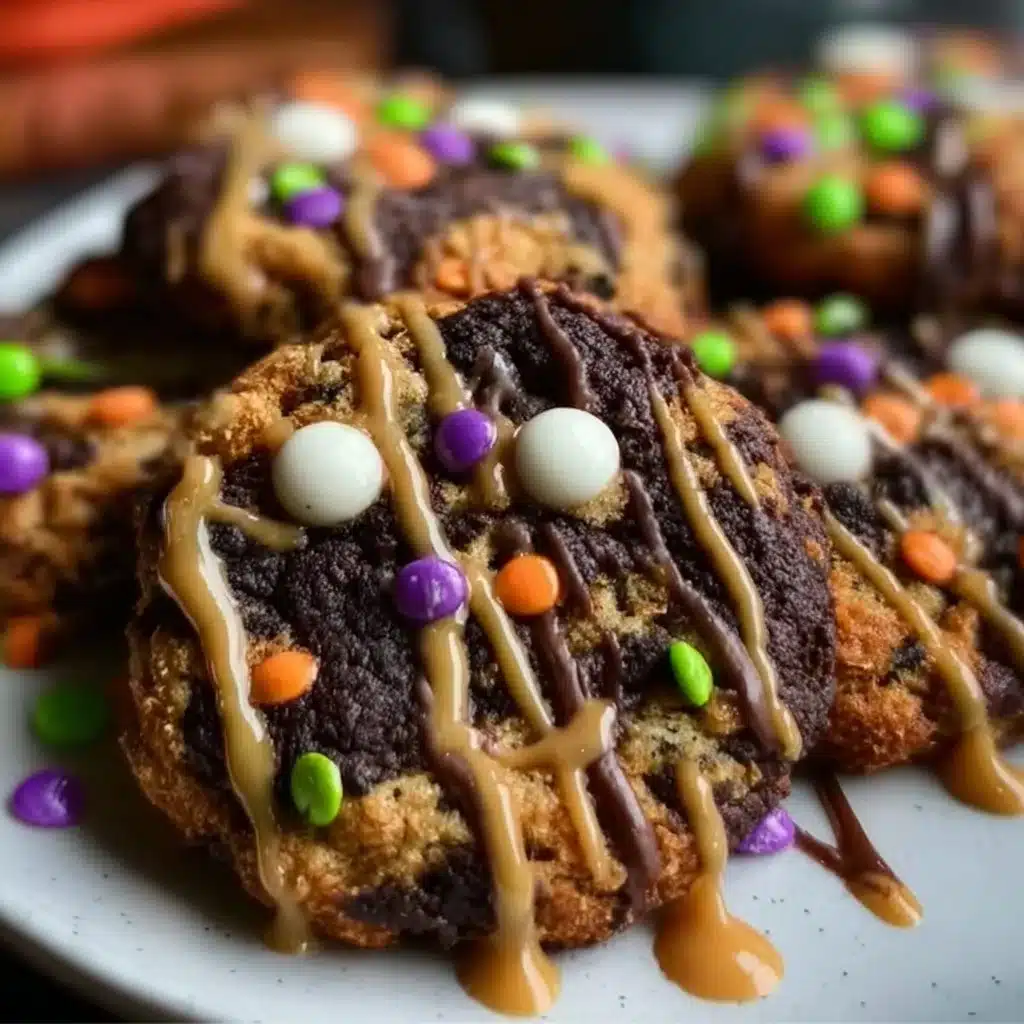
Halloween cookies are sweet delights made especially for this festive season. Picture cheerful ghosts, grinning pumpkins, and creepy spiders. They are typically soft and chewy, or you can go for crispy if that’s your jam. The best part is the decoration! You can let your creativity flow with vibrant icing, sprinkles, and edible glitter, making every cookie a unique masterpiece. Kids love to get involved in the fun, too, so don’t be surprised if they want to help, or better yet, sneak a nibble or two.
Ingredients Overview for Halloween Cookies
Alright friends, here’s what you will need for these cookie masterpieces. I promise this is simple, and if you’re missing an item, I’ll share some easy swaps.
- All-Purpose Flour: This is your base. You can use gluten-free flour if that’s your preference.
- Granulated Sugar: For sweetness! Brown sugar can give a richer flavor, too.
- Butter: The star of the show! Use unsalted for better control over saltiness.
- Eggs: These help bind it all together. If you’re vegan, flax eggs work great!
- Baking Powder: This makes the cookies rise. Baking soda can be substituted in a pinch.
- Vanilla Extract: For some lovely flavor; almond extract can switch things up a bit.
- Salt: Just a pinch helps to balance the sweetness.
- Food Colorings and Decorative Icing: For those spooky designs, of course!
Step-by-Step Instructions for Halloween Cookies
Let’s get down to business! Here’s how to create these cookie delights, one spooky step at a time.
- Preheat the Oven: Start off by preheating your oven to 350°F (175°C). This is important, trust me!
- Mix Dry Ingredients: In a bowl, whisk together the flour, baking powder, and salt. Set it aside.
- Cream Butter and Sugar: In a separate bowl, cream the soft butter and sugar until it’s light and fluffy. This should take about 3 minutes.
- Add Eggs and Vanilla: Beat in the eggs one at a time, then add the vanilla extract. Mix until combined.
- Combine Mixtures: Gradually add your dry ingredients to the wet mixture, stirring until just combined. Don’t overdo it!
- Chill the Dough: Cover the cookie dough and let it sit in the fridge for 30 minutes. This helps to firm it up and makes it easier to roll out.
- Roll and Cut: Roll out the dough on a floured surface to about ¼ inch thick. Use spooky cookie cutters to cut out fun shapes.
- Bake: Place the cookies on a parchment-lined baking sheet. Bake for 8-10 minutes, until the edges are slightly golden.
- Cool: Let them cool on a wire rack before decorating.
Serving Suggestions
Serve these Halloween cookies on a fun platter that matches the season. You can arrange them with some cute Halloween-themed decorations, like small pumpkins or spider webs. They make a delightful addition to any Halloween party or even just a cozy night in with friends and family. Pair them with some warm apple cider or hot chocolate, and you’ve got the perfect treat!
Tips For The Perfect Halloween Cookies
- Chill the Dough: This helps the cookies retain their shape during baking—trust me, it makes a difference!
- Don’t Over-Bake: For chewy cookies, take them out of the oven when they’re just barely golden around the edges.
- Decorate After Cooling: Always wait until the cookies are completely cool before bringing out the icing; otherwise, it might melt.
- Use Piping Bags: For clean designs, use a piping bag with a fine tip for detailing your cookies.
Q&A Section
1. Can I use whole wheat flour instead of all-purpose?
Absolutely! Just remember that it may change the texture slightly, but it can still be delicious.
2. How should I store my Halloween cookies?
Store them in an airtight container at room temperature for up to a week. If they last that long!
3. What if I don’t have cookie cutters?
No worries! You can simply shape them into balls and flatten them with your hand – they’ll still be delicious.
4. Can I freeze the cookie dough?
Yes, it freezes beautifully! Just wrap it tightly in plastic wrap and store it for up to 3 months. Thaw it in the fridge before rolling out.
Why You’ll Love Halloween Cookies
These cookies are a festive tradition that brings joy to any Halloween celebration. They’re not just about the taste; they’re about the fun of decorating and creating something unique with friends or loved ones. Plus, the smell of freshly baked cookies wafting through your house? Pure bliss! If you’re looking to spread some spooky cheer, this recipe is just the ticket.
Behind The Scenes
When I first tried making Halloween cookies, I had a fun time, but let me tell you about my first flop. I thought I could skip chilling the dough, and boy, did I regret it! My cookies transformed into flat blobs instead of those cute spooky shapes. After a few trial and error moments, I perfected my cooling technique and figured out how to decorate without making a mess. So, here I am, inviting you to check out my Pinterest page for more inspiration! You can find awesome tips and visuals on my journey at MyRecipeCast. It’s filled with my baking tries and tasty creations!
Baking these Halloween cookies is such a fun way to celebrate the season. Whether you’re enjoying them yourself or sharing with others, nothing says festive like a delicious treat made from the heart. Happy baking, and may your cookies always be spooky and sweet!
Halloween Cookies
Ingredients
Main ingredients
- 2 cups All-Purpose Flour You can use gluten-free flour if desired.
- 1 cup Granulated Sugar Brown sugar can give a richer flavor.
- 1 cup Butter Use unsalted for better control over saltiness.
- 2 Eggs Flax eggs can be used for a vegan alternative.
- 2 teaspoons Baking Powder Baking soda can be substituted in a pinch.
- 1 teaspoon Vanilla Extract Almond extract can switch things up.
- 1/4 teaspoon Salt Just a pinch helps to balance the sweetness.
Decorative ingredients
- as needed Food Colorings and Decorative Icing For spooky designs.
Instructions
Preparation
- Preheat your oven to 350°F (175°C).
- In a bowl, whisk together the flour, baking powder, and salt. Set aside.
- In a separate bowl, cream the butter and sugar until light and fluffy (about 3 minutes).
- Beat in the eggs one at a time, then add the vanilla extract. Mix until combined.
- Gradually add the dry ingredients to the wet mixture, stirring until just combined.
- Cover the cookie dough and chill in the fridge for 30 minutes.
- Roll out the dough on a floured surface to about 1/4 inch thick and cut out shapes with cookie cutters.
Baking
- Place the cookies on a parchment-lined baking sheet.
- Bake for 8-10 minutes until the edges are slightly golden.
- Let cookies cool on a wire rack before decorating.