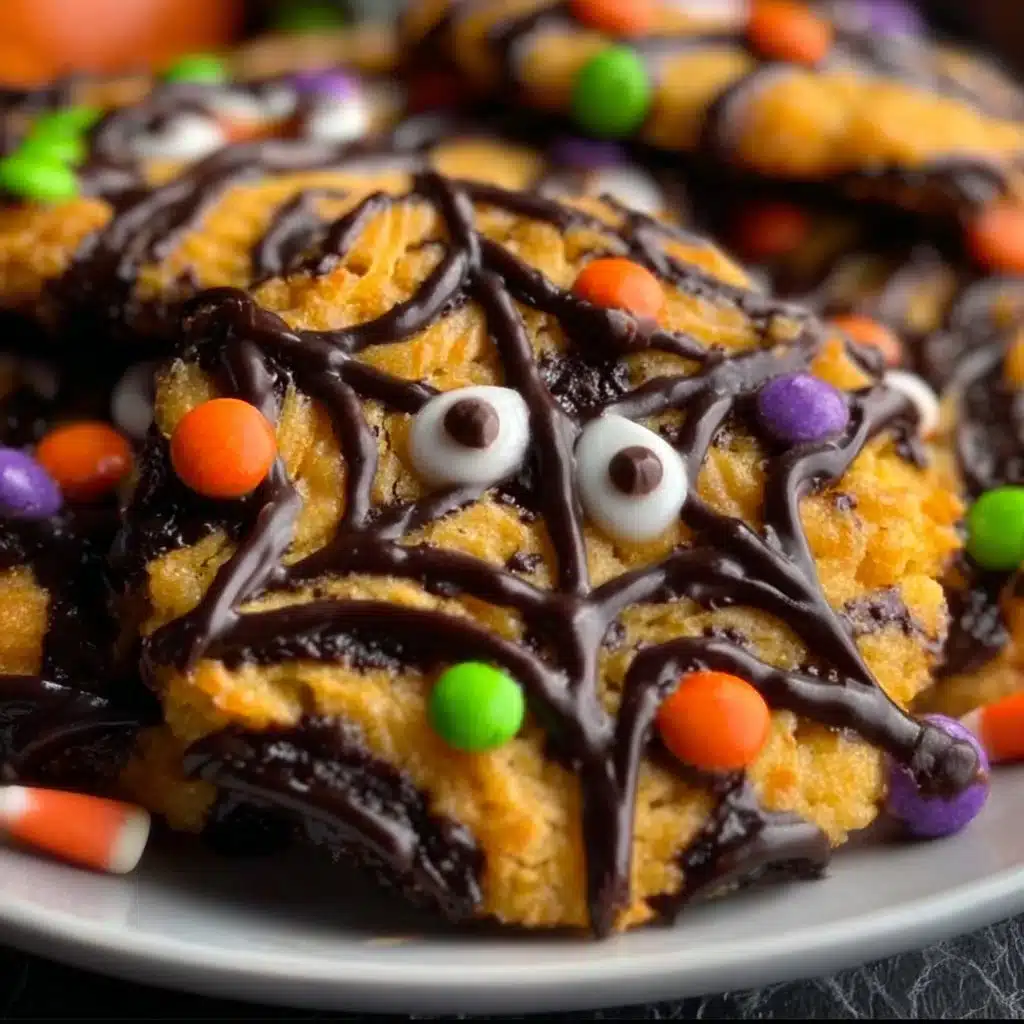
Halloween Cookies
When it comes to spooky season, Halloween cookies are my absolute favorite treat to whip up. There’s something so magical and fun about baking cookies shaped like pumpkins, ghosts, and creepy crawlies. The air gets filled with delightful aromas, and soon enough, my kitchen feels like a little Halloween wonderland. Whether you’re planning a party or just want to get into the holiday spirit, so let’s bake some festive goodies together!
Table of Contents
What Are Halloween Cookies?
Halloween cookies are a playful and festive way to celebrate the season! Think about cookies that go beyond just your regular chocolate chip or sugar cookie. You can have them decorated to look like various Halloween icons, whether it’s a cute little ghost, a grinning pumpkin, or even a tiny bat. They typically take a base cookie recipe and then get transformed with some creative decorations. It’s the perfect craft for both kids and adults; after all, who doesn’t love a decorated cookie that you can nibble on?
Ingredients Overview for Halloween Cookies
Before we dive into the fun of making these cookies, let’s quickly chat about what you’ll need. Here’s a list of the essentials for these delightful Halloween cookies:
- All-purpose flour: The base of our cookies! It gives them structure and chewiness.
- Baking powder: This helps your cookies rise and gives them that lovely soft texture.
- Salt: Just a pinch to balance the sweetness! Trust me, it makes a difference.
- Unsalted butter: You want this at room temperature for easy mixing. It gives the cookies a rich flavor.
- Granulated sugar: This sweetens things up and helps create that irresistible cookie texture.
- Brown sugar: Adds moisture and a lovely caramel-like flavor. Yum!
- Eggs: For binding everything together; you’ll need one large egg.
- Vanilla extract: A splash of this magic potion makes all the difference in flavor!
- Food coloring: Optional, but it’s totally fun for decorating.
- Royal icing or fondant: For decorating—make these cookies come to life with your creativity!
Step-by-Step Instructions
Let’s get our hands a little messy and jump right into making those Halloween cookies!
- Preheat your oven: Start by preheating to 350°F (175°C). This will make sure your cookies bake evenly.
- Mix dry ingredients: In a bowl, whisk together your flour, baking powder, and salt. Set it aside for now.
- Cream butter and sugars: In another big mixing bowl, beat the softened butter, granulated sugar, and brown sugar together until it’s light and fluffy. This usually takes around 3-5 minutes.
- Add egg and vanilla: Mix in the egg and vanilla extract until everything is nicely combined.
- Combine dry and wet ingredients: Gradually add in your flour mixture until just combined. Don’t over-mix!
- Chill the dough: Cover the bowl with plastic wrap and chill in the fridge for about 30 minutes. This will help your cookies maintain their shape while baking.
- Roll and cut: Dust your surface with a bit of flour, roll out the chilled dough to about 1/4-inch thick, and use your cookie cutters to cut out fun shapes.
- Bake: Place your cookie shapes on a lined baking sheet and bake for about 8-10 minutes or until the edges are slightly golden.
- Cool: Let your cookies cool on the baking sheet for a few minutes before transferring them to a wire rack to cool completely.
- Decorate: Once cooled, let your creative side shine! Use royal icing or fondant to decorate your cookies with ghoulish designs.
Serving Suggestions
These Halloween cookies are perfect for any spooky gathering! You can set them out at your Halloween party alongside other festive treats. Kids love to decorate their own cookies, so why not create a little DIY cookie decorating station? Plus, they make wonderful treats to send to school or to enjoy during your favorite Halloween movie marathon.
Tips for the Perfect Halloween Cookies
- Chill the dough: This step is super important for keeping their shape while baking.
- Don’t overbake: Keep a close eye; you want them soft and slightly underdone when you take them out.
- Create an assembly line: Get your friends or family involved in decorating, making it a fun group activity!
- Experiment with flavors: Try adding spices like cinnamon or nutmeg to your dough for a seasonal twist.
Q&A Section
1. Can I use whole wheat flour instead of all-purpose flour?
Yes, but keep in mind the texture might be a bit different. Whole wheat will make them denser and potentially chewier.
2. Can I freeze these cookies?
Absolutely! You can freeze the baked cookies or freeze the dough before cutting. Just ensure to wrap them well to prevent freezer burn.
3. How do I store decorated cookies?
Store them in an airtight container to keep them fresh, and layer between parchment paper to prevent sticking.
4. Can I make sugar cookies without eggs?
You can substitute eggs using flaxseed meal or applesauce, though the consistency may vary slightly.
Why You’ll Love It
Trust me, once you start making these Halloween cookies, you won’t want to stop. It’s a great way to bond with your family or friends. Plus, their vibrant colors and festive themes make them absolutely Instagram-worthy! The taste? Oh my goodness, they’re buttery, sweet, and the decorated designs will totally make you smile. It’s such a joy to pull them out of the oven and see how all your creativity comes together.
Behind The Scenes
Creating this recipe for Halloween cookies was such an adventure. I tried decorating them with different techniques, and let me tell you, some of my first attempts were quite the disasters—the icing spilled everywhere! But once I figured out the right consistency, I had a blast making colorful monsters and smiling pumpkins. I loved sharing the cookies with friends, and they were a hit at our local Halloween party! If you’re looking for inspiration or want to see more of my tasty creations, check out my Pinterest page at MyRecipeCast.
So, are you ready to bake some Halloween cookies? I can’t wait for you to try them. Let me know how your baking adventure goes!
Halloween Cookies
Ingredients
Cookie Base Ingredients
- 2 cups All-purpose flour The base of the cookies.
- 1 teaspoon Baking powder Helps the cookies rise.
- 1/2 teaspoon Salt Balances the sweetness.
- 3/4 cup Unsalted butter Should be at room temperature.
- 1 cup Granulated sugar Sweetens the cookies.
- 1/2 cup Brown sugar Adds moisture and flavor.
- 1 large Egg Binds ingredients together.
- 1 teaspoon Vanilla extract Enhances the flavor.
Decoration Ingredients
- as needed Food coloring Optional for decorating.
- as needed Royal icing or fondant For decorating designs.
Instructions
Preparation
- Preheat your oven to 350°F (175°C).
- In a bowl, whisk together the flour, baking powder, and salt. Set aside.
- In another mixing bowl, beat the softened butter, granulated sugar, and brown sugar together until light and fluffy (about 3-5 minutes).
- Mix in the egg and vanilla extract until fully combined.
- Gradually add the flour mixture until just combined. Avoid over-mixing.
- Cover the bowl with plastic wrap and chill in the fridge for about 30 minutes.
Baking
- Dust your surface with flour, roll out the chilled dough to about 1/4-inch thick, and use cookie cutters to cut out fun shapes.
- Place the cookie shapes on a lined baking sheet and bake for about 8-10 minutes, until edges are slightly golden.
- Allow cookies to cool on the baking sheet for a few minutes before transferring them to a wire rack to cool completely.
Decoration
- Once cooled, decorate your cookies with royal icing or fondant according to your creativity.