Table of Contents
Homemade Chocolate Pudding: A Sweet Comfort
There’s just something about homemade chocolate pudding that takes me right back to my childhood kitchen. It’s warm, creamy, and utterly delicious. Whenever I crave a comforting dessert, I reach for this pudding recipe. It’s simple to make, and I bet you’ll enjoy whipping it up just as much as I do!
What Is Homemade Chocolate Pudding?
Homemade chocolate pudding is a rich and creamy dessert that’s both comforting and indulgent. Made from scratch, it’s smoother and more flavorful than anything you might find in a box. The process of making it allows you to really experience the magic of transforming simple ingredients into a luscious, chocolatey treat. Whether you enjoy it warm or chilled, it never fails to satisfy your sweet tooth. Plus, it’s incredibly versatile, making it a perfect treat for any occasion.
Ingredients Overview for Homemade Chocolate Pudding
Before we jump into the magic of making this pudding, let’s chat about what you’ll need. Here’s a quick rundown:
- Cocoa Powder: Unsweetened cocoa is best for that rich chocolate flavor. Look for a high-quality one for the best results.
- Granulated Sugar: Sweetens the deal! You can adjust this to your taste.
- Cornstarch: This is what gives your pudding that perfect, smooth consistency.
- Salt: Just a pinch boosts the overall flavor.
- Milk: Whole milk is my go-to for richness, but you can also use almond or oat milk for a dairy-free version.
- Vanilla Extract: Adds a lovely depth of flavor.
- Butter: Just a little to make it silky and luxurious. You can use a dairy-free alternative if needed.
Step-by-Step Instructions for Homemade Chocolate Pudding
Now that we have our ingredients ready, let’s get to the fun part: making the pudding!
- Mix Dry Ingredients: In a medium saucepan, combine cocoa powder, sugar, cornstarch, and salt. Whisk them together until well blended.
- Add Milk: Gradually whisk in milk over medium heat. Make sure to stir continuously to avoid lumps.
- Cook: Keep stirring until the mixture begins to thicken and bubbles form, about 5-7 minutes.
- Add Butter and Vanilla: Once thickened, remove from heat. Stir in butter and vanilla extract until the butter melts completely.
- Cool: Pour the pudding into individual serving dishes or one large bowl and let it cool slightly. You can even press plastic wrap directly onto the surface to prevent a skin from forming.
Serving Suggestions
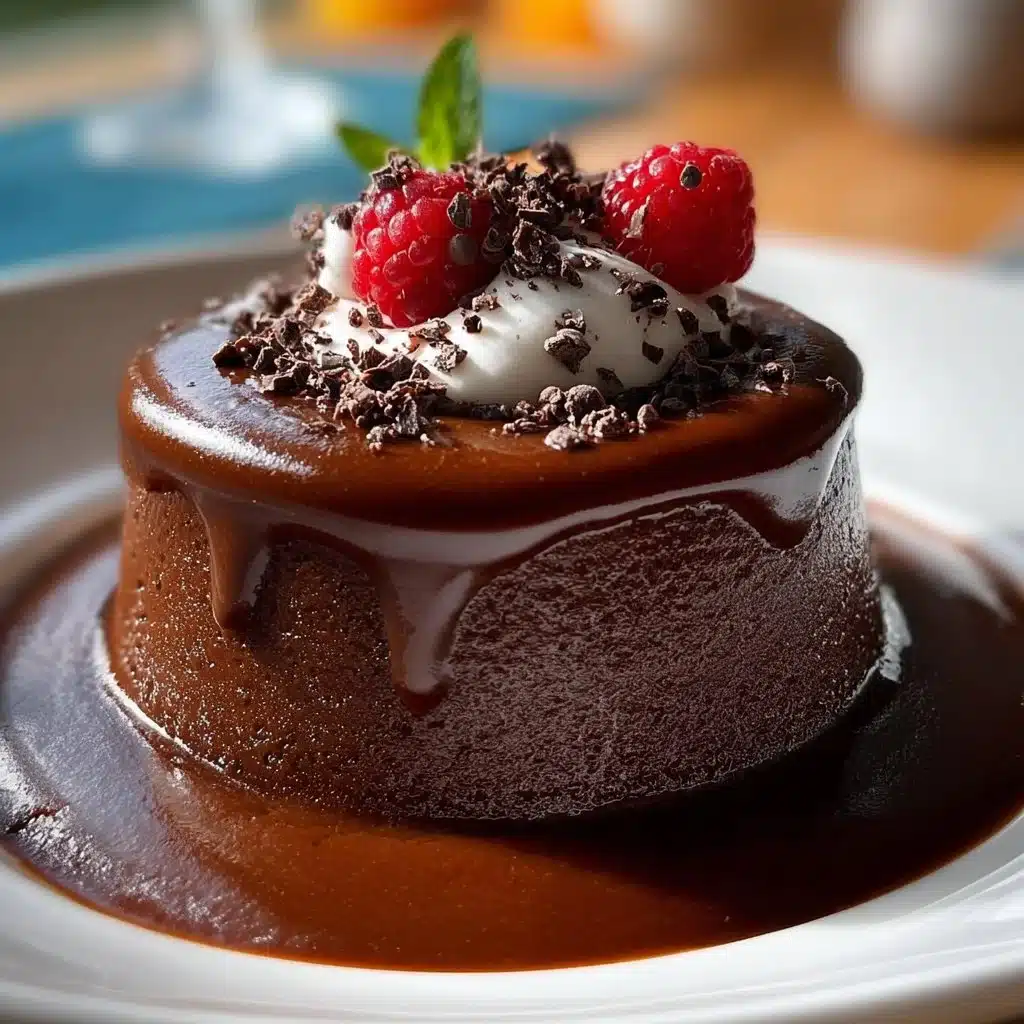
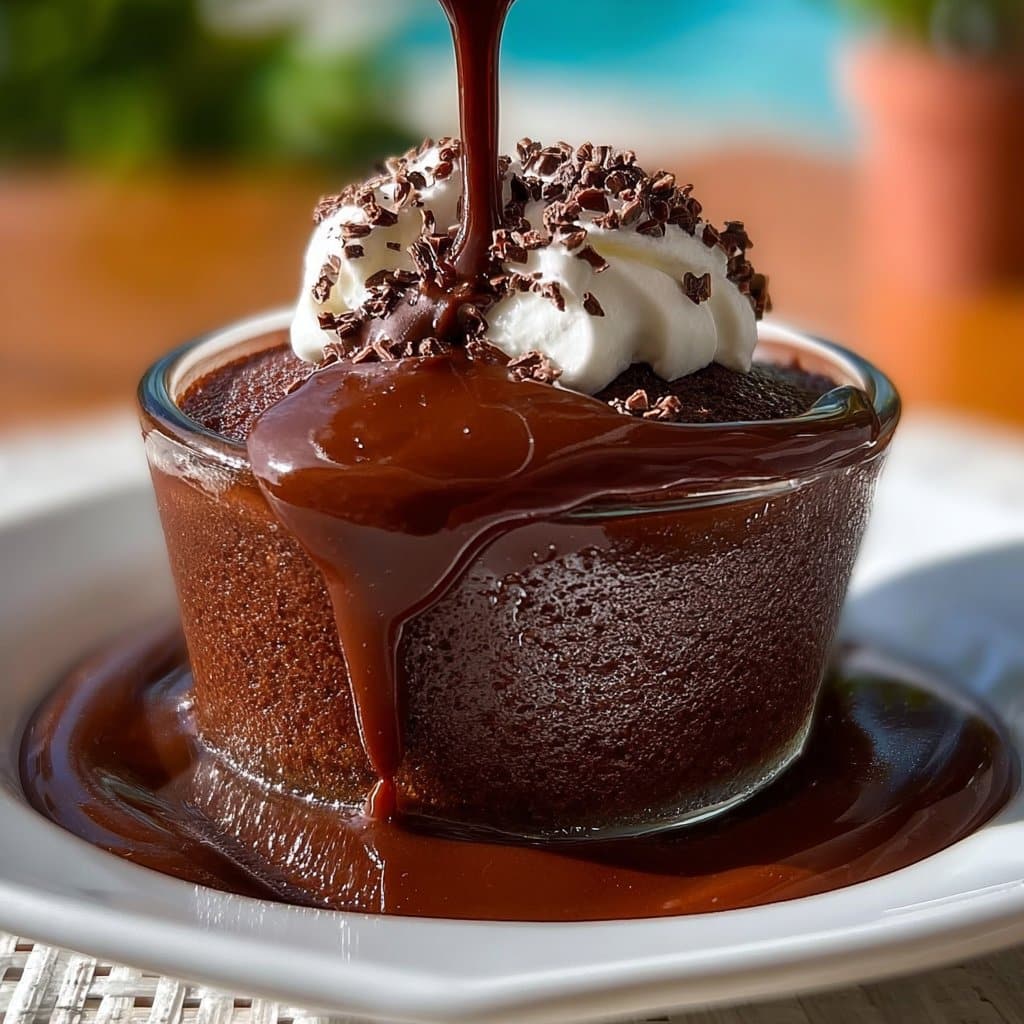
Homemade chocolate pudding is delightful on its own, but why not get a little creative? Serve it with a dollop of whipped cream, sprinkle some chocolate shavings on top, or add fresh berries for a fruity twist. You can also layer it in a parfait with crushed cookies or enjoy it over a slice of cake. The possibilities are endless!
Tips For The Perfect Homemade Chocolate Pudding
- Whisk Constantly: This helps prevent lumps and ensures a smooth texture.
- Taste Test: Don’t hesitate to adjust the sugar according to your taste preference.
- Storage: Keep it covered in the fridge for up to five days for a quick dessert option anytime.
- Chill: If you love it cold, let it chill in the fridge for a couple of hours before digging in.
Q&A Section
1. Can I make this pudding vegan?
Absolutely! Use plant-based milk and swap the butter for a dairy-free version.
2. How long does homemade chocolate pudding last?
Stored properly in the fridge, it can last up to five days.
3. Can I add flavors to it?
Definitely! Try adding espresso powder for mocha flavor or a hint of peppermint extract for something festive.
4. What if I want a thicker pudding?
You can increase the cornstarch slightly, or cook it a bit longer to achieve your desired thickness.
Why You’ll Love It
You’ll love homemade chocolate pudding because it’s so easy to whip up and uses ingredients you probably already have. Plus, it’s a nostalgic treat that can bring a little joy into your day. It’s both comforting and indulgent without being overly complicated. Trust me; once you try it, you won’t go back to store-bought pudding.
Behind The Scenes
When I first attempted to create my homemade chocolate pudding, I was determined to get it just right. There were a couple of mishaps along the way, including a batch that turned out too lumpy before I realized the importance of constant whisking. But each stumble taught me something new, and eventually, I nailed it! Now, I’m eager to share this delicious recipe with you. If you’re looking for more inspiration, feel free to check out my Pinterest page for lots of yummy ideas: MyRecipeCast.
With this homemade chocolate pudding, you’re set to impress your friends and family. Enjoy every smooth, creamy bite!
Homemade Chocolate Pudding
Ingredients
Dry Ingredients
- 1/3 cup Cocoa Powder Unsweetened cocoa is best for that rich chocolate flavor.
- 3/4 cup Granulated Sugar Can be adjusted to taste.
- 1/4 cup Cornstarch Gives pudding a perfect, smooth consistency.
- 1/4 teaspoon Salt Boosts overall flavor.
Wet Ingredients
- 2 cups Milk Whole milk is recommended, can use almond or oat milk for dairy-free.
- 2 tablespoons Butter Use a dairy-free alternative if needed.
- 1 teaspoon Vanilla Extract Adds depth of flavor.
Instructions
Preparation
- In a medium saucepan, combine cocoa powder, sugar, cornstarch, and salt. Whisk them together until well blended.
- Gradually whisk in milk over medium heat. Make sure to stir continuously to avoid lumps.
- Keep stirring until the mixture begins to thicken and bubbles form, about 5-7 minutes.
- Once thickened, remove from heat. Stir in butter and vanilla extract until the butter melts completely.
- Pour the pudding into individual serving dishes or one large bowl and let it cool slightly. Press plastic wrap directly onto the surface to prevent a skin from forming.