Mouthwatering Homemade Chocolate Truffles
There’s something truly enchanting about the process of making homemade chocolate truffles. As a child, I remember hovering around the kitchen, drawn in by the rich aroma of melting chocolate. Whenever my mom would whip up these little bites of bliss, it felt like magic—the simple act of blending chocolate with cream to create something divine. Now, each time I make these truffles, it’s like a warm hug from the past, bringing back the playful joy of cooking alongside my family.
This recipe for homemade chocolate truffles stands out not just for its decadent flavors, but also for its simplicity. With just a few ingredients, you’ll create an indulgent treat that’s perfect for any occasion. Whether you’re looking to impress guests or just reward yourself after a long week, these truffles are versatile and oh-so-delicious!
Ingredients You’ll Need
- 8 ounces bittersweet chocolate, chopped (a high-quality chocolate makes all the difference)
- 1/2 cup heavy cream (you can also use coconut cream for a dairy-free option)
- 2 tablespoons unsalted butter (or vegan butter, if you prefer)
- 1 teaspoon vanilla extract (or espresso powder for a bold twist)
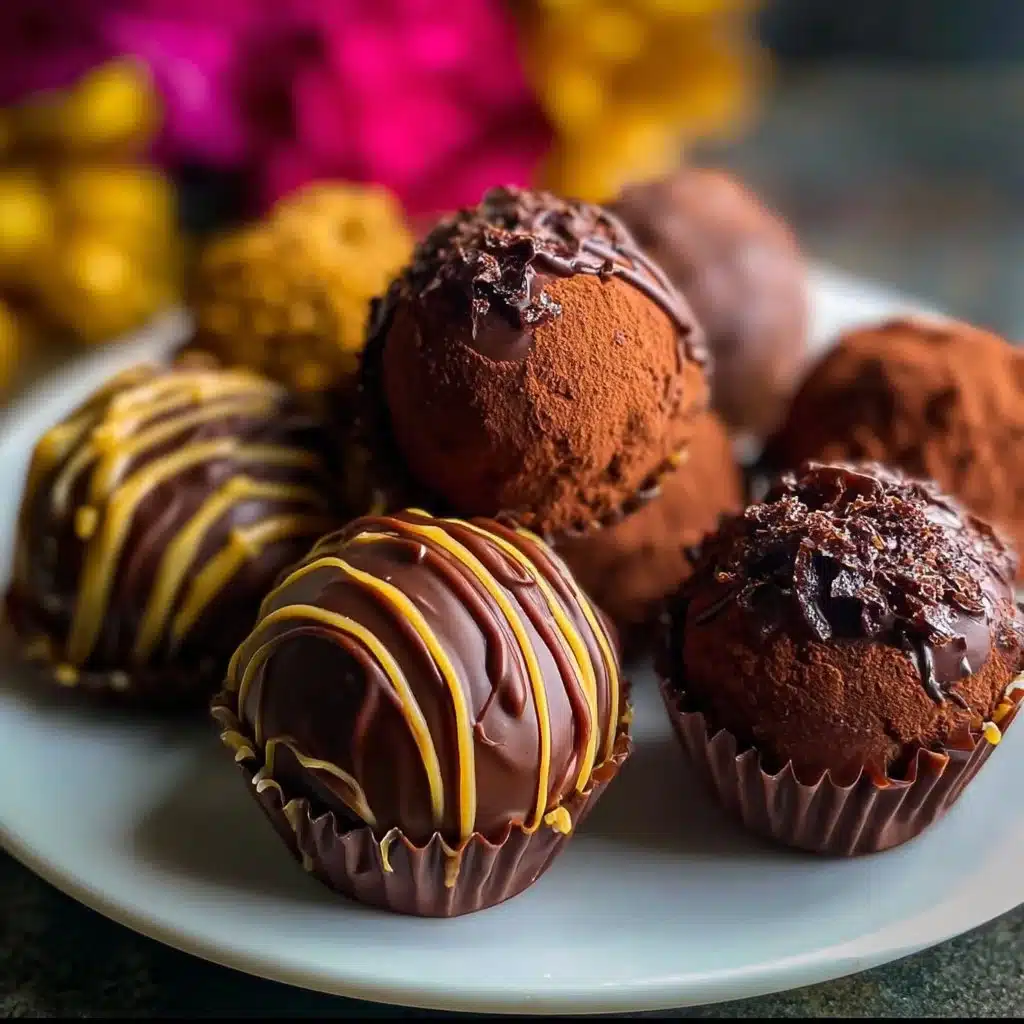
- Cocoa powder, crushed nuts, or shredded coconut, for coating (let your imagination run wild)
Let’s Get Cooking!
First, gather all your ingredients and equipment. You’ll need a heatproof bowl, whisk, and a baking sheet lined with parchment paper. The chocolate will melt quickly, so it’s best to be prepared.
Begin by heating the heavy cream in a saucepan over medium heat until it’s just about to simmer. You want those little bubbles forming around the edges—a clear sign you’re ready for the next step. Once you see that, remove it from the heat and pour it over your chopped chocolate in the bowl. Give it a few moments to get cozy.
Next, grab a whisk and stir gently until the chocolate is entirely melted and beautifully smooth. If you encounter stubborn lumps, don’t hesitate to pop it back onto low heat for a minute, just enough to help it along. This is where the magic truly happens. The silky chocolate blend should feel luxurious and looks glossed like velvet.
Now, stir in the butter and vanilla extract. This adds that lovely sheen and a rich depth to the truffles. Let this mixture cool at room temperature for about 30 minutes, or until it’s firm enough to handle. You can also refrigerate it to speed things up, but keep an eye on it!
Once your chocolate ganache is set, it’s time to get your hands a little messy. Scoop out small portions of the chocolate using a melon baller or your trusty teaspoon. Roll them into little balls—don’t worry if they’re not perfect! Place these on your lined baking sheet.
Finally, coat your truffles! Roll each one in cocoa powder, crushed nuts, or shredded coconut—whatever speaks to your taste buds. Let them sit on the baking sheet for about 15-30 minutes to set, and voila! Your homemade chocolate truffles are ready to be devoured.
Serving Suggestions: Truffle Time!
Feeling fancy? Serve your truffles on a lovely platter decorated with fresh herbs or berries. Drizzle with a warm chocolate sauce or place them in individual candy cups for a more elegant presentation. They make a wonderful gift too! Just box them up with a little ribbon, and you’ve got a heartfelt treat for your loved ones. Perfect for holidays, birthday parties, or simply to keep on hand for a cozy night in.
Tips and Variations
- Flavors: Experiment with different flavorings! Infuse your cream with peppermint or orange, or even add a dash of sea salt for a salted caramel version.
- Dairy-Free Options: Substitute the heavy cream with coconut cream and the butter with a dairy-free variant to make these truffles vegan-friendly.
- Prep Shortcuts: Feeling pressed for time? Use store-bought chocolate ganache and simply shape and coat to make it even quicker!
- Serving Ideas: How about pairing these truffles with a glass of red wine for a romantic evening or pairing them with a strong coffee for a delightful pick-me-up?
Q&A Section
1. Can I use milk chocolate instead of bittersweet?
Absolutely! If you prefer a sweeter truffle, milk chocolate would work well. Just be cautious as it can be a bit softer, so you may need to chill the mixture longer.
2. How do I store leftover truffles?
Store them in an airtight container in the fridge for up to two weeks. Just let them sit at room temperature for a few minutes before enjoying for the best texture.
3. What if my ganache didn’t set?
No worries! If your ganache is too soft, you can gently reheat it and mix in a little more chopped chocolate to firm it up, then chill again.
4. Can I add liqueur to my truffles?
Definitely! Adding a splash of your favorite liqueur, like orange liqueur or Irish cream, gives your truffles an adult twist. Just be mindful not to add too much liquid.
Behind The Scenes
Creating this chocolate truffle recipe was a delightful journey! I experimented with different chocolate types and coatings, ensuring both flavor and texture were spot-on. The first batch was a tragic chocolate soup instead of truffles, but after slightly tweaking the ratios, I was thrilled with the final result. Seeing the smiles from friends and family as they indulged in my creations made all the trial and error worthwhile.
Final Thoughts
Homemade chocolate truffles are such a treat for any occasion, whether it’s a gift or a personal indulgence. Serve them at your next gathering, or simply enjoying them at home with a good book and a cup of tea can create a cozy moment in your day. Take your time with it and savor the process—the joy is in the journey as much as in the treat itself.
Can’t wait for you to try this! Enjoy making these bites of happiness and let me know how yours turn out!

Homemade Chocolate Truffles
Ingredients
Main Ingredients
- 8 ounces bittersweet chocolate, chopped A high-quality chocolate makes all the difference
- 1/2 cup heavy cream You can also use coconut cream for a dairy-free option
- 2 tablespoons unsalted butter Or vegan butter, if you prefer
- 1 teaspoon vanilla extract Or espresso powder for a bold twist
Coating Options
- Cocoa powder, crushed nuts, or shredded coconut Let your imagination run wild
Instructions
Preparation
- Gather all your ingredients and equipment: a heatproof bowl, whisk, and a baking sheet lined with parchment paper.
- Heat the heavy cream in a saucepan over medium heat until it’s just about to simmer.
- Remove the cream from heat and pour it over the chopped chocolate in the bowl. Let it sit for a moment.
- Stir gently with a whisk until the chocolate is fully melted and smooth. If lumps remain, gently reheat to help melt them.
- Stir in the butter and vanilla extract until combined. Let the mixture cool at room temperature for about 30 minutes, or refrigerate to speed up the cooling process.
Shaping and Coating
- Once the chocolate ganache is set, scoop portions of the mixture using a melon baller or teaspoon and roll them into balls.
- Roll each truffle in cocoa powder, crushed nuts, or shredded coconut to coat.
- Let the coated truffles sit on the baking sheet for 15-30 minutes to set.