Table of Contents
Jellycat Birthday Cake: A Fun and Sweet Celebration!
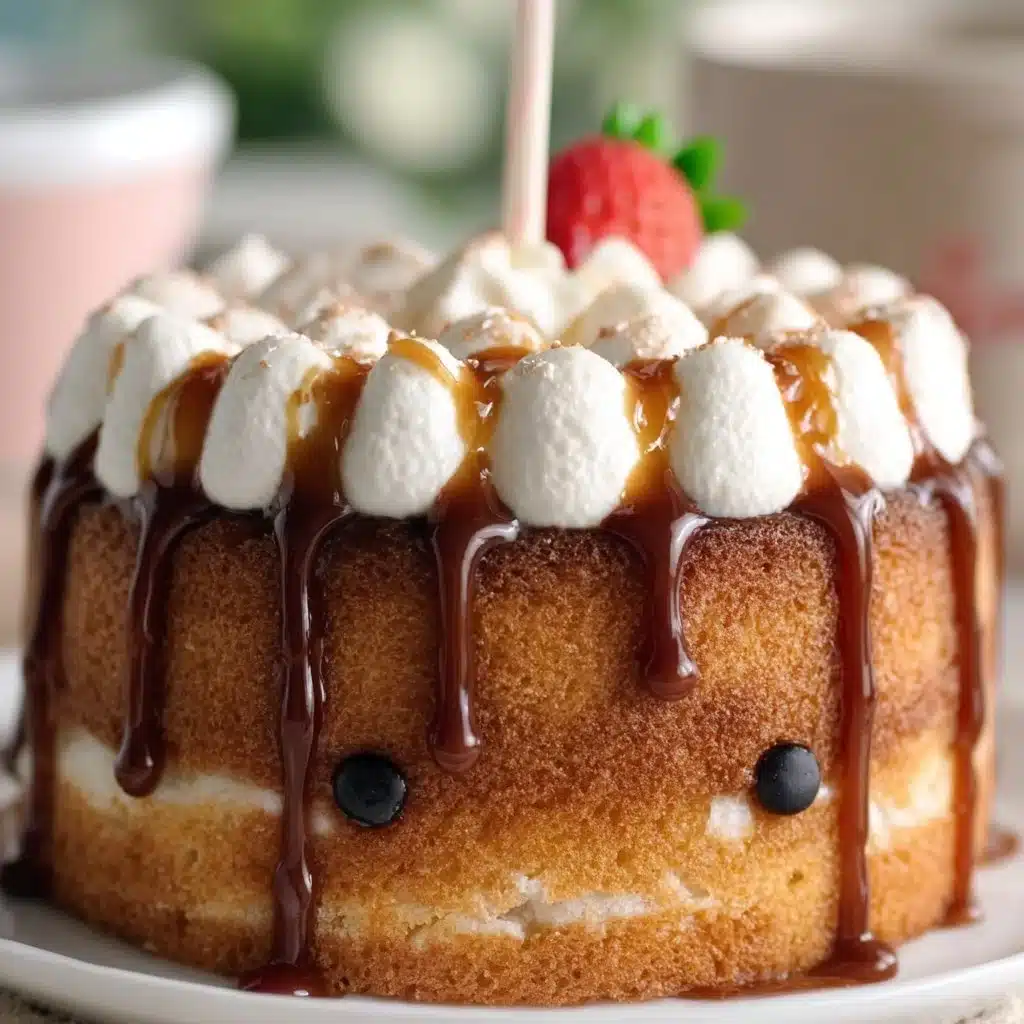
Are you ready to whip up a delightful Jellycat Birthday Cake that will have everyone smiling? When I first made this cake, I couldn’t help but smile every time I looked at it! It’s whimsical, fun, and a perfect treat for any birthday celebration. Think about fluffy layers of cake, creamy frosting, and adorable decorations that really make the day extra special. So, grab your apron and let’s dive into this delicious adventure together!
What Is Jellycat Birthday Cake?
The Jellycat Birthday Cake is not just any cake; it’s a whimsical treat inspired by those loved plush toys we all adore. It features bright colors, soft textures, and whimsical designs that really capture the essence of fun! This cake is perfect for both kids and adults who want to indulge in a sweet celebration. Plus, it doubles as a conversation starter at any birthday party!
Ingredients Overview for Jellycat Birthday Cake
Before we start whipping up this cake, let’s gather everything we need. Here’s a list of what you’ll be using, along with some handy substitution ideas if you’re missing anything:
- All-purpose flour: This forms the base of our cake. If you’re gluten-free, try almond flour!
- Granulated sugar: Sweetness is key! Coconut sugar can be a great alternative if you want a different vibe.
- Unsalted butter: For that rich flavor. If you’re dairy-free, use coconut oil.
- Eggs: They provide structure. Chia seeds mixed with water can work as an egg substitute!
- Baking powder: Ensures our cake rises. Baking soda with a splash of vinegar can do the trick too.
- Milk: Makes the batter moist. Almond or oat milk are tasty swaps.
- Vanilla extract: For a lovely flavor. You can use almond extract for a nutty twist.
- Frosting: You can’t have a birthday cake without it! Cream cheese frosting adds a special touch, but whipped cream is lighter and equally delightful.
Step-by-Step Instructions
- Preheat Your Oven: Set it to 350°F (175°C) so it’s hot and ready.
- Prepare Your Cake Pans: Grease and flour the pans to prevent sticking. Trust me; you don’t want to lose any cake!
- Mix Dry Ingredients: In a bowl, whisk together your flour, sugar, and baking powder.
- Cream Butter and Sugar: In a large bowl, cream together the butter and sugar until light and fluffy. I usually mix for about 3-4 minutes.
- Add Eggs: Beat in the eggs one at a time, mixing well after each addition.
- Combine mixtures: Gradually add the dry mixture to the wet ingredients, alternating with milk. Start and end with the dry mixture. This little trick makes for a perfectly blended cake.
- Add Vanilla: Don’t forget that heavenly vanilla extract for flavor!
- Bake: Pour the batter into the prepared pans and bake for around 25-30 minutes. Check for doneness with a toothpick.
- Cool Down: This step is essential. Once baked, let it cool for 10 minutes in the pans before transferring to a wire rack.
- Frost: Once completely cool, frost generously using your favorite frosting.
Serving Suggestions
Slice up your Jellycat Birthday Cake into pretty pieces and serve it on a colorful cake stand. You could even add some sprinkles on top for extra fun! This cake pairs wonderfully with a scoop of vanilla ice cream or a cup of warm tea. It’s such a delightful treat that everyone will love!
Tips for the Perfect Jellycat Birthday Cake
- Avoid overmixing after adding flour; this keeps your cake fluffy.
- Experiment with flavors by adding chocolate chips or colorful sprinkles to the batter!
- Make the cake a day in advance for more intense flavors. Just store it in an airtight container.
- Use a serrated knife to level and decorate the cake smoothly.
- For a pop of color, use natural food coloring in your frosting.
Q&A Section
Q: Can I make this cake ahead of time?
A: Absolutely! You can bake the layers a day before and frost it when you’re ready.
Q: Is it okay to not use eggs?
A: Yes, trying out substitutes like flaxseed or chia eggs works wonders!
Q: Can I add food coloring?
A: For sure! Adding colors can make your Jellycat Birthday Cake even more vibrant and fun.
Q: How do I store leftover cake?
A: Store it in an airtight container at room temperature for up to three days or refrigerate for a week.
Why You’ll Love It
Honestly, you will fall head over heels for this Jellycat Birthday Cake! It’s not just a cake; it’s an experience full of joy and sweetness. Every slice sings with flavor and fun decoration, making it perfect for parties or simple gatherings. Plus, the memories you create while baking and enjoying it with loved ones make it all the more special.
Behind The Scenes
Creating this Jellycat Birthday Cake was such a joyful experience for me! There were a couple of mishaps, of course—the first batch didn’t rise as I’d hoped. I learned that measuring the ingredients carefully really does make a difference. But once I got it right, the sight of that fluffy cake coming out of the oven was rewarding! The decorating part was a blast; I loved adding the colorful frosting and playful sprinkles. I often share my baking adventures on my Pinterest page, where you can find tons of fun recipe ideas just like this one. Check it out here: My Recipe Cast on Pinterest.
So, what are you waiting for? Dive into the world of baking this delightful Jellycat Birthday Cake and create sweet memories along the way!
Jellycat Birthday Cake
Ingredients
Cake Ingredients
- 2 cups All-purpose flour Almond flour can be used for gluten-free.
- 1.5 cups Granulated sugar Coconut sugar can be a good alternative.
- 0.5 cups Unsalted butter Coconut oil can be used for a dairy-free option.
- 3 large Eggs Chia seeds mixed with water can substitute for eggs.
- 2 teaspoons Baking powder Baking soda with a splash of vinegar can also work.
- 1 cup Milk Almond or oat milk are tasty substitutes.
- 2 teaspoons Vanilla extract Almond extract can be used for a nutty twist.
Frosting Ingredients
- 1 batch Frosting Cream cheese frosting is recommended, but whipped cream is a lighter option.
Instructions
Preparation
- Preheat Your Oven: Set it to 350°F (175°C).
- Prepare Your Cake Pans: Grease and flour the pans.
- Mix Dry Ingredients: Whisk together flour, sugar, and baking powder.
- Cream Butter and Sugar: Mix butter and sugar until light and fluffy (3-4 minutes).
- Add Eggs: Beat in the eggs one at a time, mixing well after each addition.
- Combine mixtures: Gradually add the dry mixture to the wet ingredients, alternating with milk.
- Add Vanilla: Mix in the vanilla extract.
Baking
- Pour the batter into prepared pans and bake for 25-30 minutes.
- Check for doneness with a toothpick.
Cooling and Frosting
- Let the cake cool in the pans for 10 minutes before transferring to a wire rack.
- Once completely cool, frost generously with your favorite frosting.