No-Bake Chocolate Topped Peanut Butter Bars
You know those days when you crave something sweet but really don’t feel like turning on the oven? That’s when these No-Bake Chocolate Topped Peanut Butter Bars come to the rescue! They’re incredible, easy to whip up, and seriously, who can resist that delicious combo of chocolate and peanut butter? I swear, every time I make these bars, I’m taken back to my childhood when treats were simply pure joy.
Table of Contents
What Is No-Bake Chocolate Topped Peanut Butter Bars?
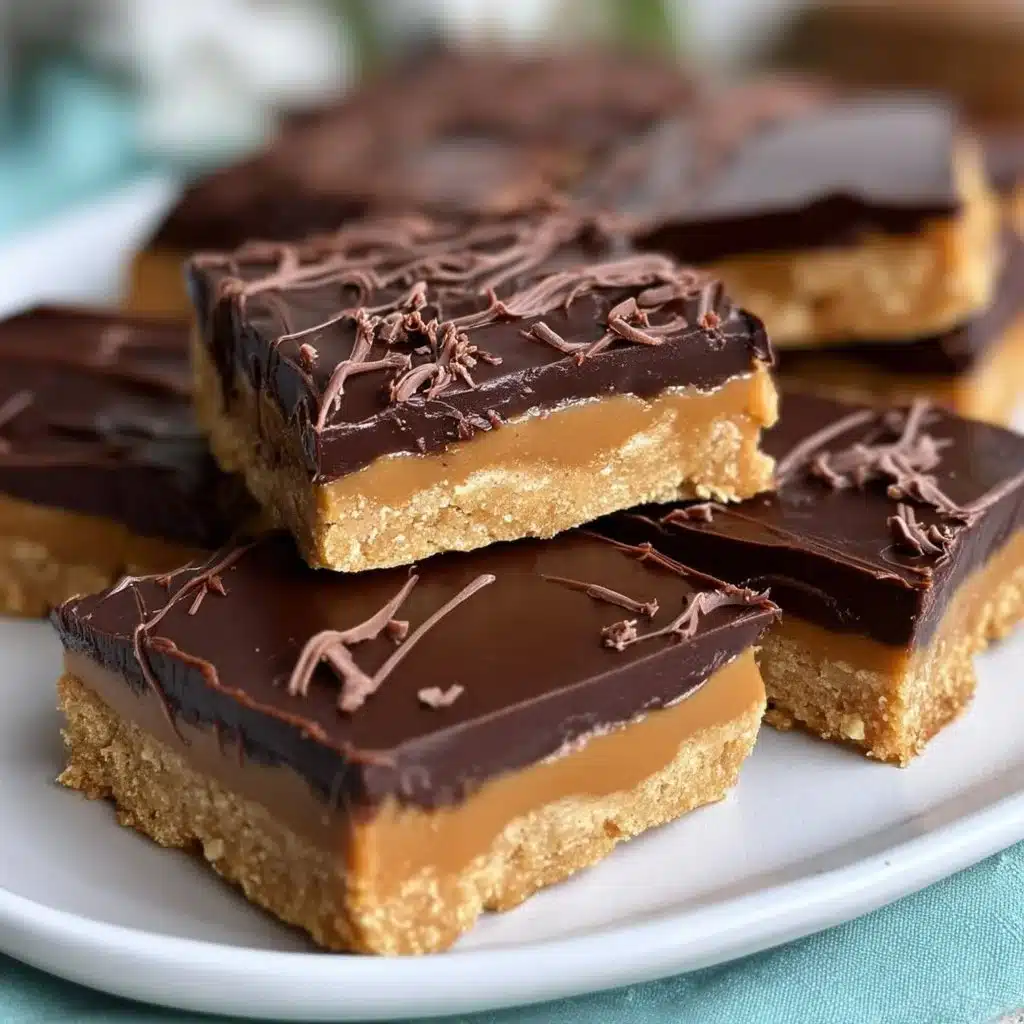
No-Bake Chocolate Topped Peanut Butter Bars are delightful, no-cook treats that combine creamy peanut butter with a delicious chocolate layer on top. The beauty of these bars is in their simplicity—just mix your ingredients, press them into a pan, and let them chill. You can whip these up for an after-school snack, a dessert for your next gathering, or even just a treat for you because, let’s face it, you deserve it!
Ingredients Overview for No-Bake Chocolate Topped Peanut Butter Bars
Before diving in, let’s quickly go over what you’ll need for these sweet treats:
- Creamy Peanut Butter: This is the star of the show. Use your favorite brand, or even try a crunchy version for added texture.
- Honey or Maple Syrup: Sweetening without refined sugar! I love using honey, but maple syrup gives it a nice flavor twist if you’re vegan.
- Oats: Rolled oats add heartiness. Quick oats work well too, but skip instant oats, as they can turn mushy.
- Vanilla Extract: Just a splash enhances the overall flavor.
- Cocoa Powder: This gives it that rich chocolate flavor. Try unsweetened for perfect balance.
- Chocolate Chips: This forms the final layer. Dark chocolate or milk chocolate chips, whichever your heart desires!
Step-by-Step Instructions for No-Bake Chocolate Topped Peanut Butter Bars
- Mix the Base: In a bowl, combine creamy peanut butter, honey (or maple syrup), vanilla extract, and rolled oats. Stir until well combined.
- Press into a Pan: Line an 8-inch square pan with parchment paper. Press the peanut butter mixture evenly into the pan. Make sure it’s packed tightly!
- Prepare the Chocolate Layer: In a microwave-safe bowl, melt the chocolate chips in 30-second intervals, stirring in between, until smooth.
- Spread the Chocolate: Pour the melted chocolate over the peanut butter base, using a spatula to spread it evenly.
- Chill: Place the pan in the fridge for at least 2 hours or until firm.
- Slice and Serve: Once set, lift the bars out using the parchment paper, slice into squares, and enjoy!
Serving Suggestions
These No-Bake Chocolate Topped Peanut Butter Bars are super versatile! They are perfect for an after-dinner treat, packed in lunchboxes, or as a post-workout snack. You can serve them plain or sprinkle a few sea salt flakes on top before chilling for that sweet-salty vibe. Feeling fancy? Add a dollop of whipped cream or a scoop of ice cream on the side. Trust me, it’s divine!
Tips For The Perfect No-Bake Chocolate Topped Peanut Butter Bars
- Use Natural Peanut Butter: Avoid brands with added sugar or hydrogenated oils for a healthier option.
- Adjust Sweetness: Feel free to add more or less honey/maple syrup depending on your taste preferences.
- Chill Time: Don’t rush the chilling process; a well-chilled bar makes all the difference in texture.
- Storage: Store them in an airtight container in the fridge for up to a week. You can even freeze them for later!
Q&A Section
Q: Can I use another nut butter?
A: Absolutely! Almond butter or sun butter works wonderfully too. Just remember that the flavor will vary slightly.
Q: How long will these bars last?
A: If stored properly in the fridge, they’ll last about a week. Frozen, they can survive up to three months!
Q: Can I add more ingredients to the mix?
A: Sure! Feel free to add chopped nuts, dried fruits, or even a sprinkle of cinnamon for a little extra flavor.
Q: Is there a vegan option?
A: Yes! Just swap honey for maple syrup, and you’re all set for a vegan-friendly version!
Why You’ll Love It
You will adore these No-Bake Chocolate Topped Peanut Butter Bars for so many reasons! They come together quickly, require no baking, and taste downright heavenly. I mean, who can resist smooth, creamy peanut butter paired with a luscious chocolate layer? Plus, they make for a great snack that feels indulgent yet is still packed with wholesome ingredients. It’s a total win-win!
Behind The Scenes
When I set out to create these No-Bake Chocolate Topped Peanut Butter Bars, things didn’t go perfectly. I had a batch that crumbled apart because I was too eager to slice them before they were fully chilled. After that mini disaster, I learned that patience truly is key and that chilling these bars properly is crucial for the best texture. It was so satisfying when I finally got them right! If you’re curious about my other culinary adventures, check out my Pinterest page for more recipes and inspiration here.
I hope you feel as excited to make these No-Bake Chocolate Topped Peanut Butter Bars as I do! Give it a shot and let me know how they turn out. Happy cooking!

No-Bake Chocolate Topped Peanut Butter Bars
Ingredients
Base Ingredients
- 1 cup Creamy Peanut Butter Use your favorite brand, crunchy version optional for added texture.
- 1/2 cup Honey or Maple Syrup Honey preferred, use maple syrup for a vegan option.
- 1 cup Rolled Oats Quick oats are fine, avoid instant oats.
- 1 teaspoon Vanilla Extract Enhances overall flavor.
Chocolate Layer
- 1 cup Chocolate Chips Use dark or milk chocolate chips based on preference.
- 1/4 cup Cocoa Powder Use unsweetened for perfect balance.
Instructions
Preparation
- In a bowl, combine creamy peanut butter, honey (or maple syrup), vanilla extract, and rolled oats. Stir until well combined.
- Line an 8-inch square pan with parchment paper. Press the peanut butter mixture evenly into the pan, packing it tightly.
- In a microwave-safe bowl, melt the chocolate chips in 30-second intervals, stirring in between, until smooth.
- Pour the melted chocolate over the peanut butter base, using a spatula to spread it evenly.
- Place the pan in the fridge for at least 2 hours or until firm.
- Once set, lift the bars out using the parchment paper, slice into squares, and enjoy!