Table of Contents
No-Bake Eclair Cake: A Sweet Treat That Will Make You Smile
You know those days when you just want something sweet, but you’re not in the mood to turn on the oven? That’s when I whip up my No-Bake Eclair Cake. Trust me, it’s like taking a bite of heaven without breaking a sweat. With layers of creamy filling and soft graham crackers, this dessert is not only easy to make but it’s also a crowd-pleaser. Whether you’re hosting friends for a game night or just indulging yourself, this cake has your back.
What Is No-Bake Eclair Cake?
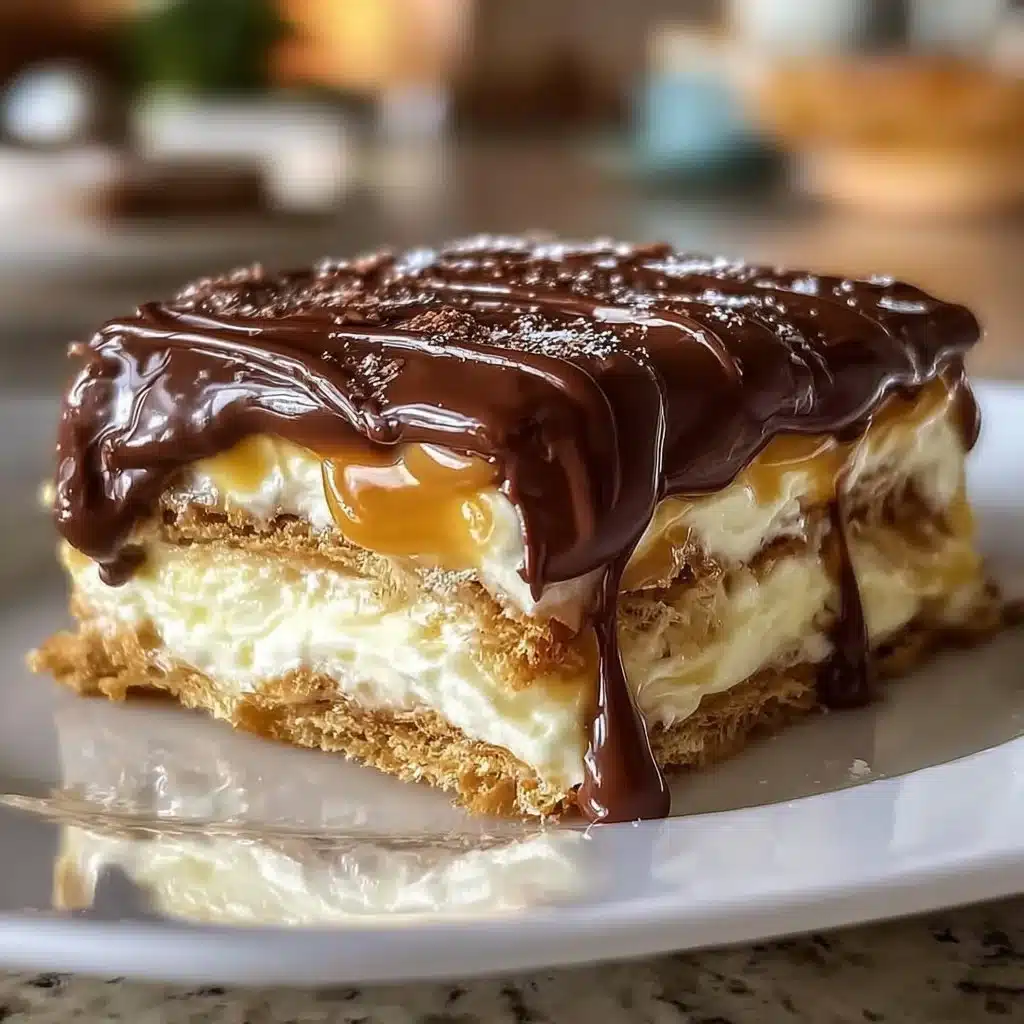
So, what’s this No-Bake Eclair Cake all about? Imagine the classic eclair, with its light pastry and luscious cream filling, transformed into a layered dessert that’s incredibly simple to make. Instead of pastry, we use graham crackers, which absorb the moisture and soften over time, creating a delightful texture reminiscent of the original eclair. It’s perfect for those warm days when you want a dessert that’s cool and refreshing but still oh-so-decadent!
Ingredients Overview for No-Bake Eclair Cake
Here’s what you’ll need to whip up this dreamy dessert:
- Graham Crackers: The base of your cake. You can use plain or honey-flavored ones, depending on your sweet preference.
- Instant Vanilla Pudding Mix: This gives our dessert its creamy filling. You could also try chocolate pudding for a twist!
- Milk: Whole milk is best for a rich flavor, but feel free to use low-fat as well.
- Whipped Topping: Use a tub of cool whip or homemade whipped cream if you’re feeling fancy.
- Chocolate Frosting: The rich, chocolatey top layer that glazes it all together. If you’re short on time, store-bought is perfect!
- Optional Toppings: Fresh berries or nuts for a bit of crunch and color.
Step-by-Step Instructions for No-Bake Eclair Cake
- Prepare the Pudding: In a large bowl, whisk together the instant vanilla pudding mix and milk. Stir until thickened and smooth. This usually takes just a few minutes.
- Fold in Whipped Topping: Gently fold in the whipped topping until it’s all well combined. This adds that delightful airiness to your cream layer.
- Layer the Graham Crackers: Grab a rectangular baking dish and layer graham crackers evenly at the bottom. Don’t be shy; this is your base!
- Spread the Cream Mixture: Pour half of your creamy mixture over the graham crackers. Smooth it out with a spatula.
- Add More Crackers: Repeat the layering with another set of graham crackers, followed by the remaining creamy mixture.
- Finish with Frosting: Top it off with a generous layer of chocolate frosting. Spread it evenly so every bite contains that chocolate goodness.
- Chill: Cover and refrigerate for at least 4 hours, or overnight for the best flavor. Allowing it to sit makes a world of difference and allows the flavors to mingle!
Serving Suggestions
Serve your No-Bake Eclair Cake chilled and cut into squares. You can garnish it with fresh berries for a pop of color and a hint of freshness. If you’re feeling extra indulgent, drizzle some chocolate or caramel sauce on top. It’s a fantastic way to impress your guests without spending all day in the kitchen!
Tips for the Perfect No-Bake Eclair Cake
- Make sure to let the cake chill for long enough. The graham crackers need time to soften and soak up that creamy goodness.
- If you prefer a different flavor, try using chocolate or butterscotch pudding instead of vanilla.
- Add a sprinkle of crushed nuts on top for added texture and flavor.
- For a more decadent twist, try layering crushed cookies or candy in between the layers.
Q&A Section
1. Can I use a different flavor of pudding?
Absolutely! Vanilla, chocolate, or even butterscotch can all bring a unique flavor to your cake.
2. How long does the cake last?
It’s best enjoyed within 3 to 5 days of making it, but I doubt it will last that long!
3. Can I make this gluten-free?
Yes! Just use gluten-free graham crackers, and you’re good to go.
4. Is there a way to make this low-sugar?
You can look for low-sugar pudding mixes and whipped toppings to cut down on sugar content!
Why You’ll Love It
No-Bake Eclair Cake is not just easy; it’s an absolute delight! The combination of creamy, chocolatey, and crunchy textures culminates in a treat that satisfies every sweet tooth. Plus, it’s a lifesaver for days when you don’t want to heat up the kitchen or spend hours on dessert prep. I promise you, once you make it, you’ll find excuses to whip it up again!
Behind The Scenes
When I first tried to create my No-Bake Eclair Cake, let’s just say it was a bit of a journey. My first attempt ended up a gooey mess because I didn’t let it chill long enough—oops! But that flop taught me the value of patience, and after a few more tries, I finally perfected it. Now, it’s become a staple dessert at family gatherings, and I love sharing it with friends. If you want to see more delicious recipes, check out my Pinterest page at MyRecipeCast. You might find some tasty inspo!
Honestly, every time I serve it, people rave, and I can’t help but feel a little proud. So, ready to give it a go? I bet you’ll love it just as much as I do!

No-Bake Eclair Cake
Ingredients
Base and Filling
- 2 cups whole milk Can be substituted with low-fat milk.
- 1 box instant vanilla pudding mix Chocolate pudding can be used for a different flavor.
- 8 oz whipped topping Cool whip or homemade whipped cream can be used.
Layers
- 1 box graham crackers Plain or honey-flavored can be used.
- 1 can chocolate frosting Store-bought is acceptable for convenience.
Optional Toppings
- fresh berries For garnish.
- nuts For added crunch.
Instructions
Preparation
- In a large bowl, whisk together the instant vanilla pudding mix and milk until thickened and smooth.
- Gently fold in the whipped topping until well combined.
Layering
- Layer graham crackers evenly at the bottom of a rectangular baking dish.
- Pour half of the creamy mixture over the graham crackers and smooth it out with a spatula.
- Add another layer of graham crackers followed by the remaining creamy mixture.
- Top with a generous layer of chocolate frosting, spreading it evenly.
Chilling
- Cover and refrigerate for at least 4 hours, or overnight for the best flavor.