

Table of Contents
Red Velvet Snowballs{1} are my favorite holiday surprise, and I promise they are easier than they look. I remember testing my very first batch on a snowy afternoon, and you would have laughed at how many I popped into my mouth before they even hit the cooling rack. If you love soft, slightly chocolatey cookies with a dusting of powdered sugar, you and I are going to be great friends. Also, if you want something that reads fancy but feels cozy, these treats are it. For a fun spin, check out a related idea like these bloody red velvet cake pops while you decide how many cookies to bake today.
What Is Red Velvet Snowballs?{2}
Red Velvet Snowballs are small, tender cookies that combine classic red velvet flavor with a melt-in-your-mouth, powdered sugar coating. They taste lightly cocoa-ish, and they look so pretty on a holiday platter because of that bright red crumb under the snow of sugar. Many folks call them snowball cookies or Russian tea cakes in other forms, but these bring that velvet note to every bite. Also, they are beginner friendly, and because they freeze well, you can make a double batch for later.
Ingredients Overview for Red Velvet Snowballs{3}
- All-purpose flour — The base; you can swap half for cake flour for a softer crumb.
- Cocoa powder — A couple tablespoons to give the cookies that subtle chocolate note.
- Baking powder — For a little lift; if you only have baking soda, add an acid like buttermilk to react.
- Salt — Balances sweetness; use less if using salted butter.
- Unsalted butter — Soft but not melted; you can use salted butter and skip added salt.
- Powdered sugar — For rolling and that classic snowy look; you can double-coat for extra drama.
- Granulated sugar — For sweetness and structure; coconut sugar works in a pinch.
- Egg — Binds the dough; if you need egg-free, try a flax egg but expect a denser result.
- Vanilla extract — For warmth; almond extract is a nice swap.
- Cream cheese — Optional but I love it for moistness and tang; leave it out if you prefer a pure butter cookie.
- Red food coloring — Gel works best for vivid color without extra liquid.
(Quick substitution idea: if you want a dairy-free version, use vegan butter and a cream-cheese substitute, and the cookies will still be delicious.) Also, for more red flavor ideas, you might like these Crumbl red velvet cookies for inspiration.
Step-by-step instructions for Red Velvet Snowballs{4}
Step 1: Prep Preheat the oven to 350°F and line two baking sheets with parchment. While the oven warms, sift the dry ingredients together so there are no lumps. Also, chilling the dough for 15 minutes helps them keep their shape.
Step 2: Cream Beat the butter and granulated sugar until light and fluffy, about two minutes. Add the egg, vanilla, and cream cheese if using, and mix until smooth. If your batter looks grainy, keep beating for a little longer.
Step 3: Combine Fold the dry mix into the wet just until combined. Add red food coloring until you get that classic hue. Do not overmix, because overmixing makes tougher cookies.
Step 4: Shape Scoop tablespoon-sized balls and roll them into smooth rounds. Place them two inches apart on the prepared sheets. If you want uniform size, use a small cookie scoop.
Step 5: Bake Bake for 10 to 12 minutes, until the edges are set but the centers still look soft. They finish cooking on the pan, so do not overbake.
Step 6: Sugar coat Let cool for five minutes, then roll each warm cookie in powdered sugar. For fluffier coating, let them cool completely and roll a second time. I usually do a double roll because I love that snowy look. You might like pairing the method with the chocolate-covered ideas I tried when making Grinch Oreo balls with red velvet Oreos for a festive spread.
Serving Suggestions{5}
Serve these with a warm cup of coffee or a mug of cocoa, and you’ll have instant cozy vibes. They look so cute on a tiered tray at a cookie exchange, and children will love the color. Also, they travel well in a tin layered with parchment, so they make an easy edible gift. 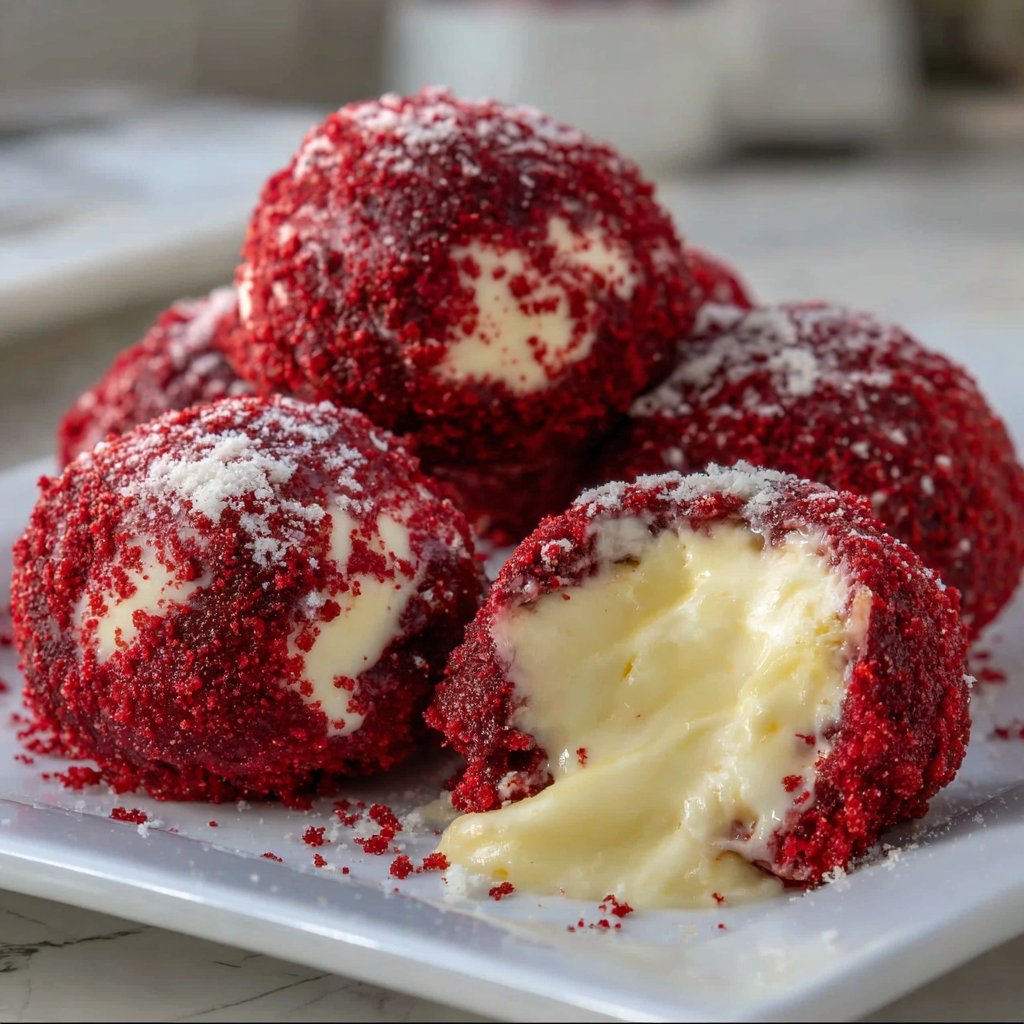
Tips For The Perfect Red Velvet Snowballs{6}
- Chill the dough briefly — Firms the dough and keeps cookies from spreading too much.
- Use gel food coloring — More color without extra liquid.
- Double roll in powdered sugar — For a thicker, snowy coating and more visual contrast.
- Don’t overbake — Pull them when the centers still look soft, because they firm up as they cool.
- Swap cream cheese for extra butter if you want a simpler pantry version; the texture changes but it still tastes great. Also, for a cinnamon twist try adding a pinch of cinnamon as I did with my heavenly red velvet cinnamon rolls experiment.
Q&A Section
Q: Can I freeze the dough? A: Yes, you can freeze shaped dough balls on a tray, then transfer them to a freezer bag. Bake from frozen, adding a minute or two to the bake time. Also, freezing keeps the cookies fresh longer. Q: What if my cookies spread too much? A: Make sure your butter wasn’t too soft and chill the dough for 15 to 30 minutes. If the kitchen is warm, a short chill helps greatly. Q: Can I make these without food coloring? A: Absolutely; they will be more muted brown but still delicious. You could also try natural beet powder for color. Q: Are these suitable for a cookie exchange? A: Yes, they travel well and hold up in a tin, so they are a crowd-pleaser.
Why You’ll Love Red Velvet Snowballs{7}
You will fall for these cookies because they hit the cozy and the fancy at once. They are soft and slightly cakey, with a gentle cocoa note and that magical powdered sugar finish that makes every bite feel special. Also, they are easy enough for a busy weekend but pretty enough to bring to any holiday gathering. I’m usually more of a savory breakfast kind of gal, yet these win me over every time.
Behind The Scenes: How I perfected these cookies{8}
When I first made Red Velvet Snowballs I used too much food coloring and my cookies looked like neon ornaments, which taught me that gel is best. I also learned that a quick double roll in powdered sugar gives the prettiest finish, and that cream cheese makes them extra tender. While experimenting, I pinned a handful of inspiration and tips to my board, so you can peek at my process on Pinterest here: https://www.pinterest.com/MyRecipeCast/. Also, one trial where I skipped chilling taught me that patience matters, because chilled dough bakes into perfect little domes. For a few flavor twists I tested combinations similar to my red velvet cheesecake brownies and loved the results.
Conclusion
If you want a classic holiday cookie with a fun twist, try the recipe approach I shared and then compare notes with other versions like Red Velvet Snowball Cookies | Holiday & Christmas Baking and this tried-and-true version, Snowball Cookies Red Velvet – (THE BEST) w/ Video. Both links gave me ideas while I tested textures and coatings, and they are great resources if you love seeing small technique differences.